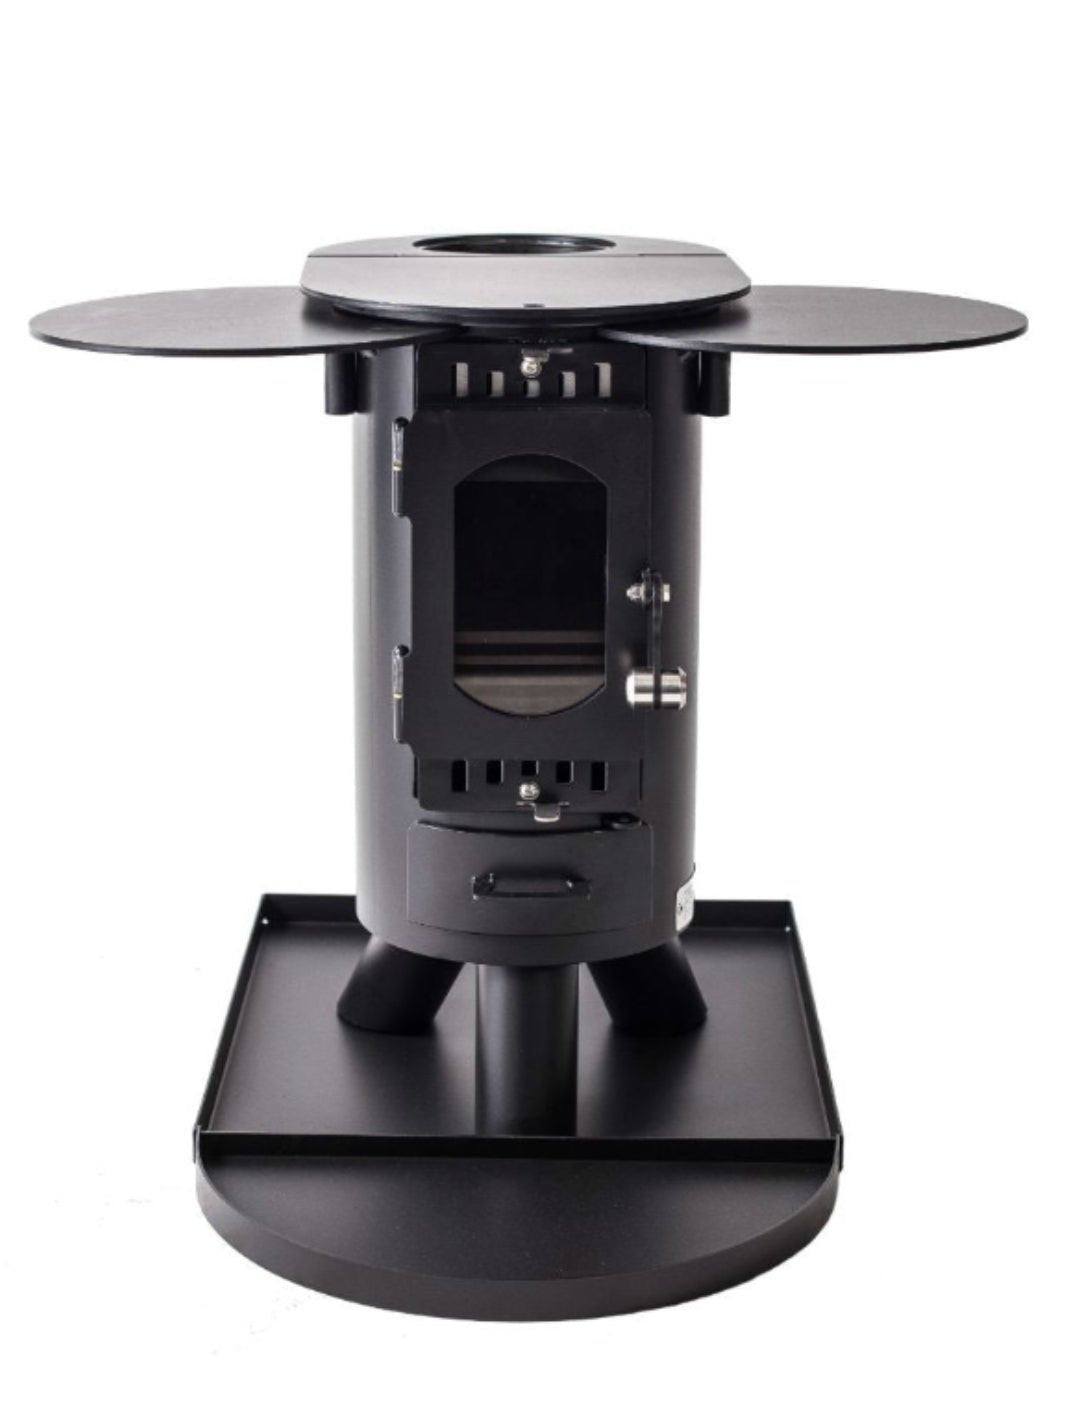
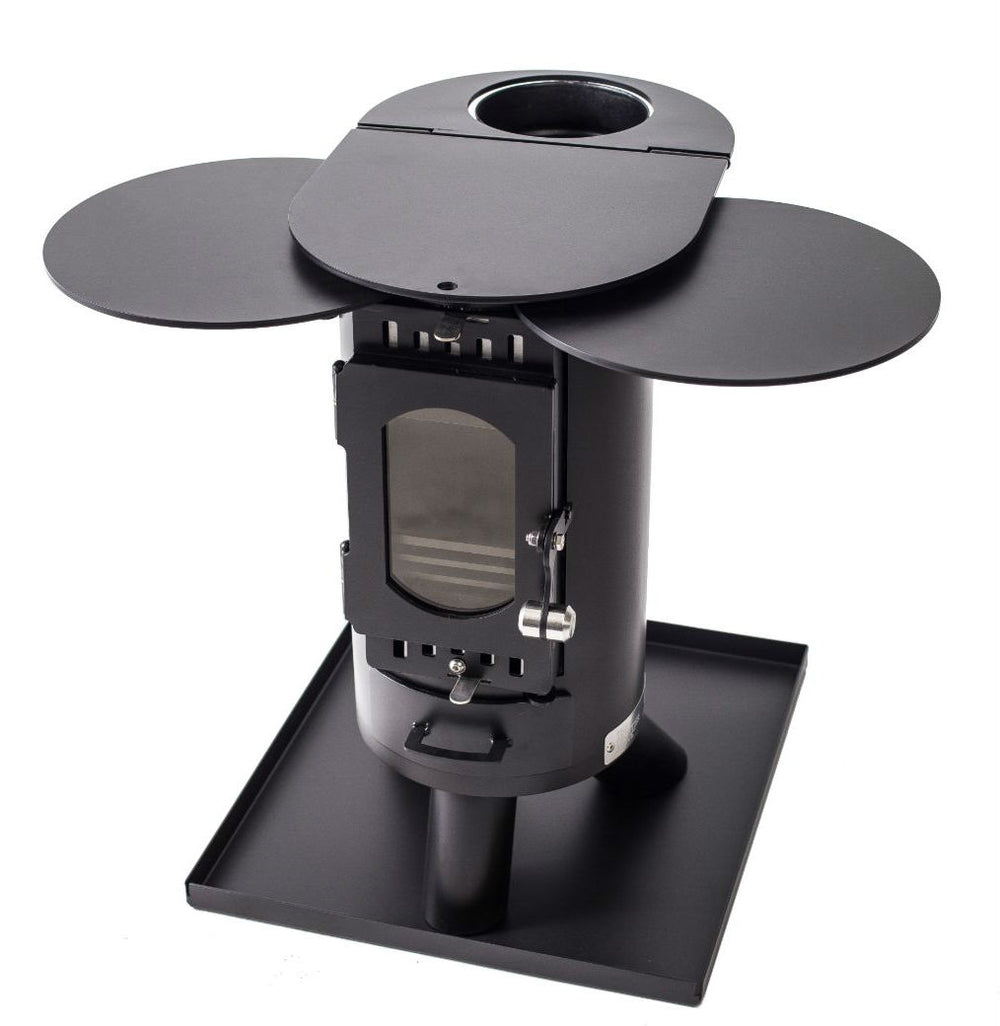
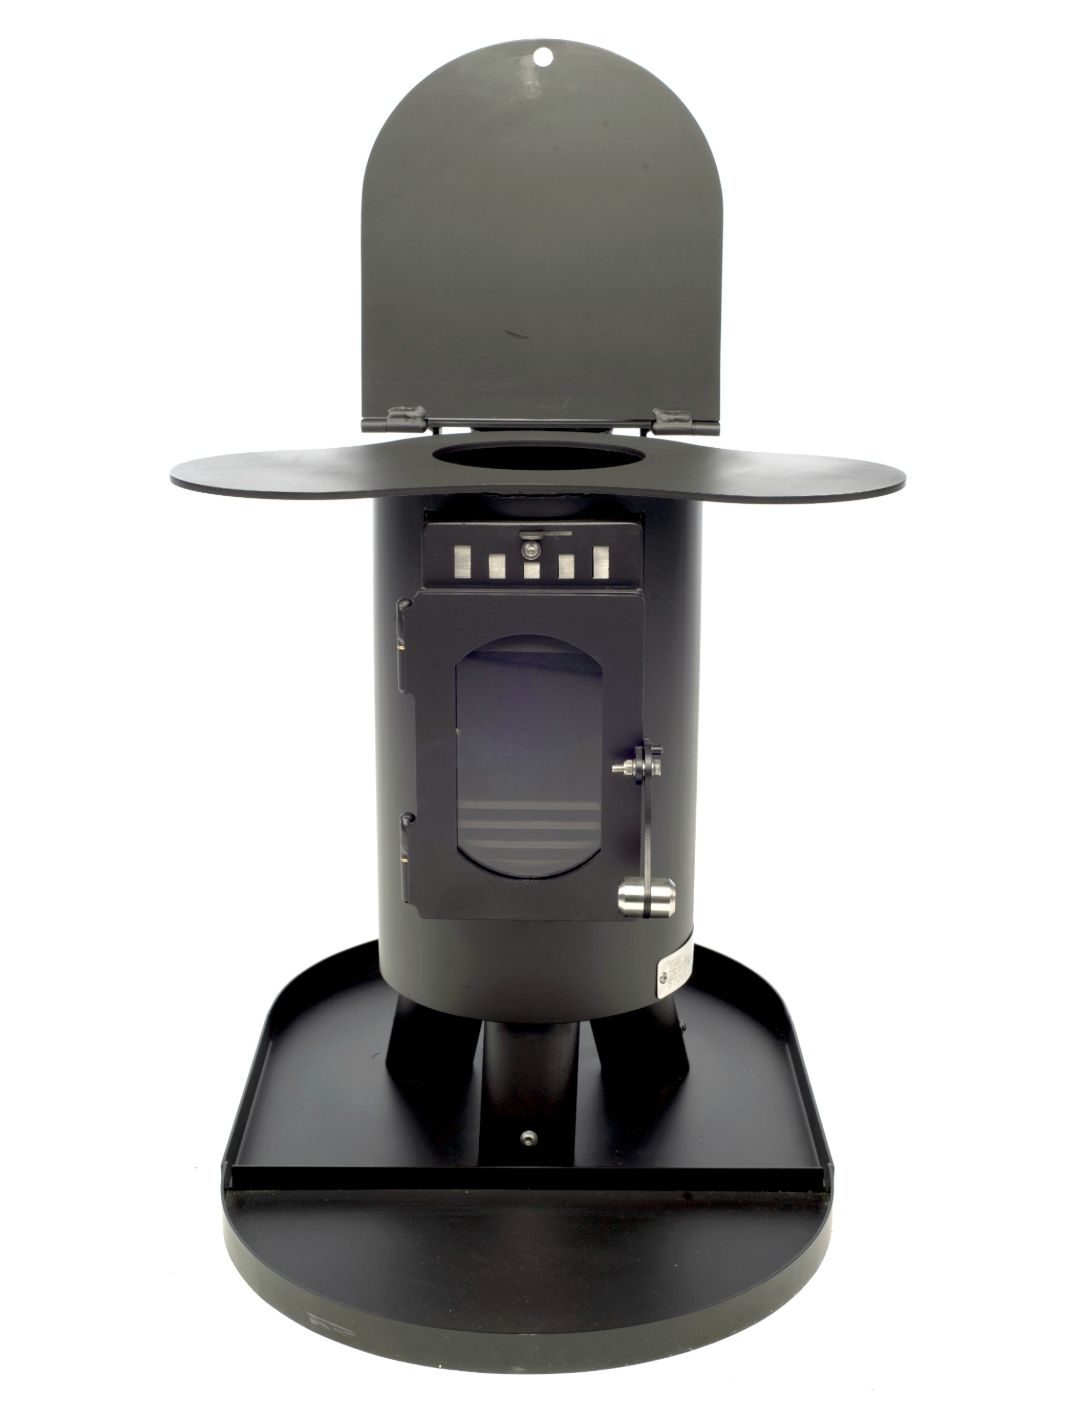
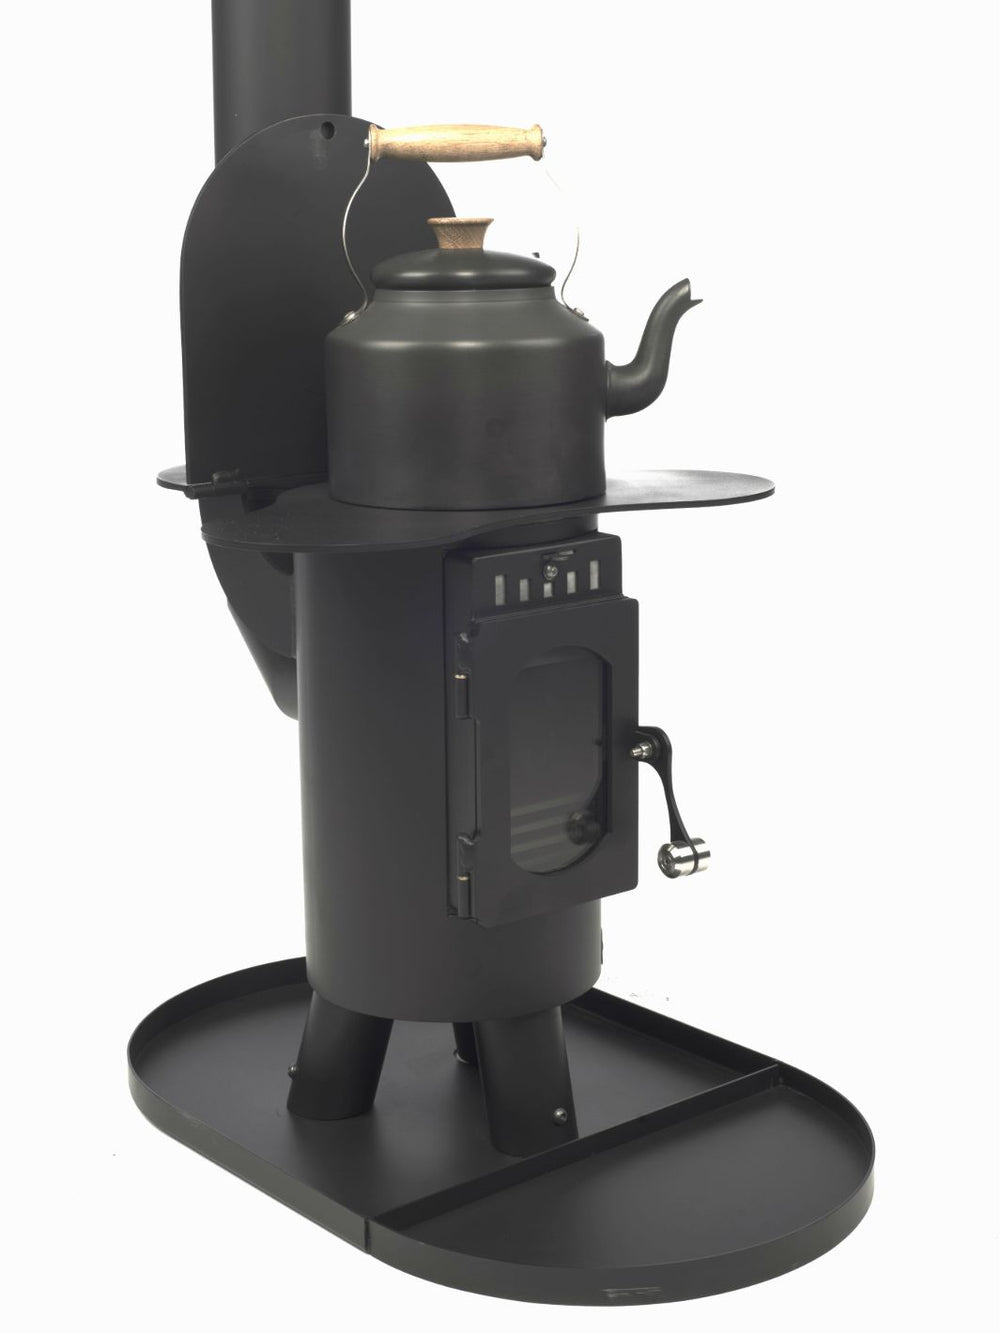
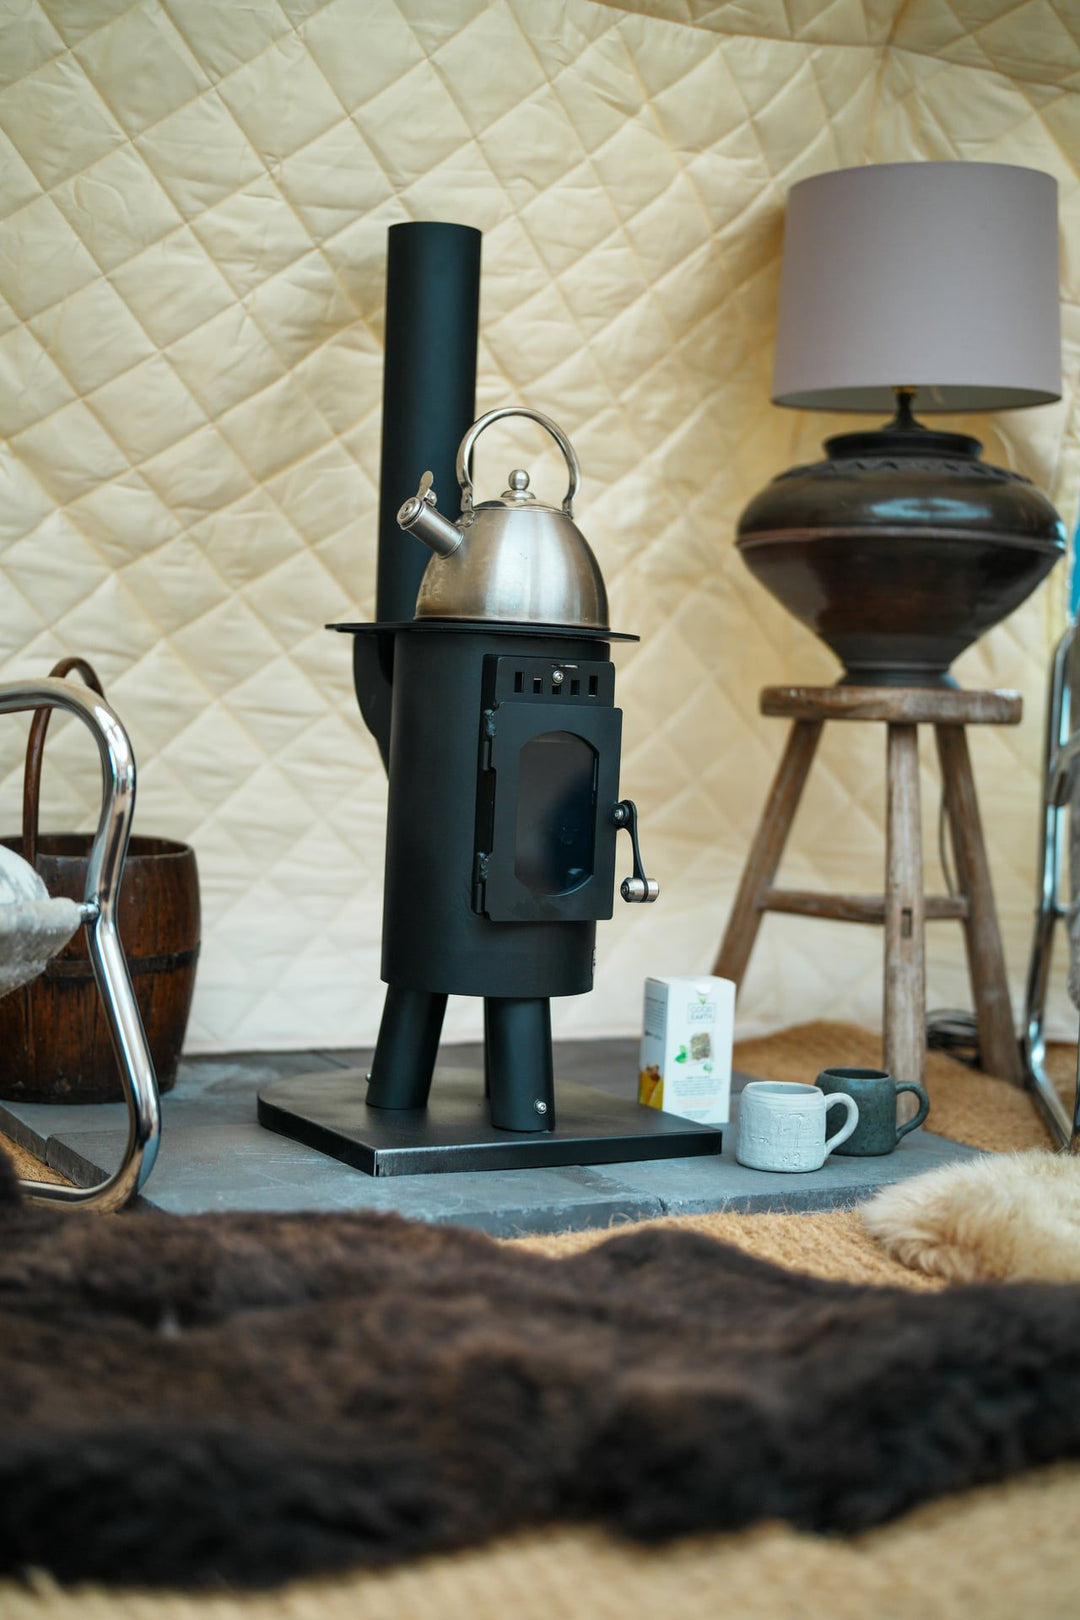
Having been originally designed for disaster relief, our beloved Frontier stove boasts some design features that require a little technical skill in order to run it well. Fear not, the first step in skill-mastery is understanding your subject matter - hence this blog...read on!

We all know that a fire requires 3 main elements: oxygen, fuel, and heat. The Frontier Stove allows these three elements to be combined and managed for an efficient fire. We cannot overemphasise the importance of good fuel for a good fire - all our stoves ship with our eco fuel pack, which is a brilliant way to get started.... 
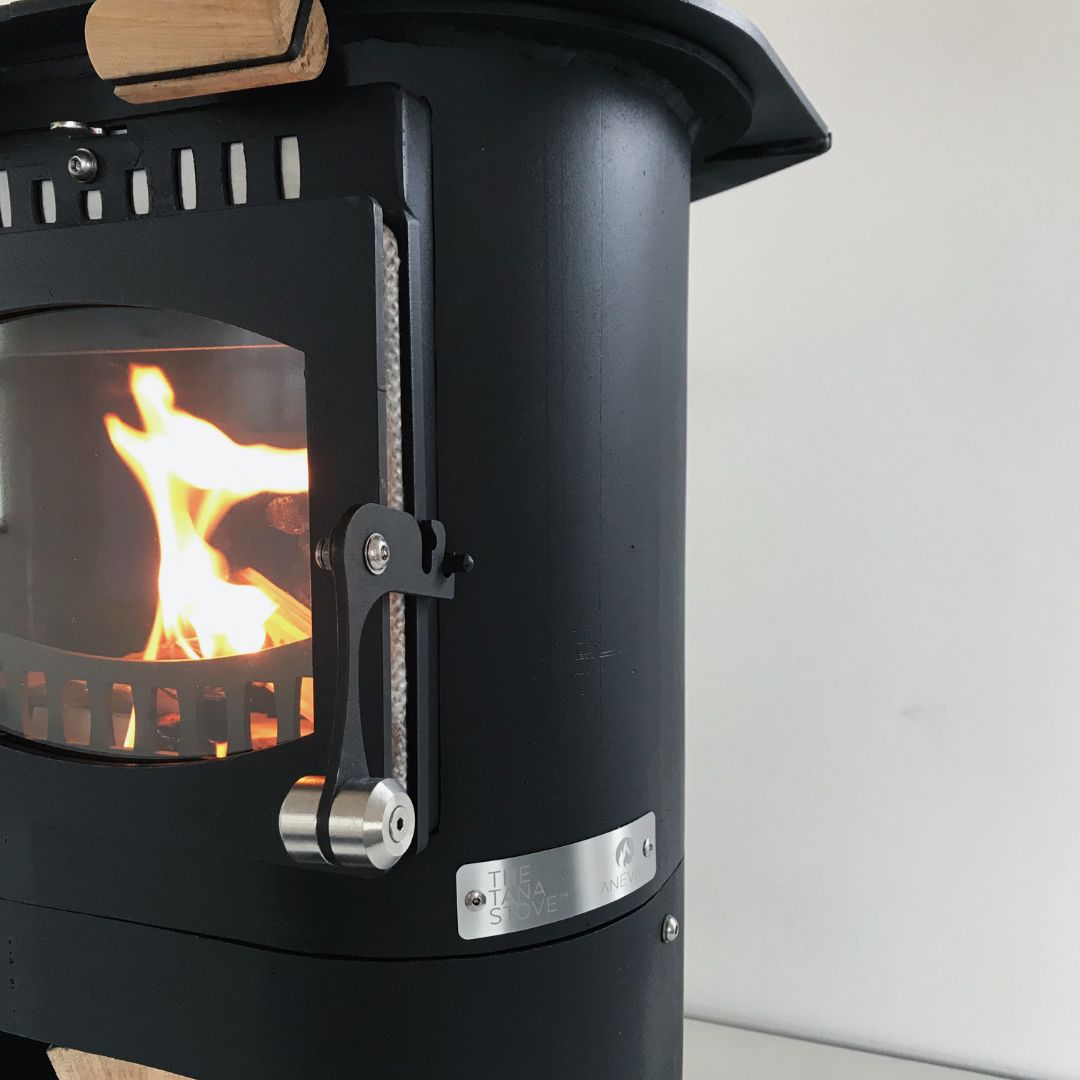
Step 1: Start by making sure your fire is built as close to the stove front door as possible, leaving the back half of the stove completely empty. Only a small amount of fuel is required to get the fire started - 3 smallish logs, some kindling and natural flamers which work a treat. Only a couple of logs need to be added periodically to keep the fire going once established.

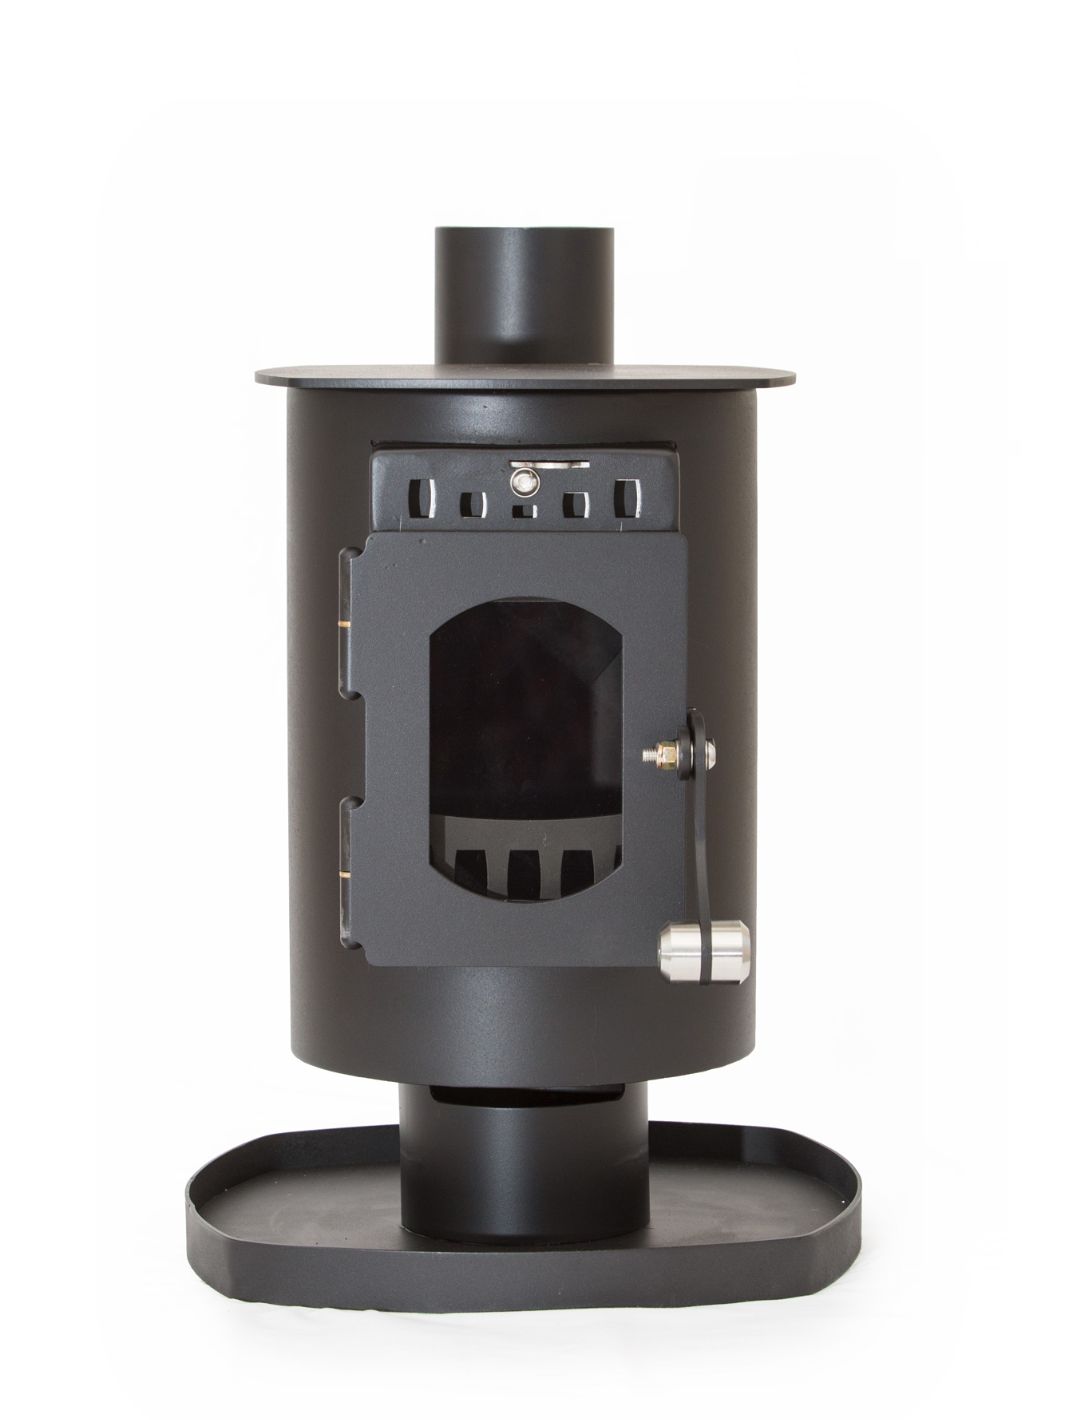
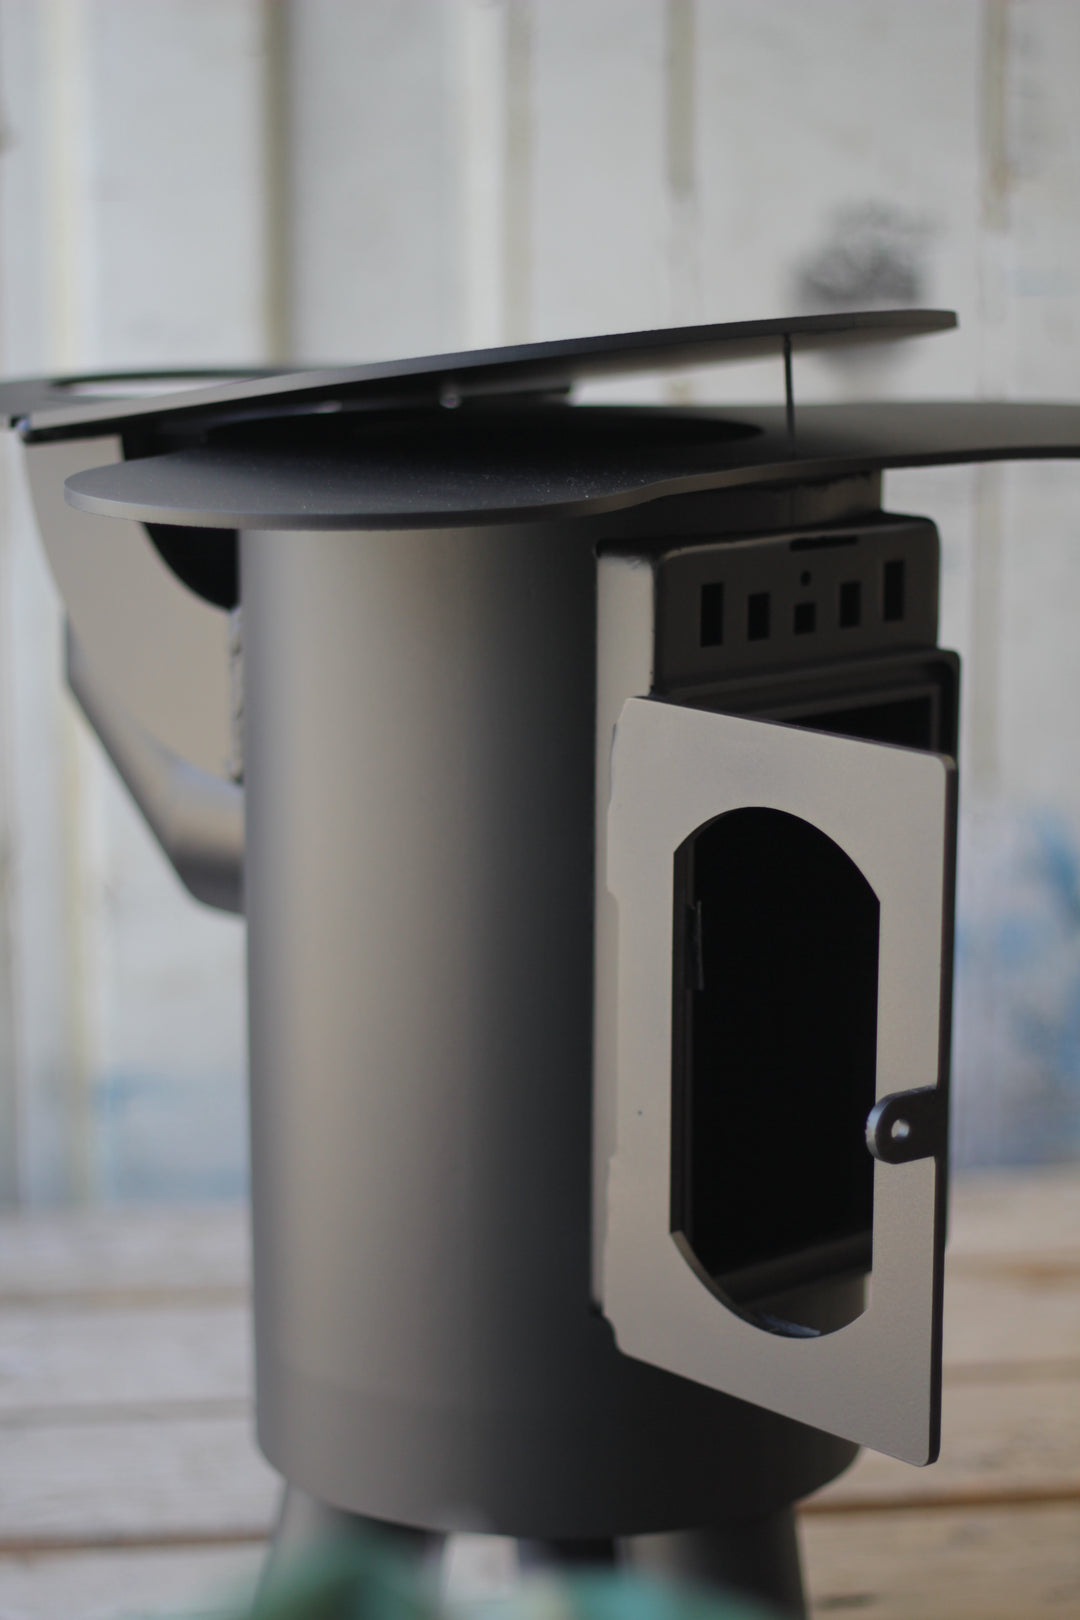
Step 2: Once you have struck the match and got your small fire going, the flue damper should be in the 'open' position (handle parallel to vertical flue direction). The door of the stove should be placed so as to leave a small gap so that the door is gently resting against the catch.


Leaving the door in this way creates a jet of air that blows over the fire, feeding it, and in turn also causing the gases in the back of stove to be combusted as it combines with the heat and flame from the fire in the front of the stove, and as these gases escape up the flue, the flue gets heated. This heated flue increases the draught, which in turn will pull more air through the gap between the door and the stove, over the burning fire and up through the flue.  Once this process is established - essentially when the flue is hot, the door slot/gap can be reduced to moderate the air intake for the cycle to continue, however the door should not be completely closed, as this will block the flow of air in through the stove thus starving the fire. Once the fire is established, the flue damper can be used to reduce the draw through the flue. This will keep more heat at the stove, rather than allowing it to escape up the flue. If smoke starts to come out the chimney, this means the damper is closed too much - a 45 degree angle is ideal to start with.

Flue Damper Set at 45 Degrees
Your fire should then run nicely and you can add fuel as needed (we usually add an eco fuel log to the fire every 30 - 40 minutes or so). The more you are able to use the stove, the easier it will become, to balance the fuel needed, the air/oxygen feeding the fire and the heat output.
Some Points to Consider:
The stove should not have a grid at the base - our Frontier has been designed to accommodate a log fire, which likes a bed of ash and should not have air fed from underneath.
Wood burns best with a good bed of ash laid down in the bottom of the stove and an air supply from the top.The logs can therefore lie right in the base of the stove body and a small amount of ash helps create a good space upon which the fire can grow.
Do not shut the door completely at any point, as this starves the fire and can cause excessive smoke. In the same light, do not keep the door wide open when starting to establish the fire - this will cause the accumulated heat to be lost from the firebox, and this will need to be built up again to get the stove up to its most efficient running temperature.
Remember, safety is key - a carbon monoxide alarm should always be installed if using the stove in a tent.
Here's a little video of our resident fire-building expert, showing how a fire can be made in the Frontier Plus - although this bigger brother to the Frontier has a larger flue and thus a significant draw, the principle remains the same (for a great comparison of the Frontier and Frontier Plus stoves, see here).
So now that the theory has been explained, it's time to get practising! Happy Frontiering!
We love talking fire, so any questions or queries please don't hesitate to get in touch via info@anevay.co.uk! Need some warmth?
