

We LOVE meeting our customers face-to-face and travel countrywide installing our small space stoves in gorgeous tiny spaces and curious places :)
From Archipods to glamping tents, garden offices to horse boxes - we've done them all!
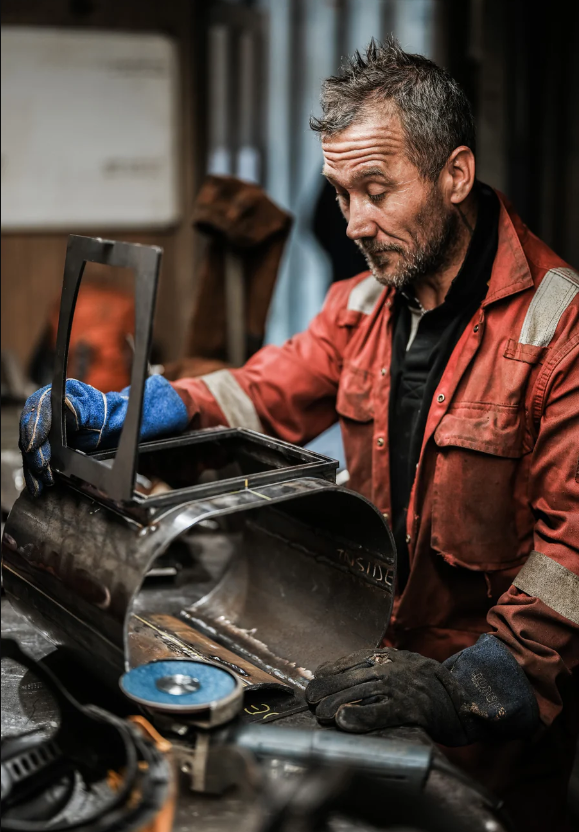
We've invested in training our team with HETAS as we are passionate about safe installations and ensuring our stoves are set up for optimial performance. It also helps us to understand first hand what our customers experience when they receive our products, so we can really be close to what we are sending out to you lovely lot.
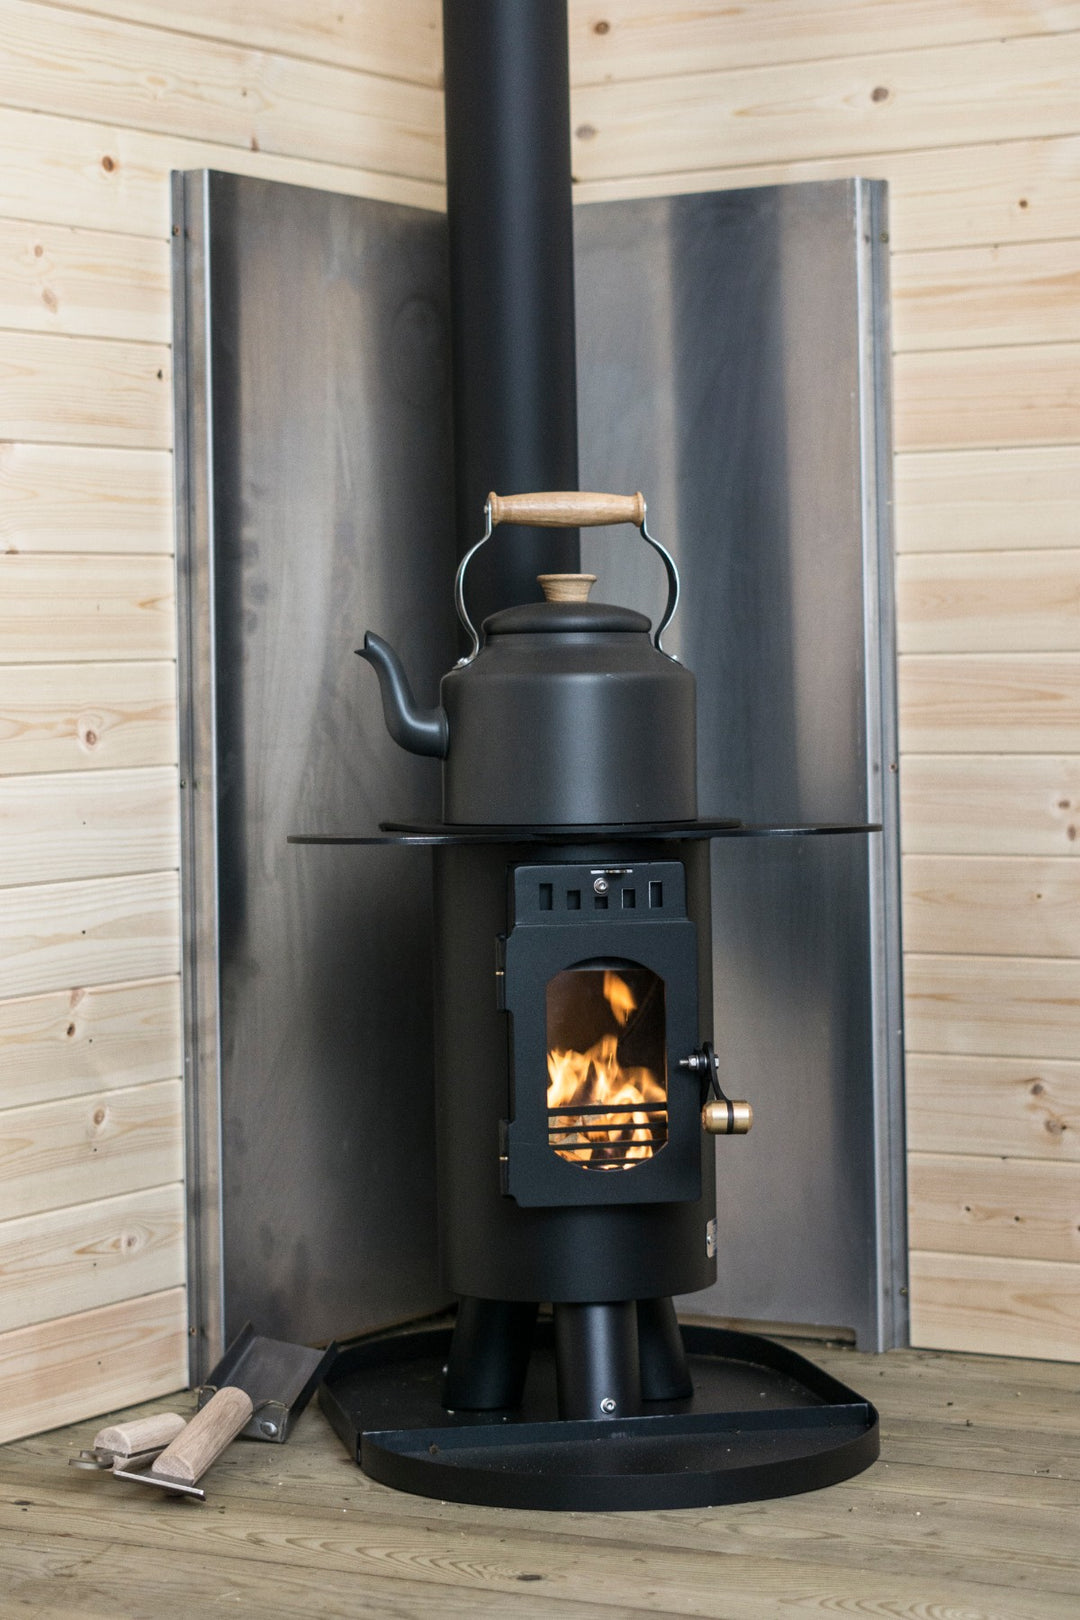
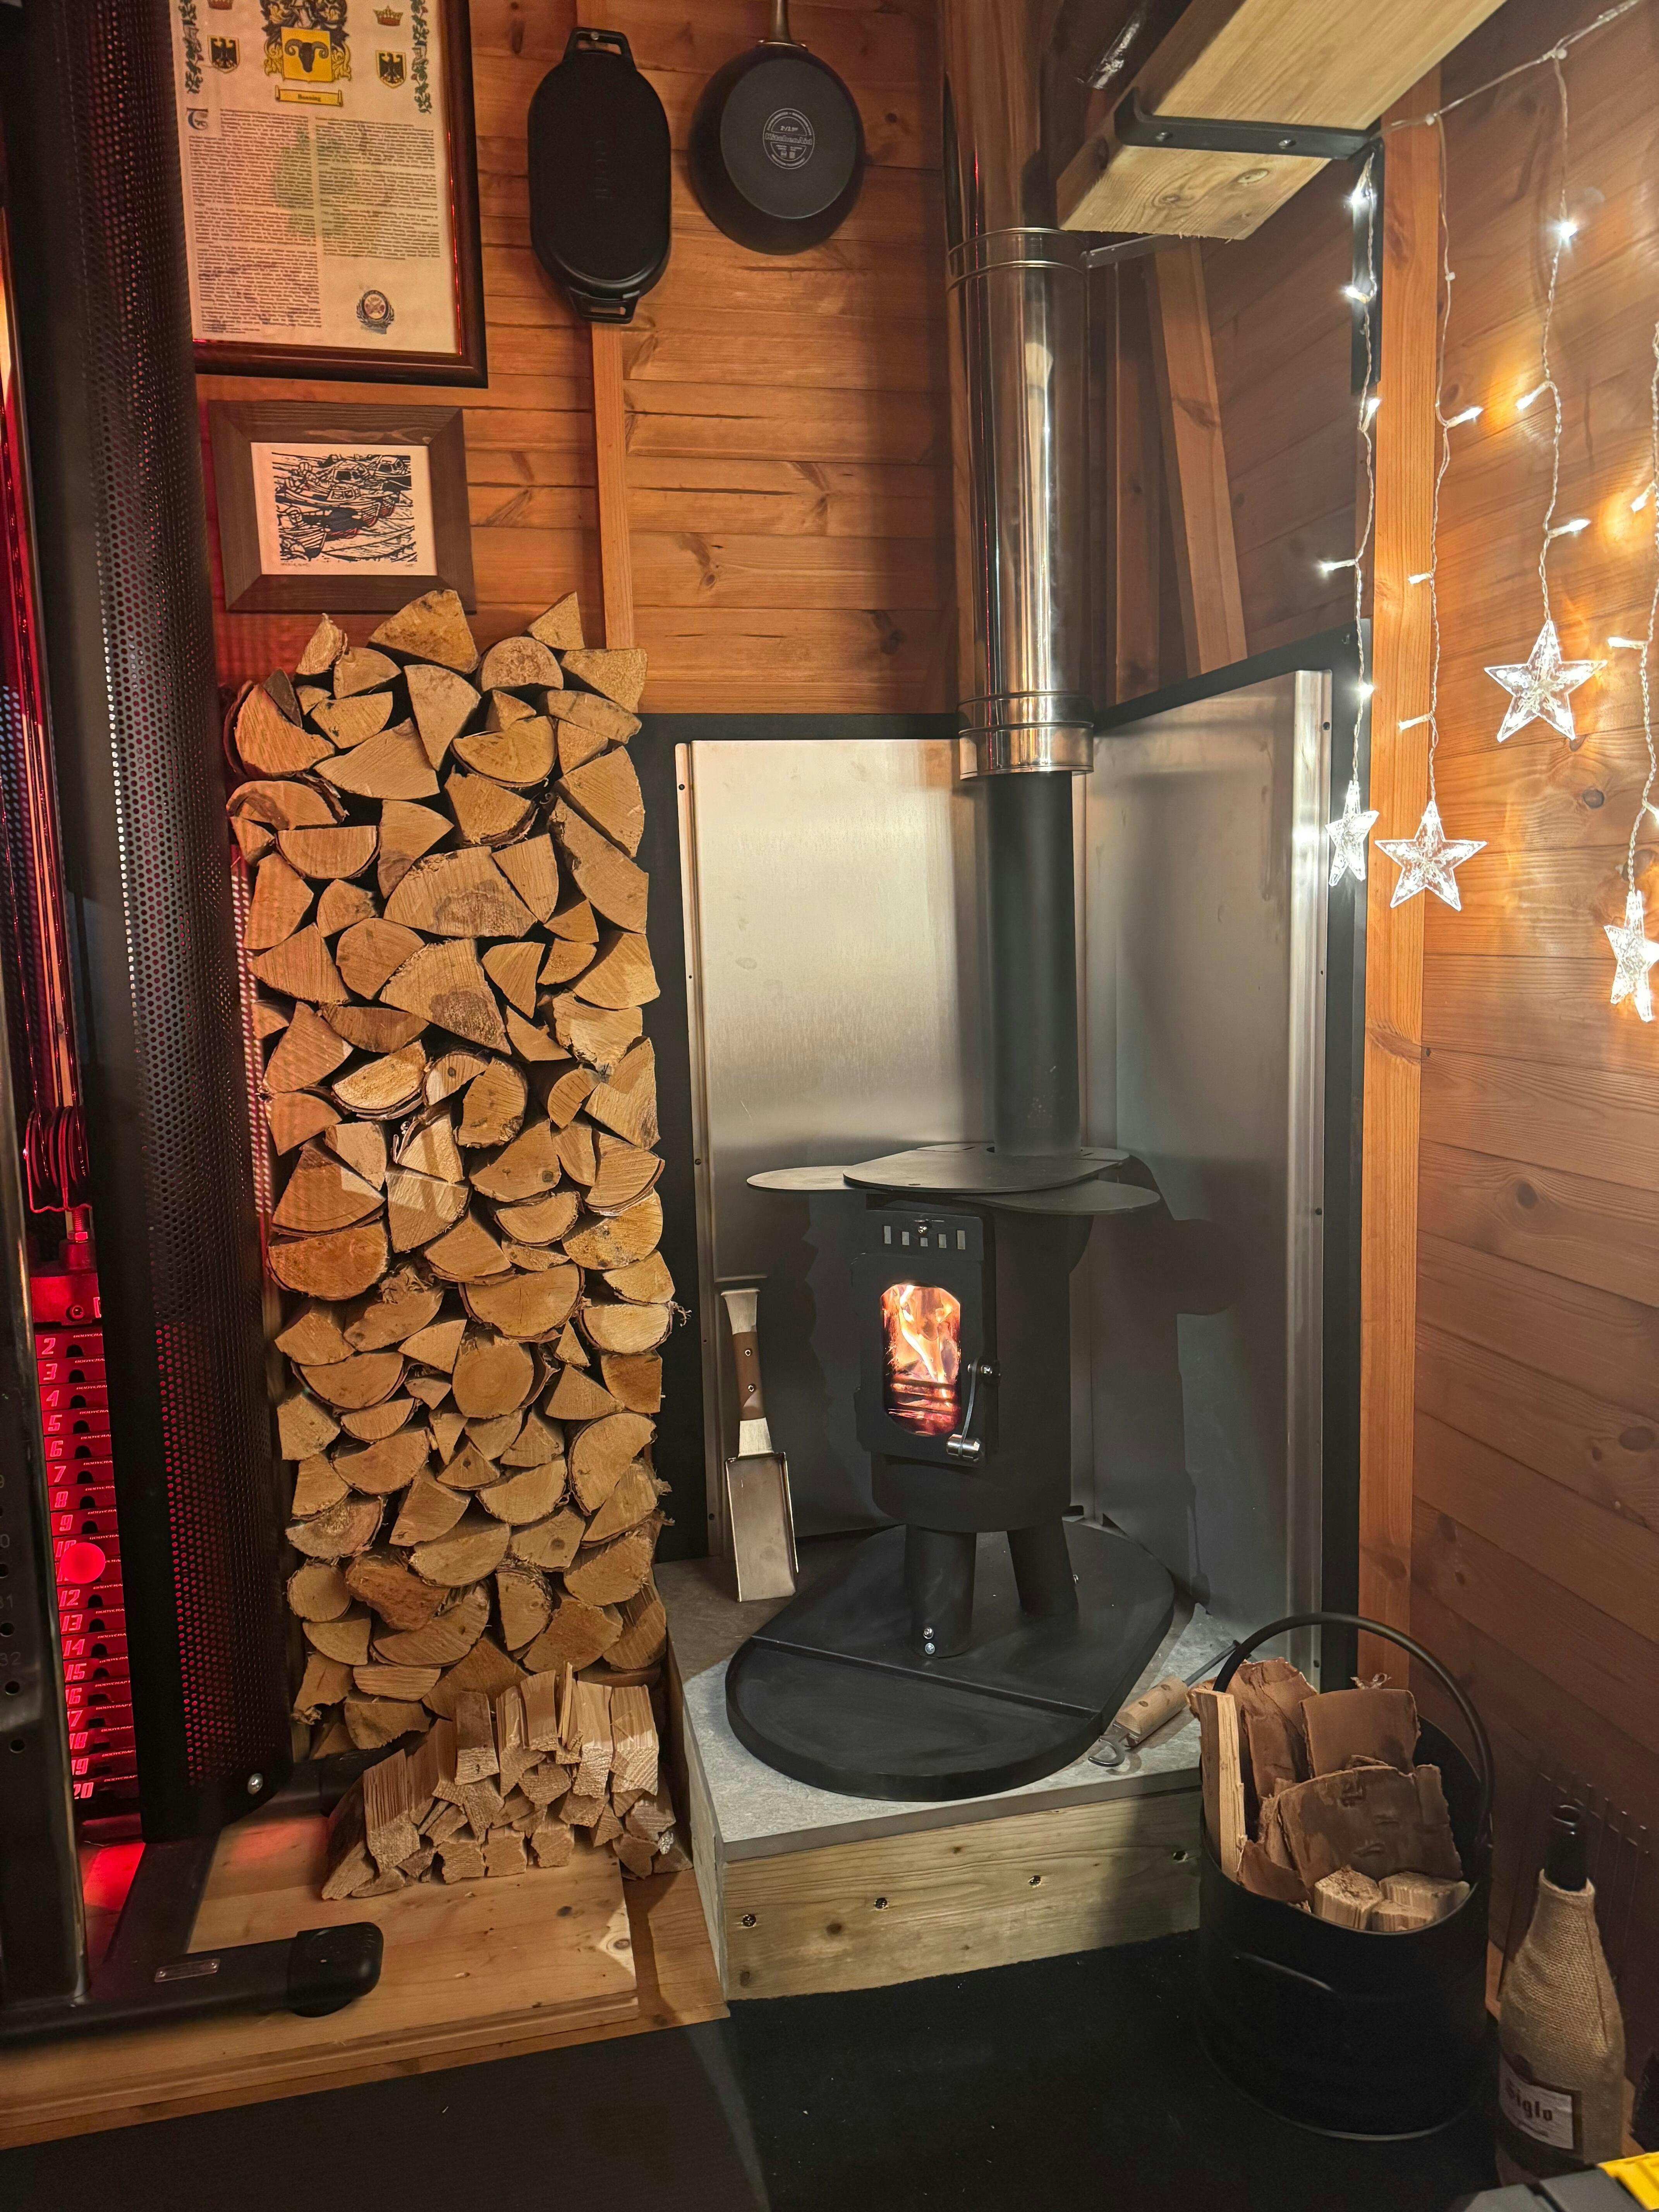
Cue "Wildflower Wood" at Beersheba farm near St Ives! Just down the road from us and set in a beautiful woodland, we were super excited to install our Shepherd™ Stove in their newly-extended Landpod based in a little clearing in the woods.

It was lovely to meet Vicki and Andrew and hear about how they have lovingly created such a tranquil space with views extending over the countryside and down to the sea. Vicki explained that the trees in the woods have Tree Protection Orders on them, so they were unable to remove any of them, but that there were natural clearings in each spot where the landpods are sitting. There are 5 Pods, each with their own picnic/cooking area, and some communal shower facilities. Some of the landpods have their own toilet/shower units.
We set to work on what was to be the most beautiful sunny day. We'll lay out our installation in a bit of a bullet point format below, for ease:
Step 1: Positioning
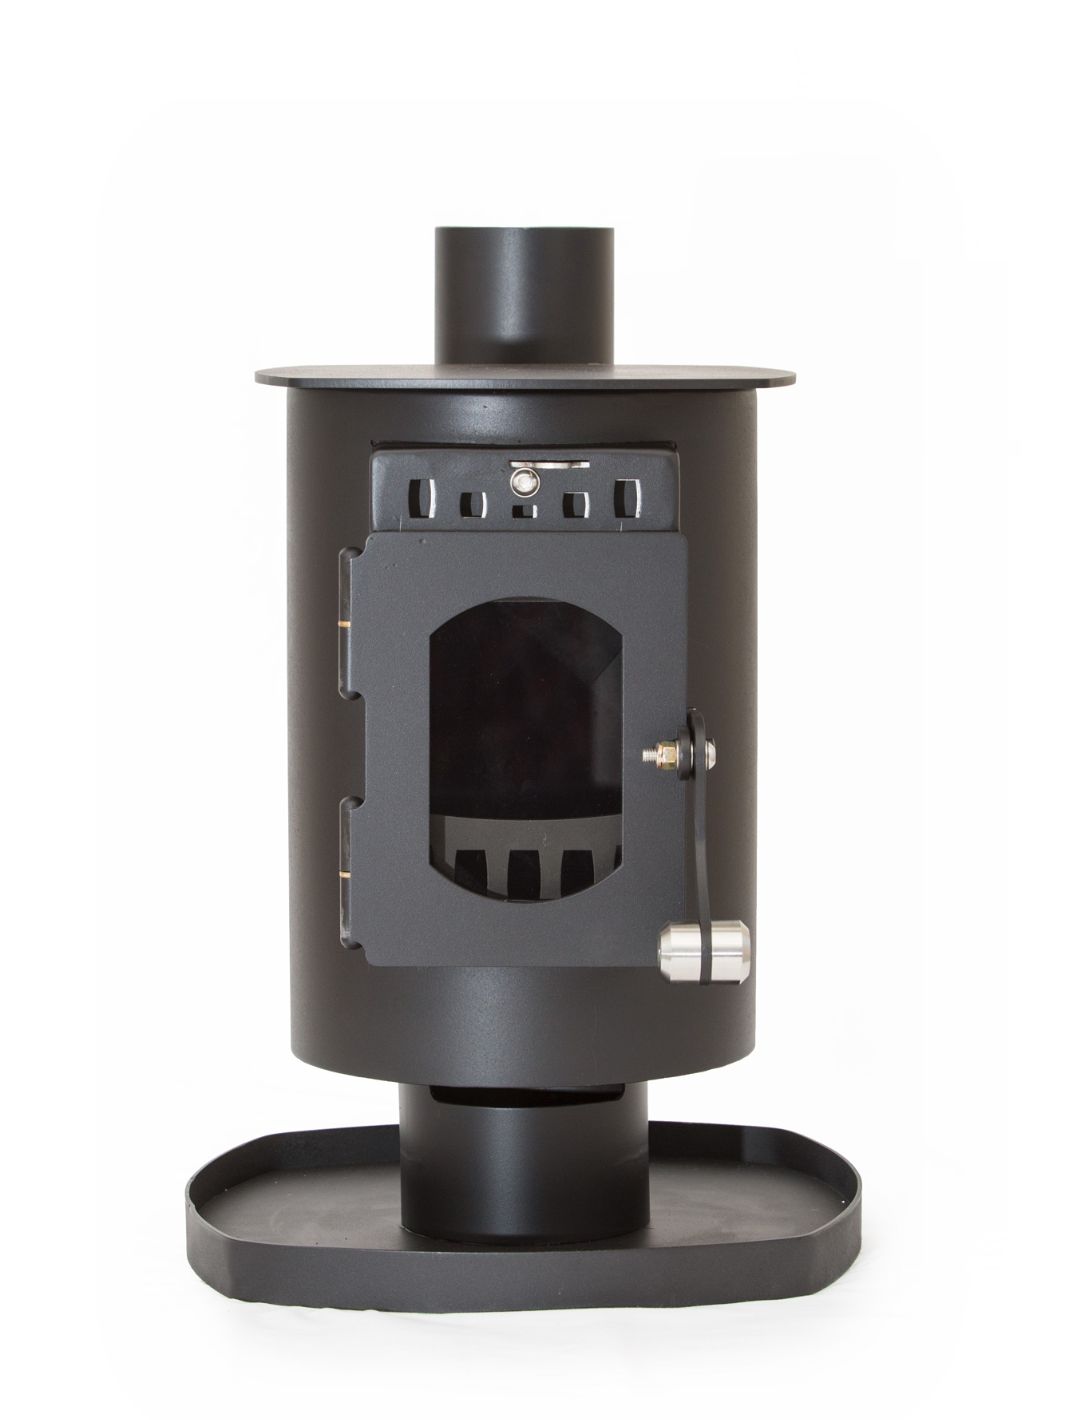
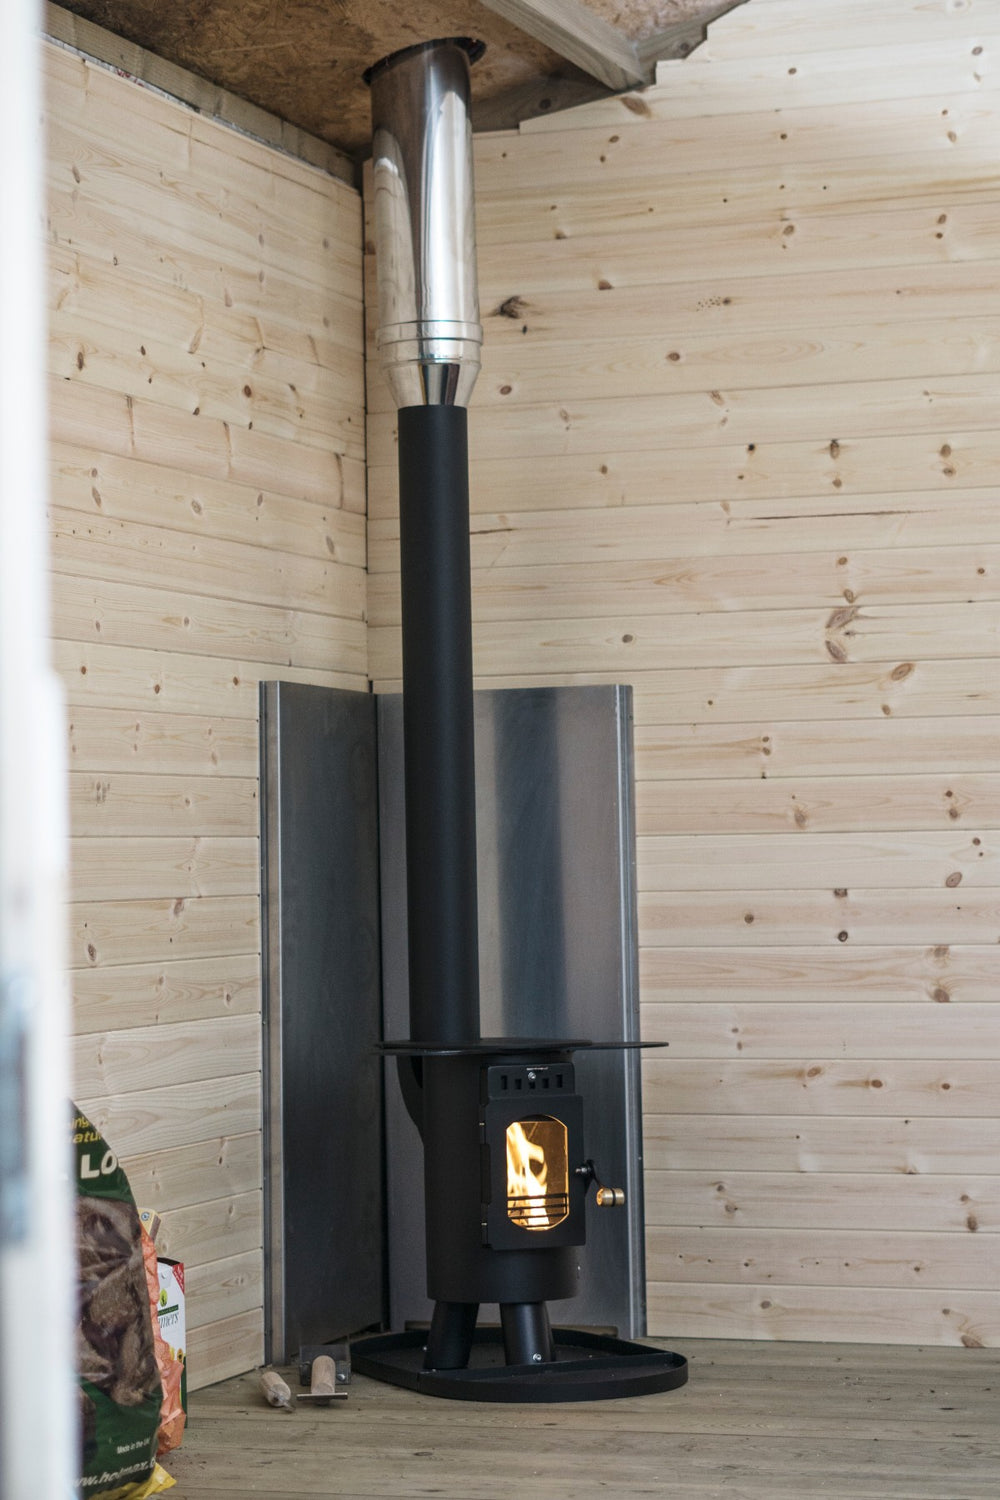
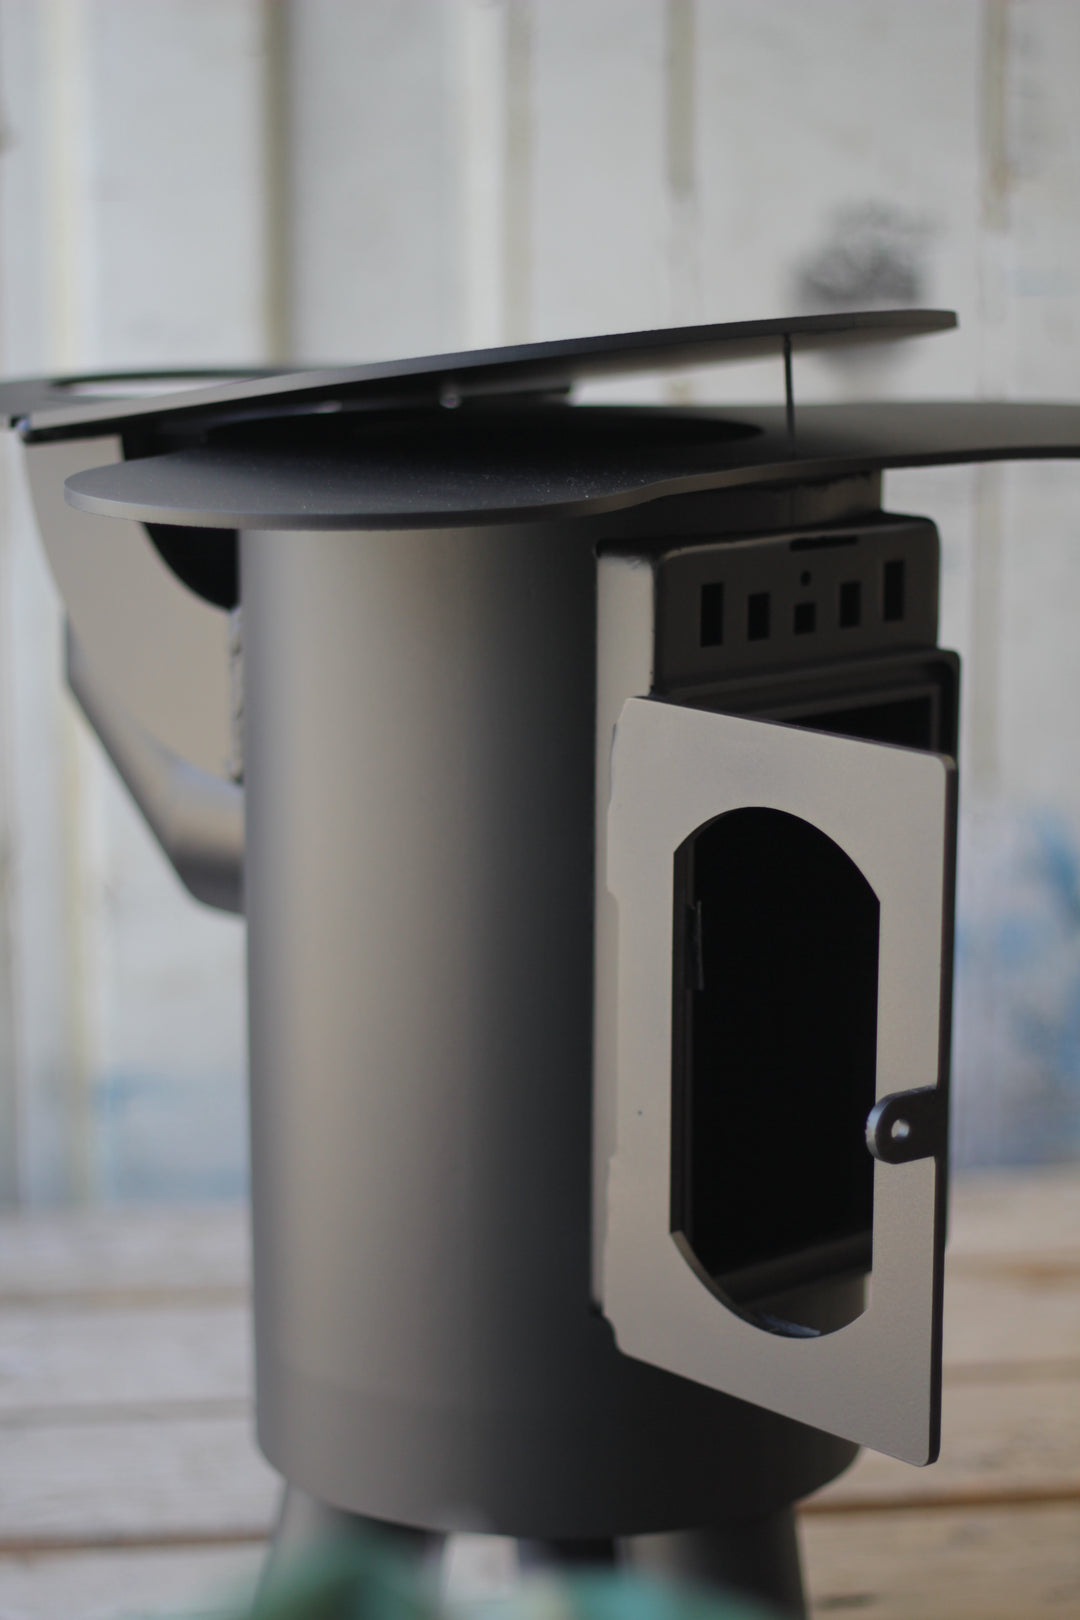
We decided along with Vicki and Andrew where the stove would be best placed to sit. The great guys over at Landpod had kindly created a little gap for the stove, with a plinth for it to sit on, creating space for a woodstore underneath. As the Shepherd™ Stove is cool-hearth rated (this means the base of the stove will not exceed 100 degrees celsius when burning), this means that a superimposed hearth (underneath the stove) is sufficient. The hearth should be of non-combustible material and 12mm thick. Additionally, we ensured there was heat shielding behind the stove, which would allow us to site the stove 100mm from the shield surface. With the stove itself in position, we could move on to the next step.
Step 2: Assemble The Flue
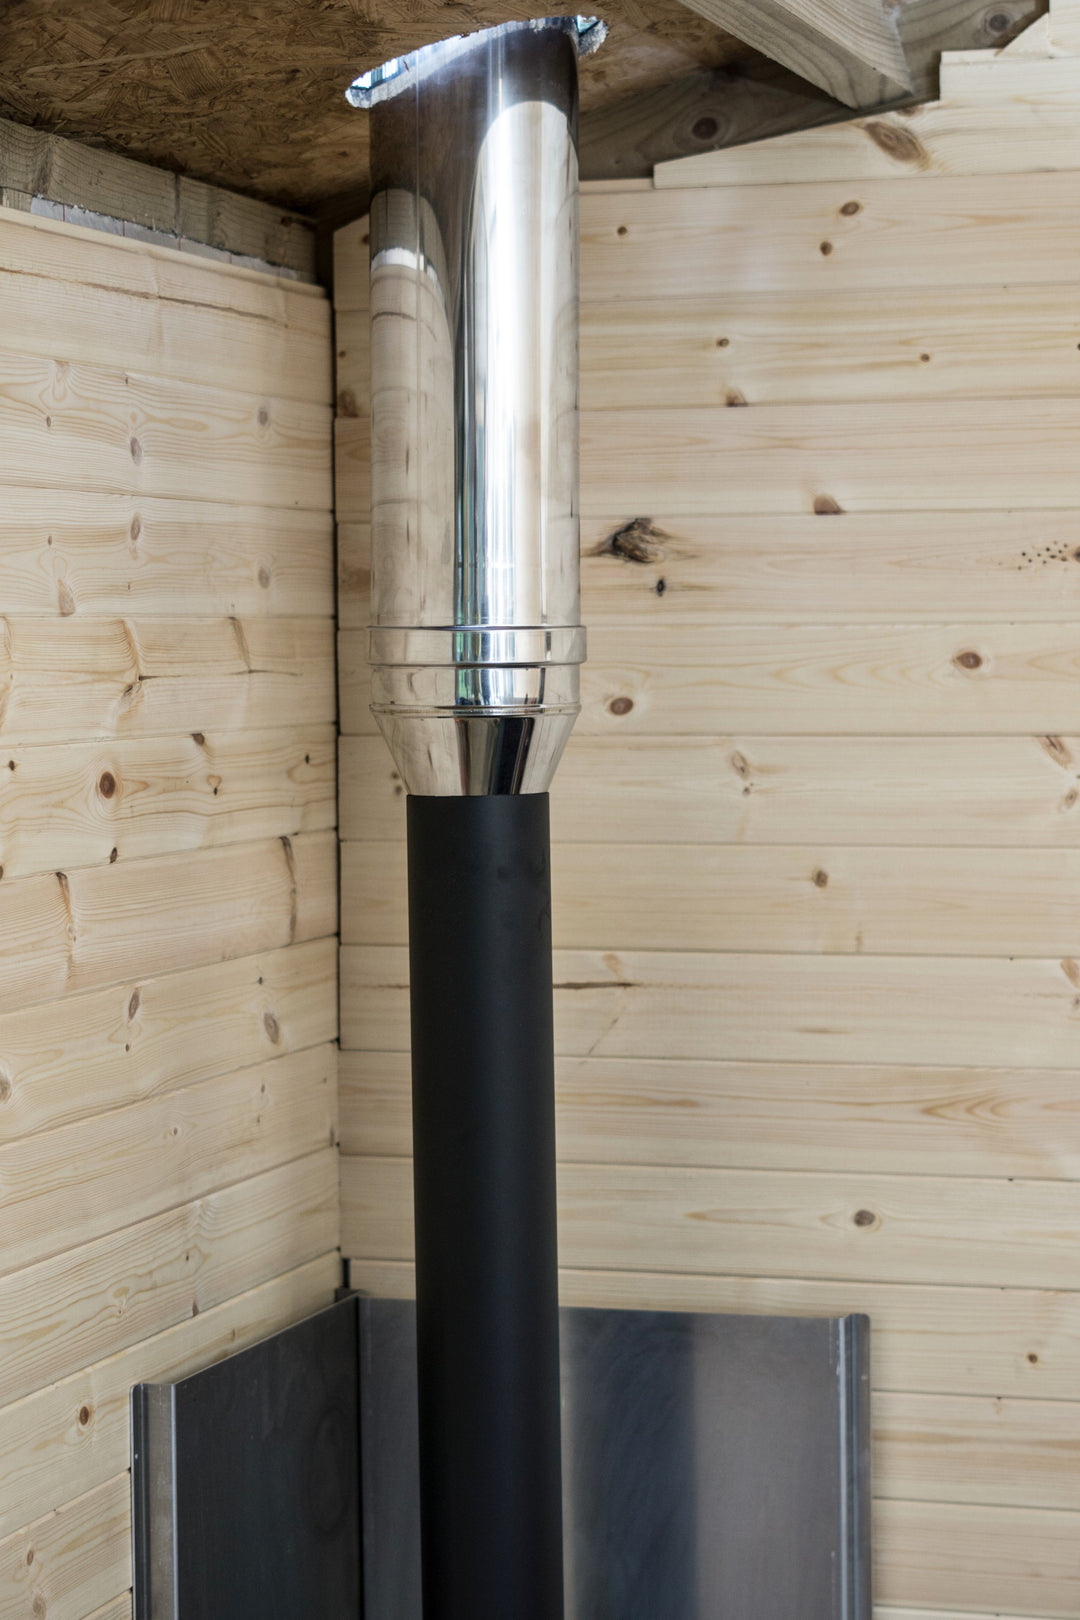
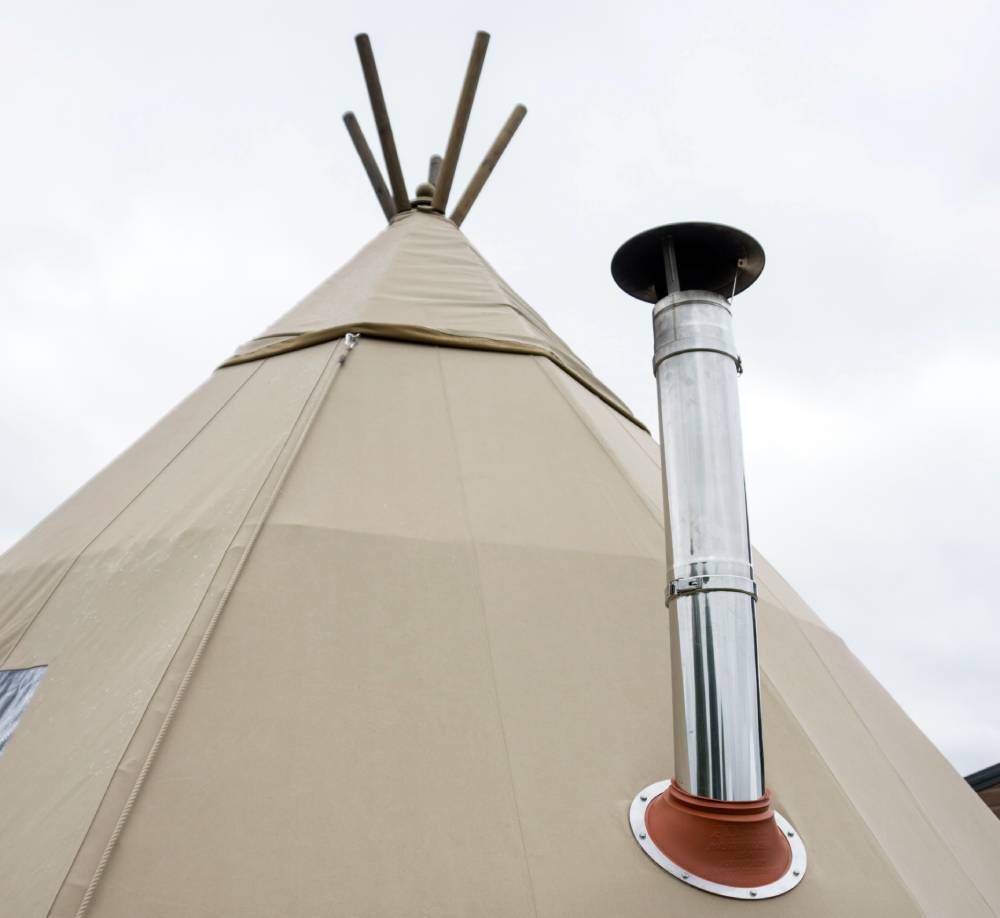
Our high quality flue kits work on a "clip and lock" system, making installation super simple and straightforward. Our Shepherd™ Stove comes with a specially-modified adaptor which takes the stove from single skin flue into twin wall flue, and the flue kit further contains a one meter section, as well as a half meter section. Once the flue was assembled, we were able to position the pipe in place, to show us where the pipe would be exiting via the roof. Our Shepherd™ Stove was safety-tested at BSRIA (Building Services Research and Information Association) and can perform with a short flue height, however our advice is for customers to follow the Technical Note and Building Standards available. In "non-standard" type setups, such as the Landpod, our Shepherd should be used with the flue kit that we have designed specifically for this stove, which gives a flue height of at least 1.5m.

Step 3: Measure Twice, Cut Once
Once our flue pipe was in place, it is now time for the scary bit - cutting the hole in the roof! Luckily with the Landpods, it is easy enough to climb onto the roof and make the cut from above, using the flashing kit in order to trace the hole.

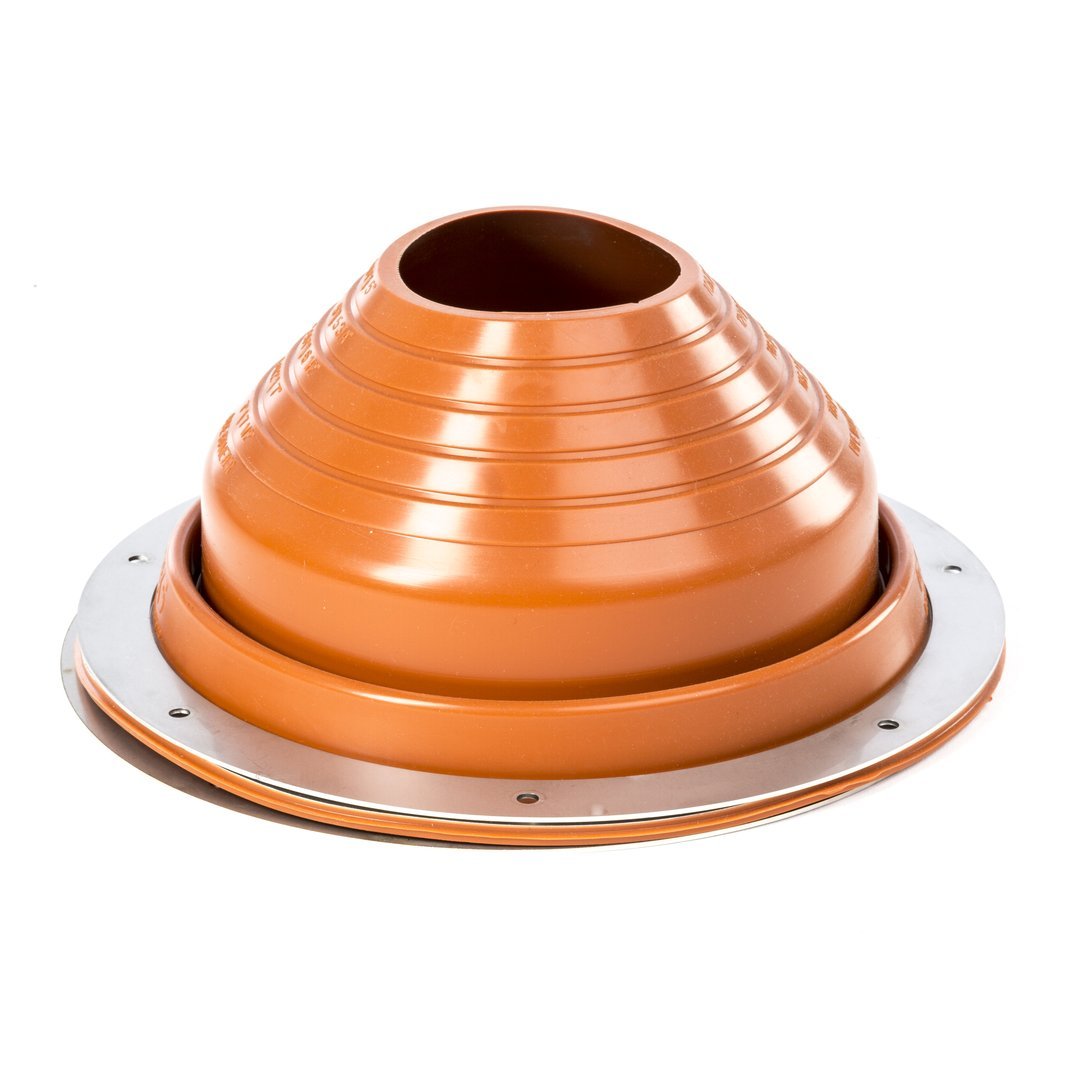
Step 4: Cut the Flashing Kit to Size
Next, we cut the flashing kit to size, to fit the insulated flue - the cut on the silicone needs to be really clean and non-jagged, to ensure no tearing when the kit is stretched over the flue. It is important to get a really tight fit (but not so tight that the silicone flashing kit tears). Our flashing kits come in two different iterations, to accommodate roof pitches of 0-20 degrees and then steeper pitches of 20 degrees and over.


Step 5: Connect the Flue to the Stove, Check Again
We double checked that we were happy with the connection of the chimney flue to the stove, and the termination of this out via the roof. We also confirmed that we were happy with the measurements - the insulated chimney flue needs to be 50mm away from combustible materials, whereas the single skin flue should be 3 times the diameter of the flue away from combustibles.

Step 6: Seal the Flashing Kit to The Roof
Using the silicone sealant provided, use a generous amount to affix the flashing kit to the roof. Ensure you apply it in an even bead around the edge of the hole where the flashing kit will sit, having your self-drilling screws at the ready. The flue pipe should be inserted through the flashing kit ensuring a tight fit. We then affixed the flashing using the self-drilling schools, as shown below.

Step 7: Complete the Flue Kit with the Anti-Wind Cowl
We added the anti-wind cowl once the whole system was connected, and ensured we were happy with the installation as a whole.

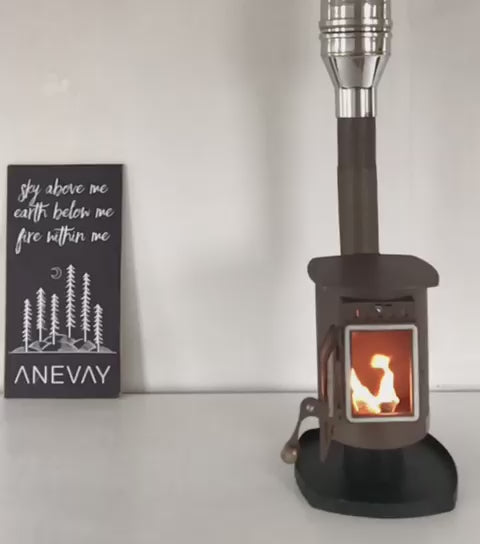
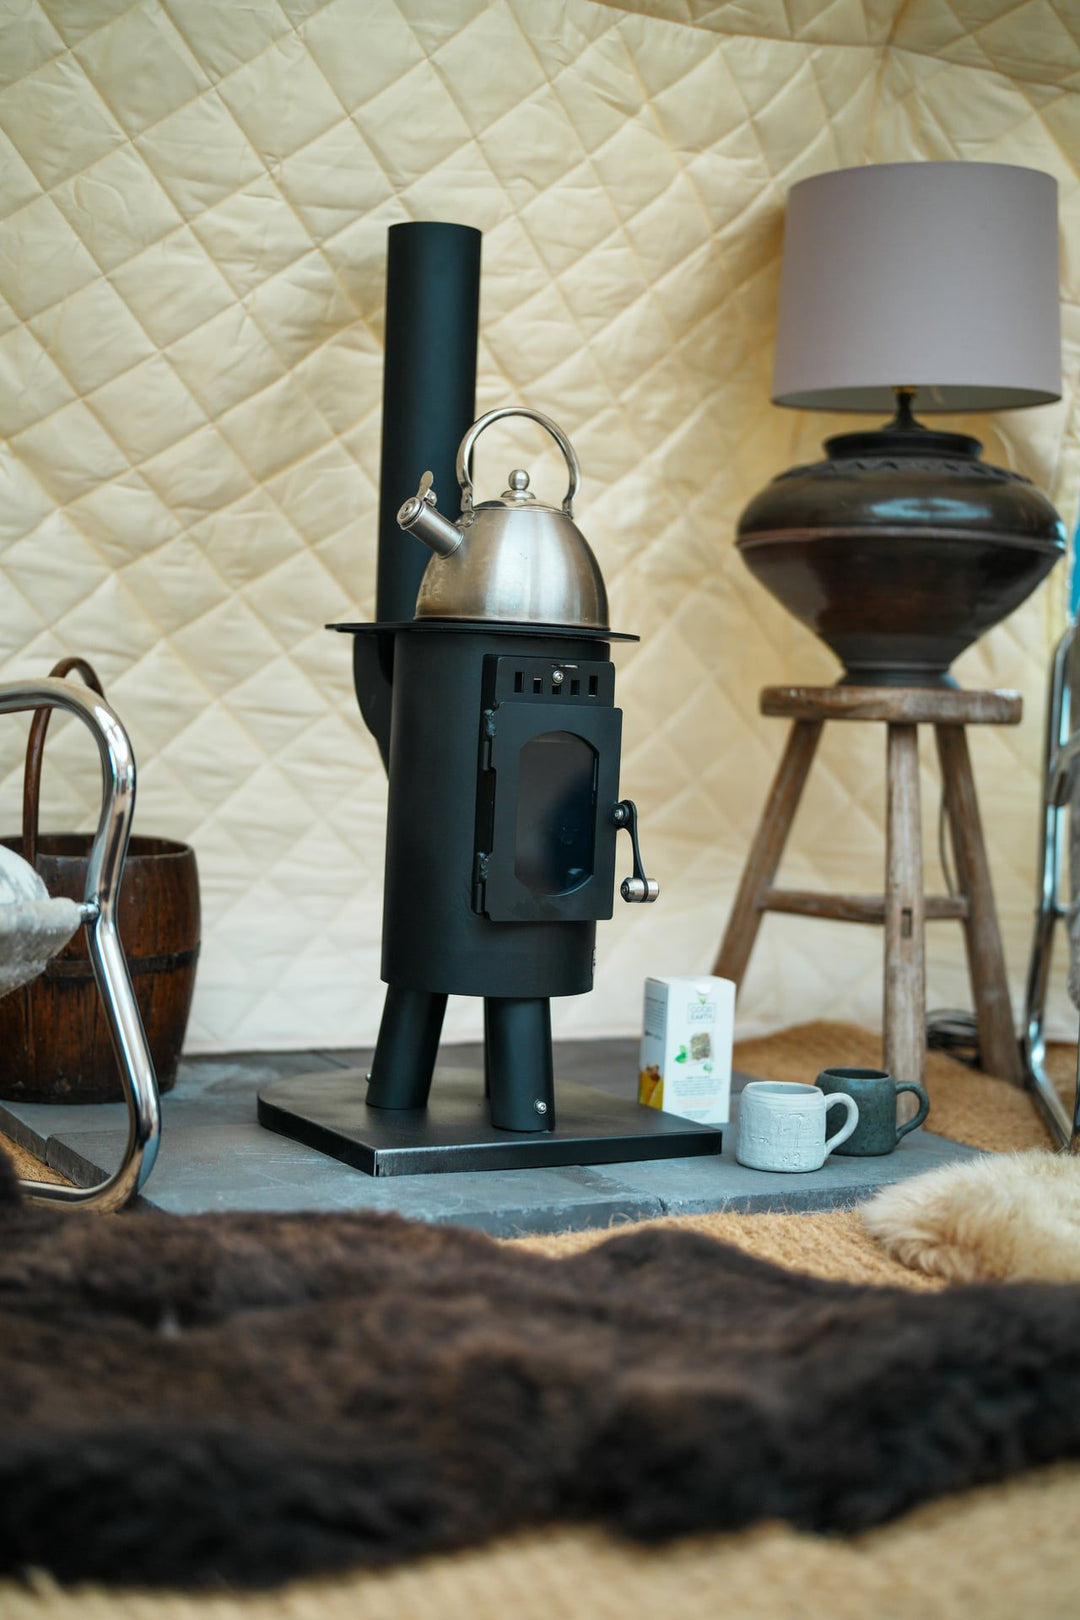
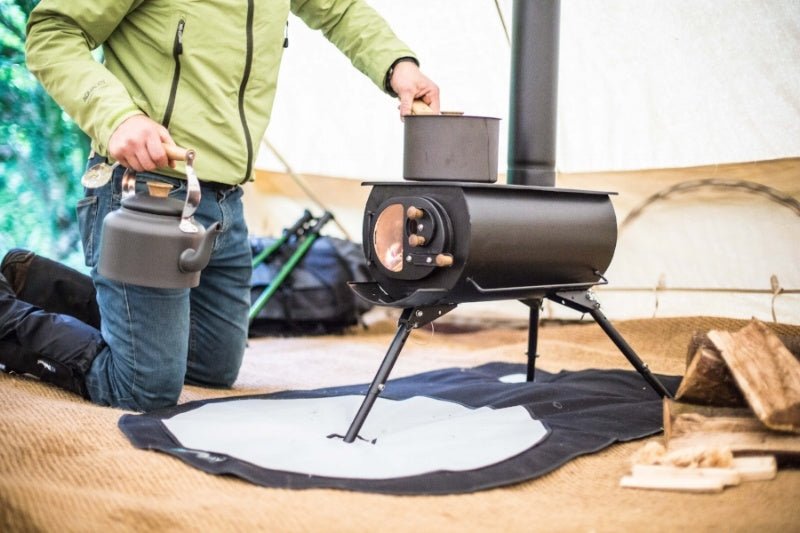
Step 8: Light The Fire!
Once the system was all installed, we were able to light the fire and perform a flue draught test. Usually there is some off-gassing as the paint cures on the first burn, but this is usually minimal and should improve with consequent burns.

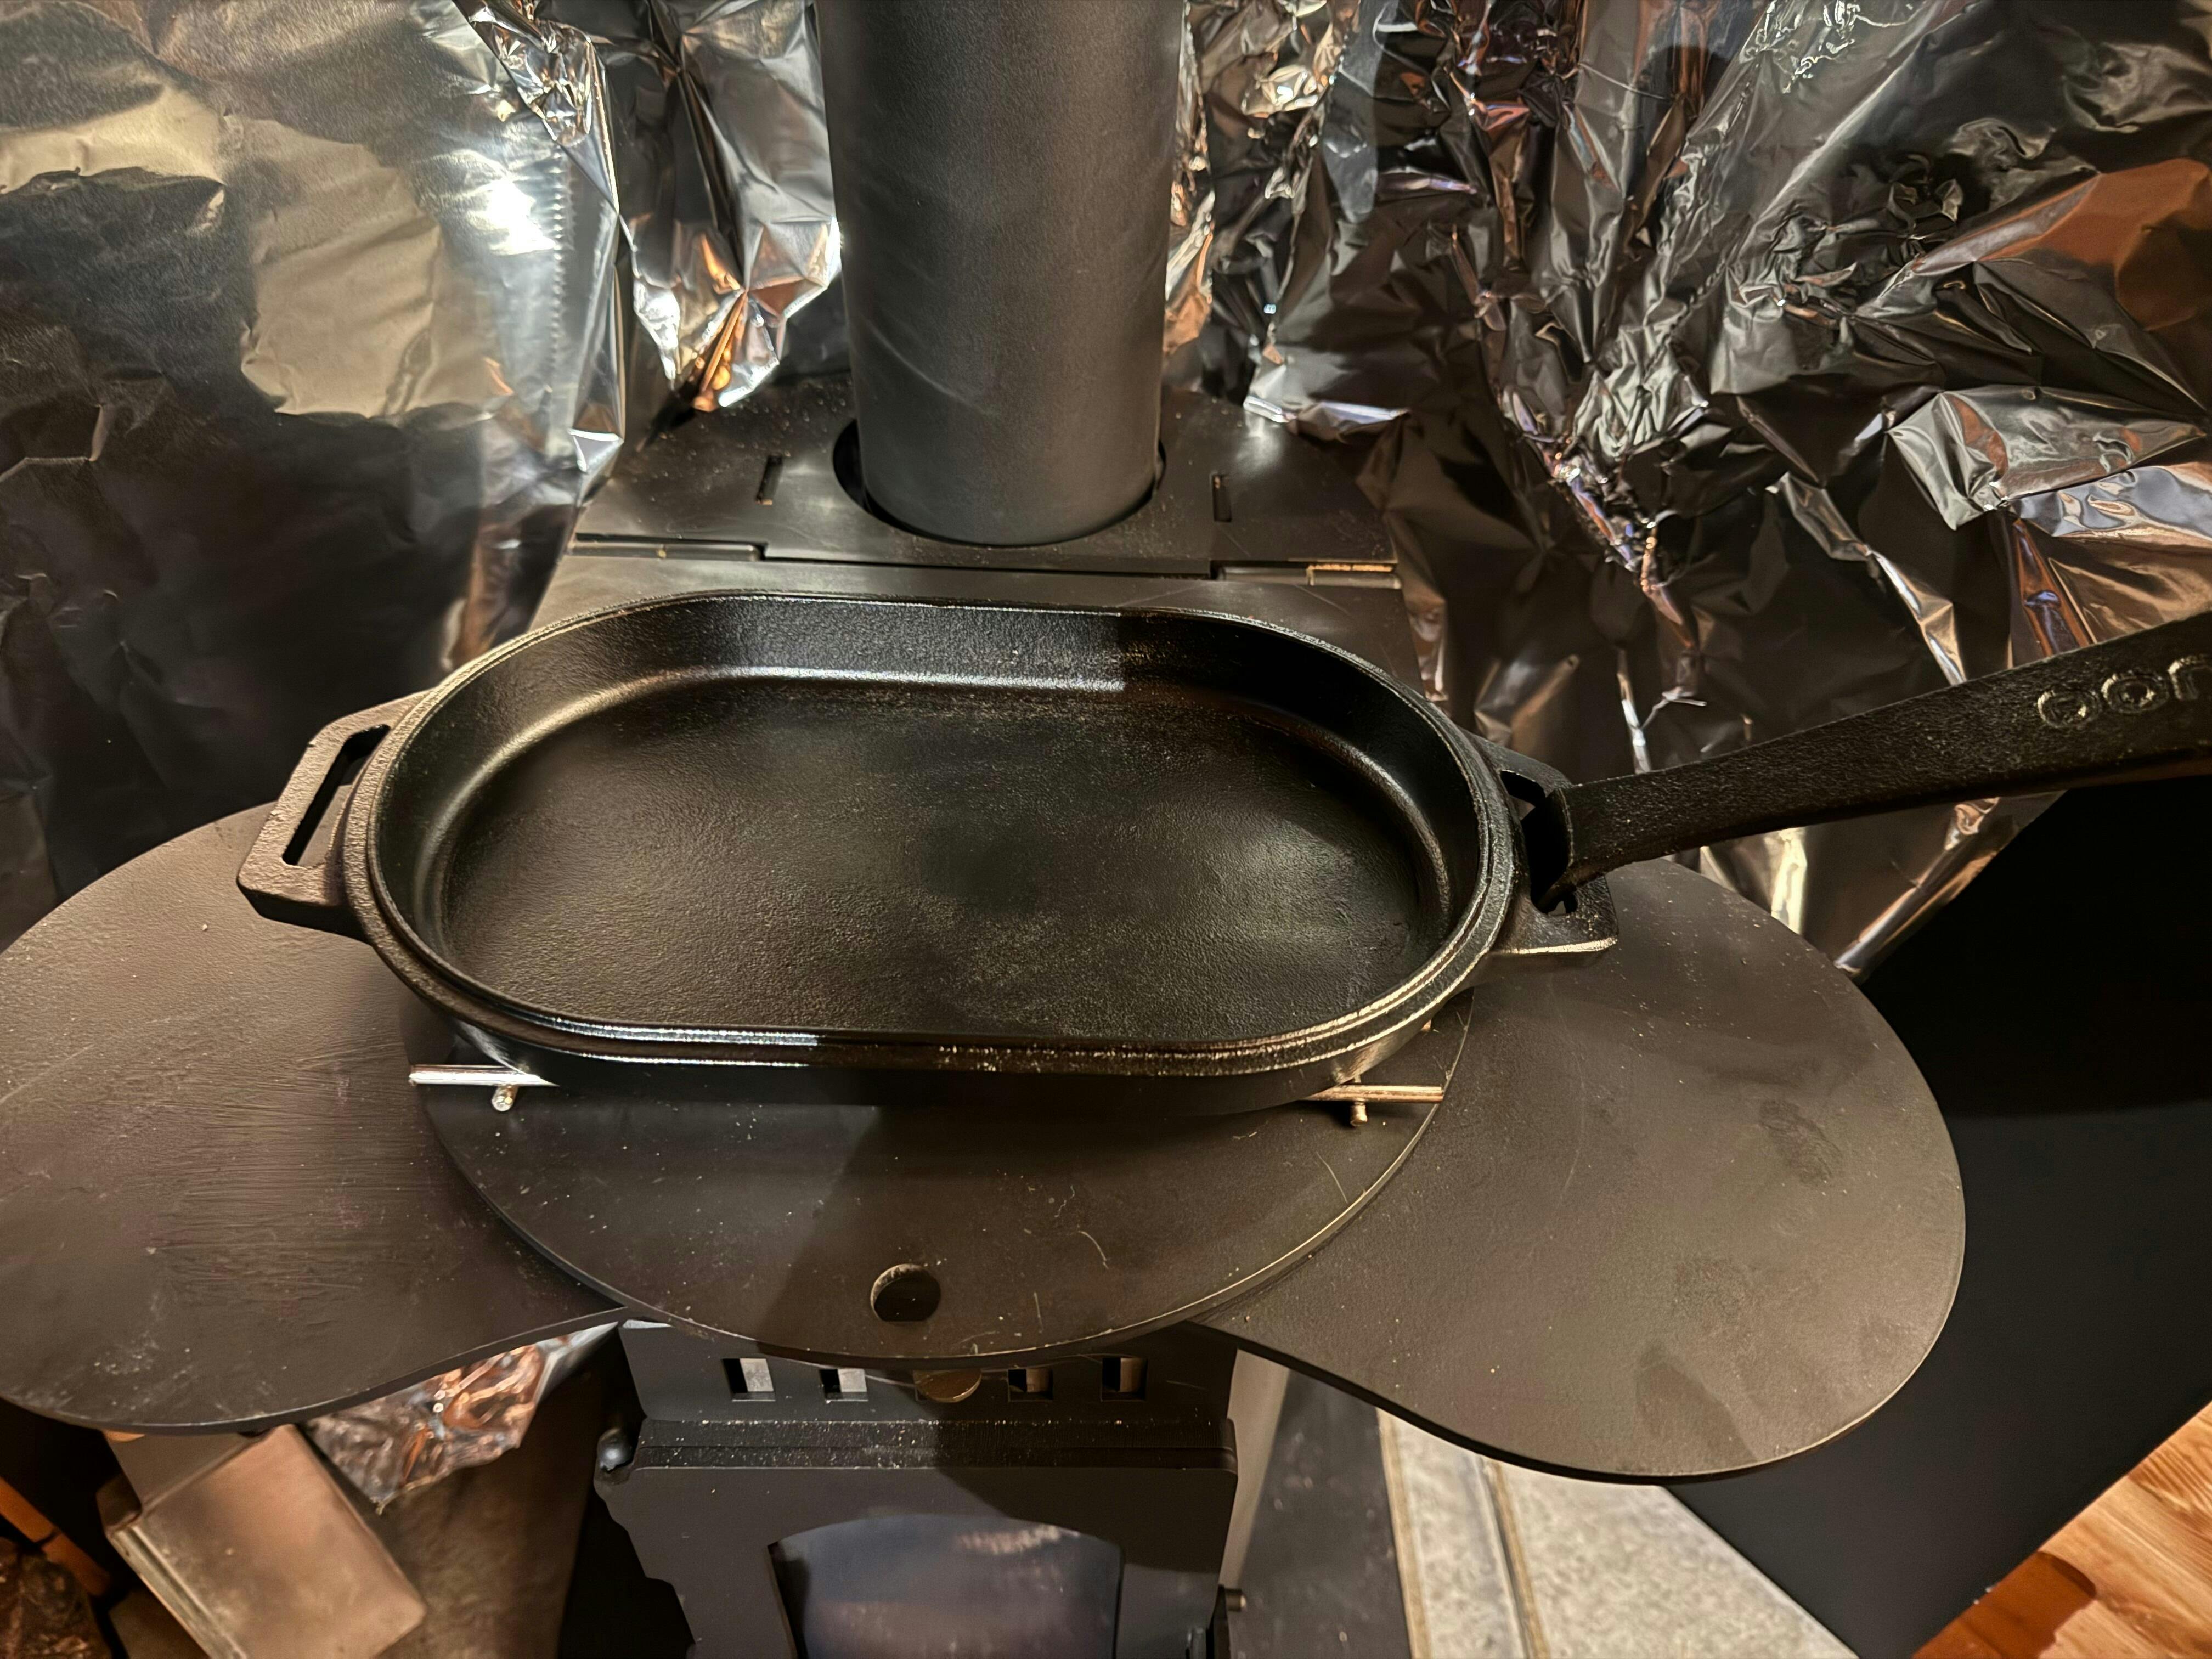
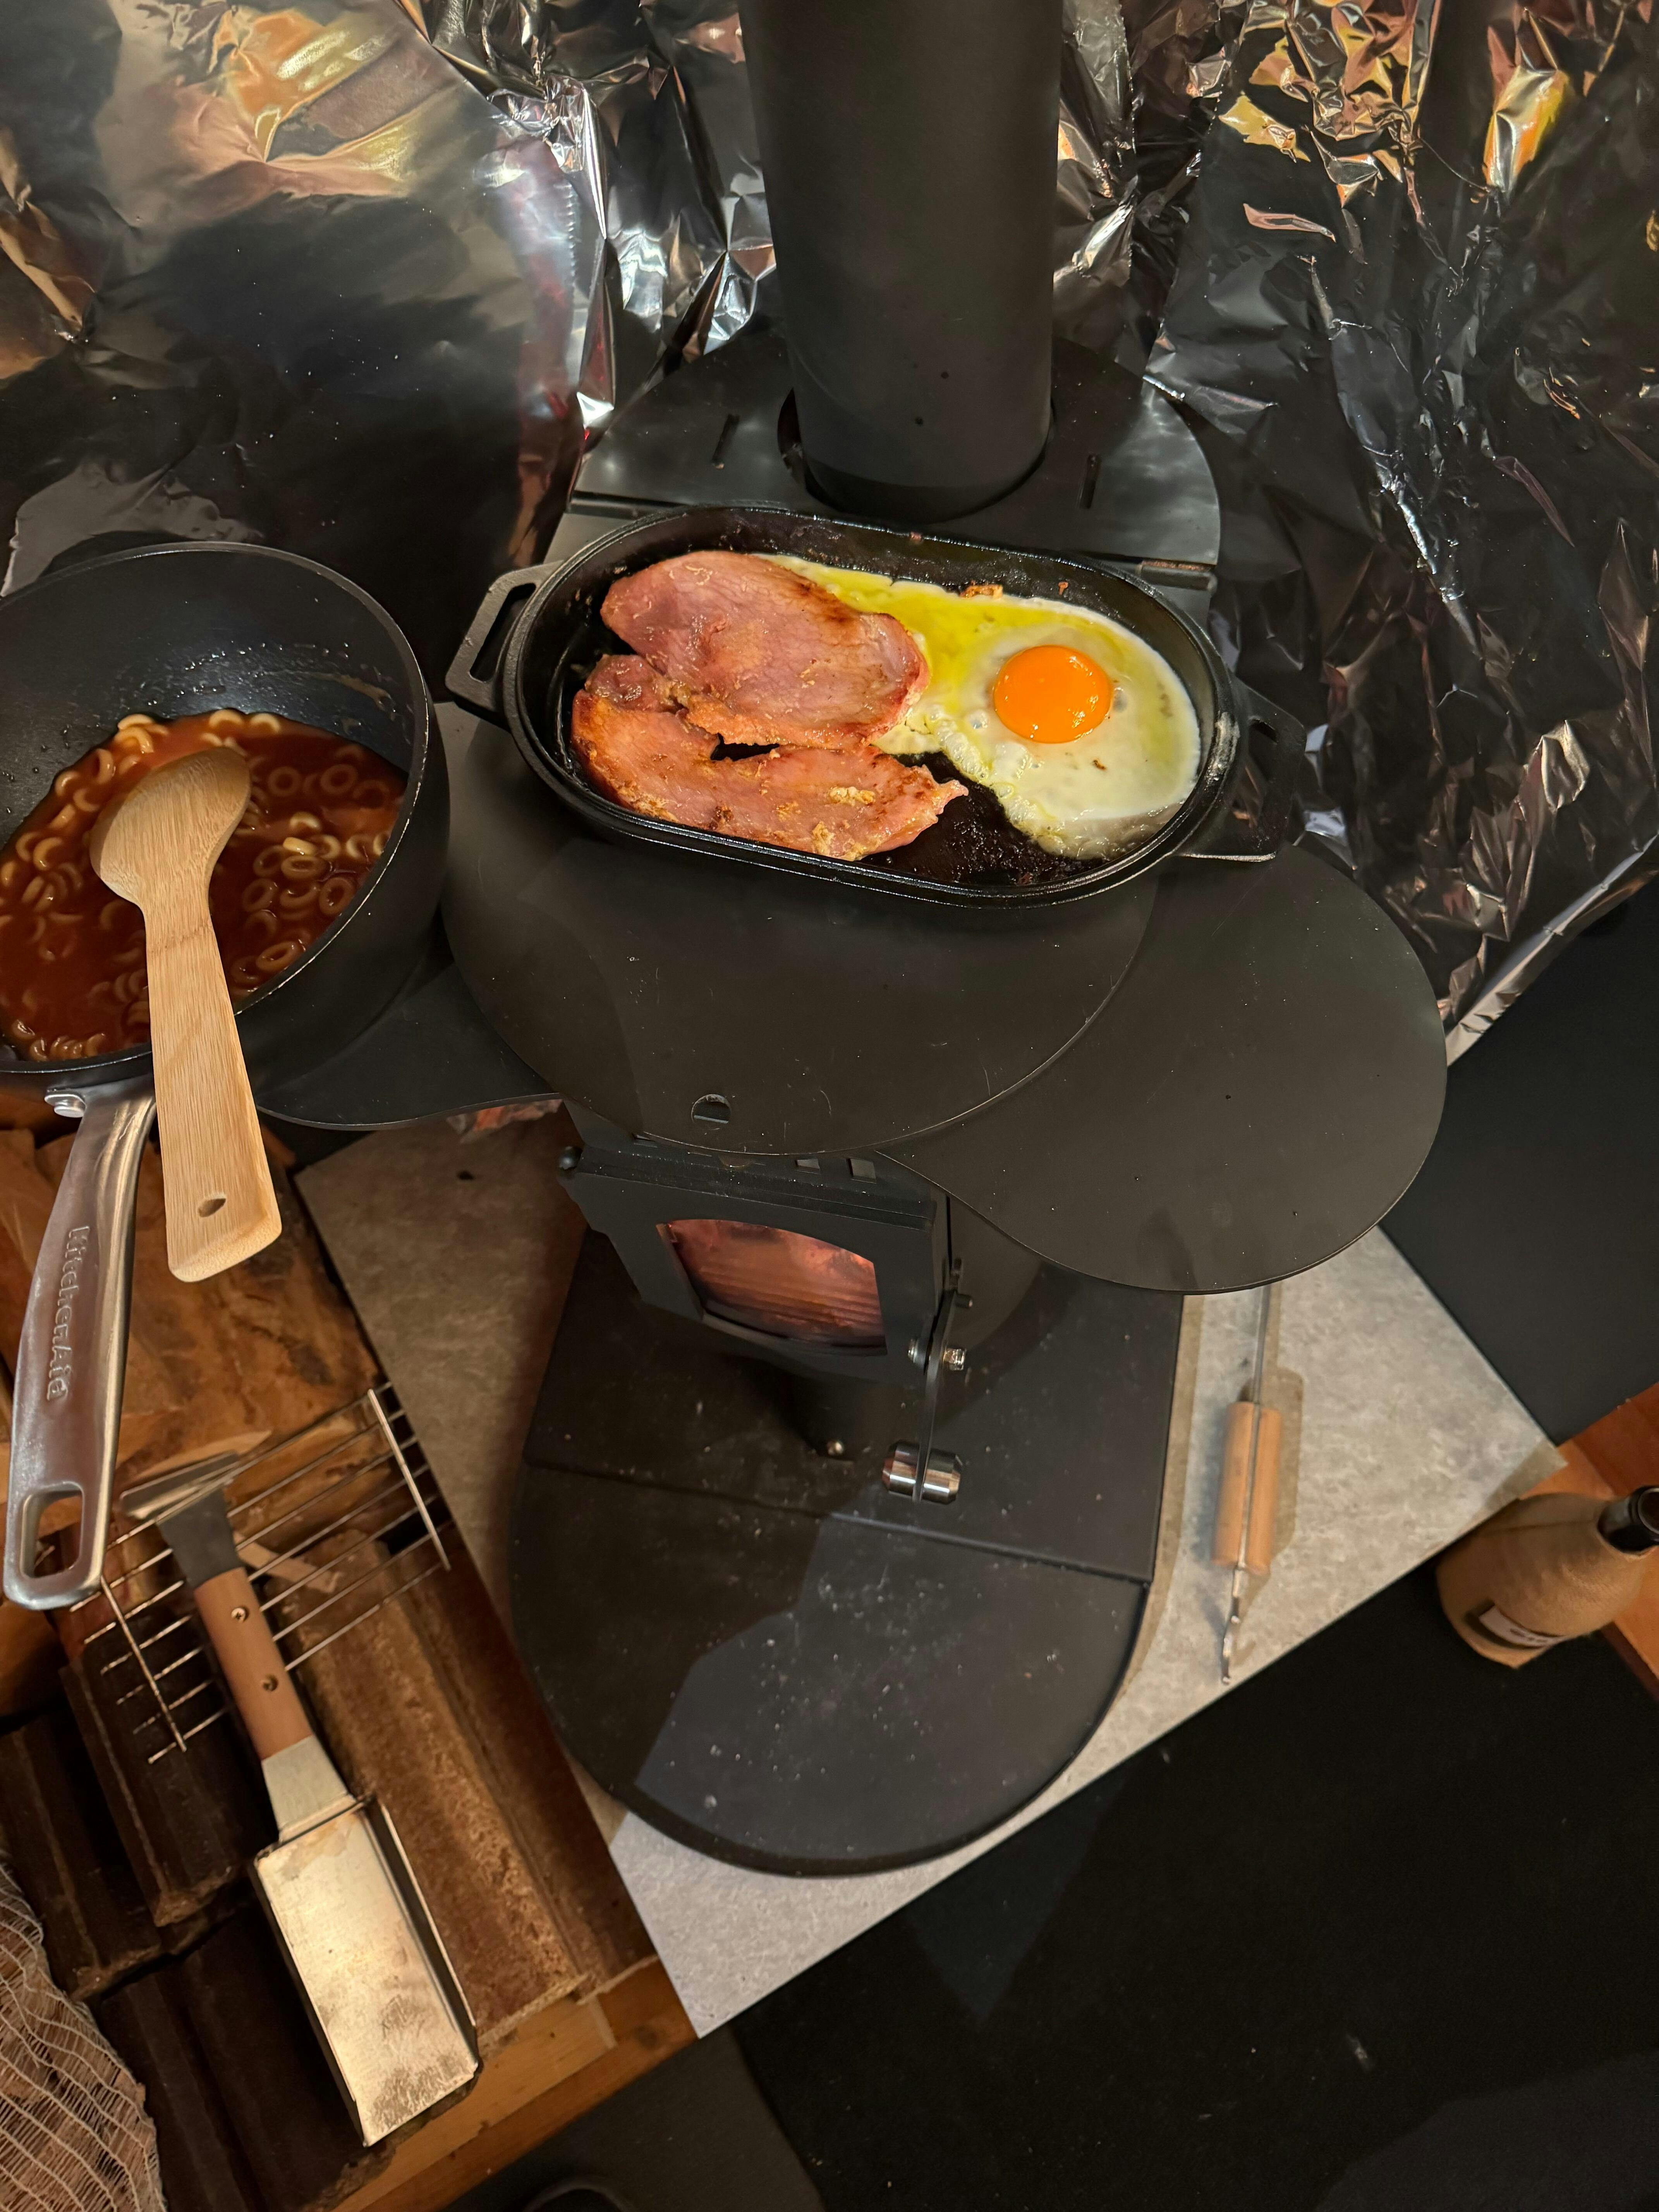
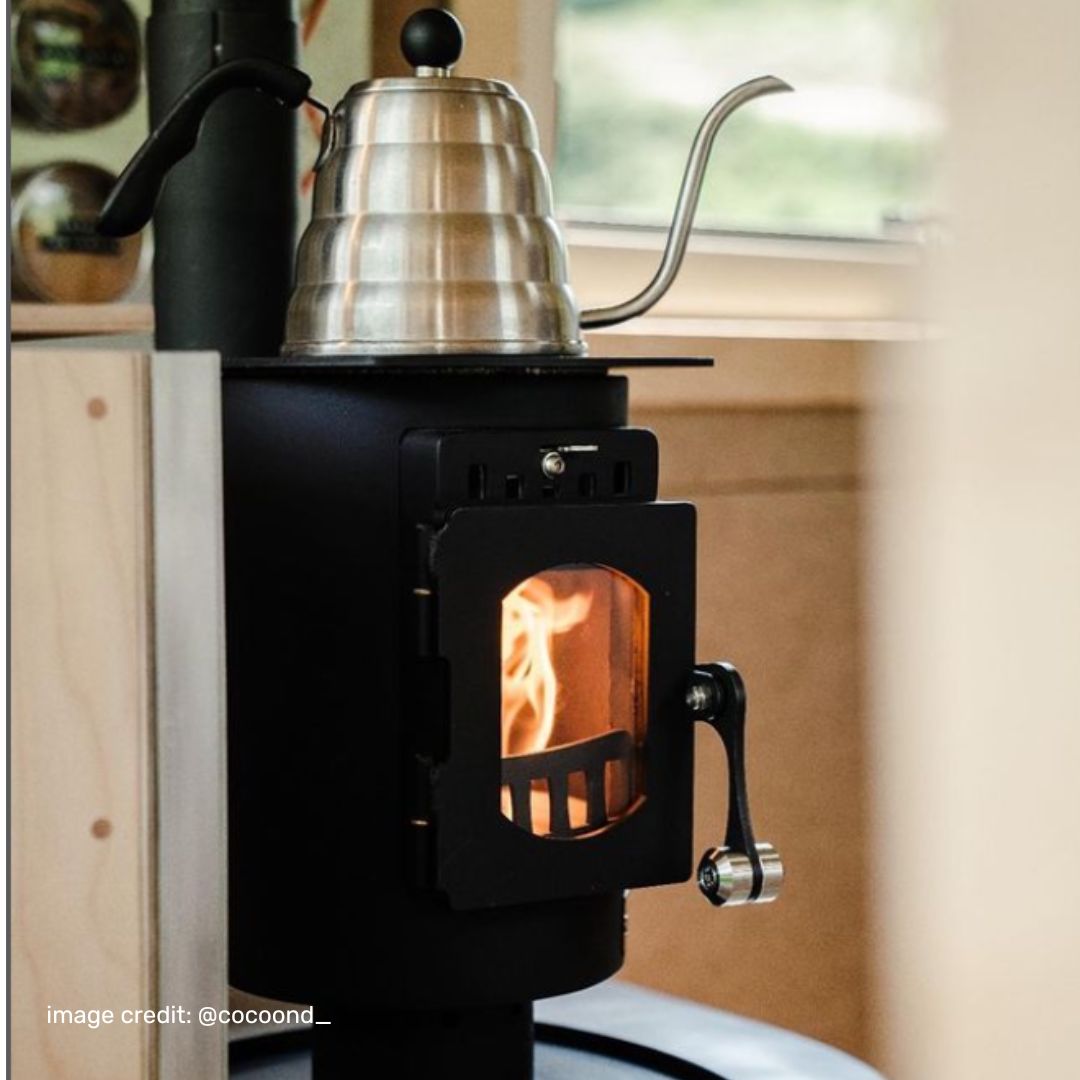
We love our eco fuel - we have done tons of research into the different fuels available and feel confident we've found the best stuff for the job. Made from compressed sawdust and the perfect size for our stoves, we are proud to offer one pack of our fuel with every stove purchased.
Ultimately, we had a wonderful time at Beersheba farm and are so pleased that they chose our Shepherd™ Stove for their beautiful accommodation.

Let's Chat!
Are you planning on getting a small stove for your space but not sure where to start? We’d love to help. Drop us an email at: info@anevay.co.uk, give the office a call on 01872 870839, or contact us here. We understand that not every space is the same and you may need some amendments to the flue kits that we've put together. With that in mind, we offer a free bespoke flue consultancy with our team, so do get in touch for us to help bring our fire into your life!