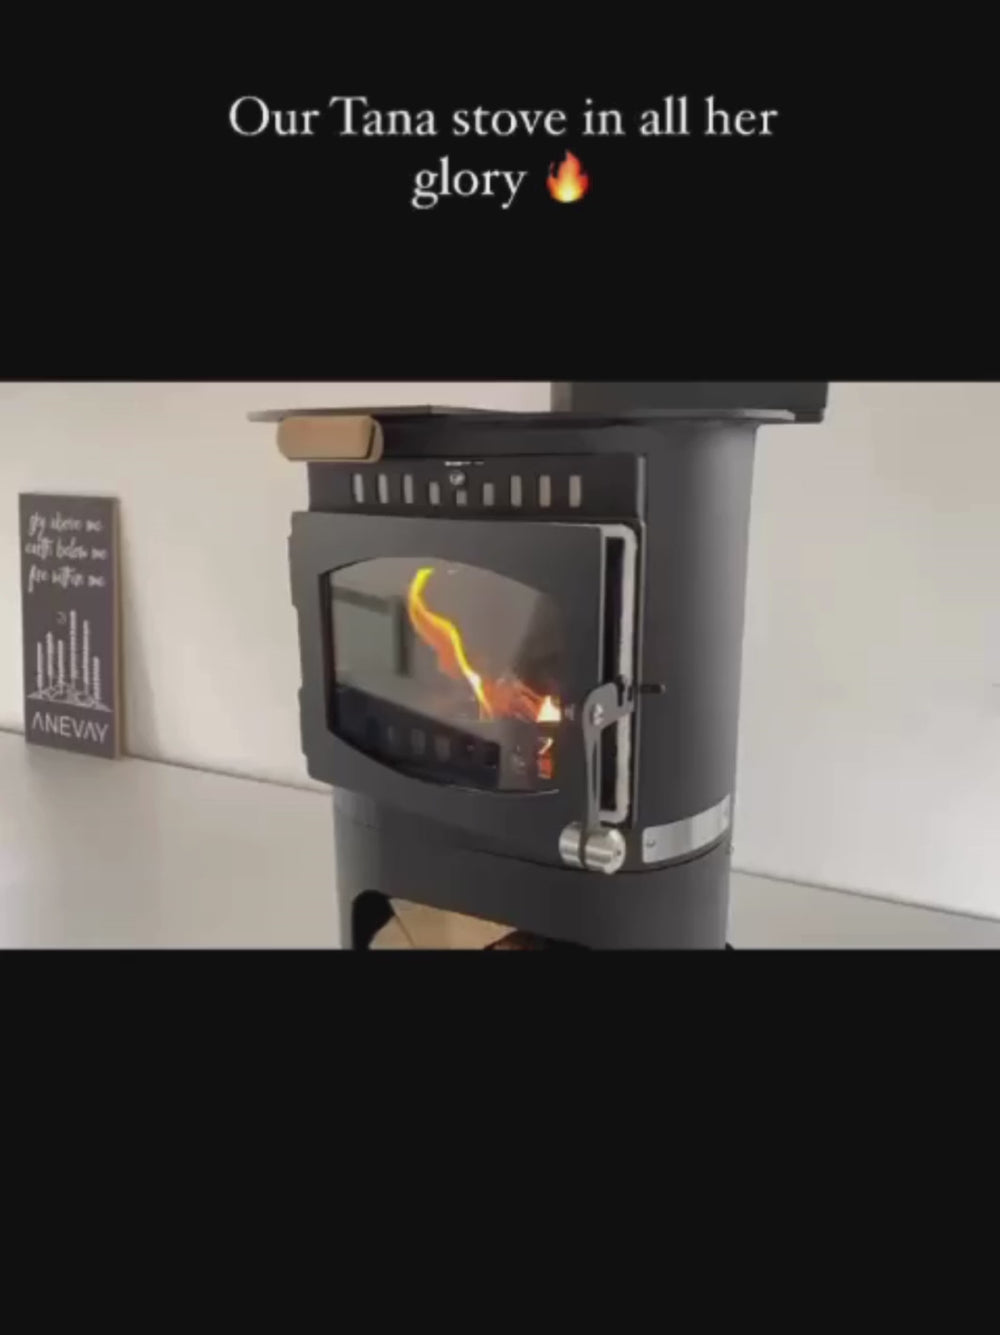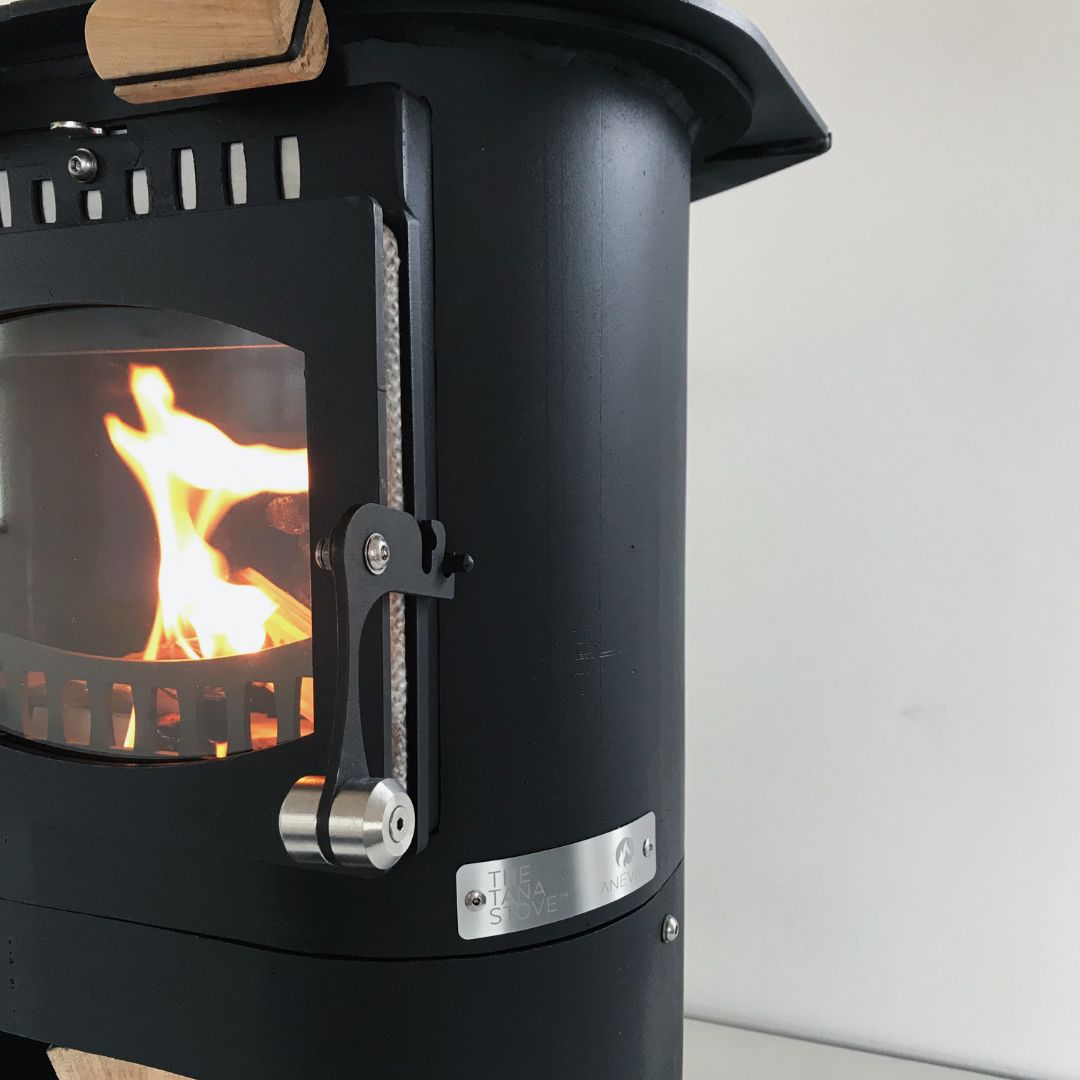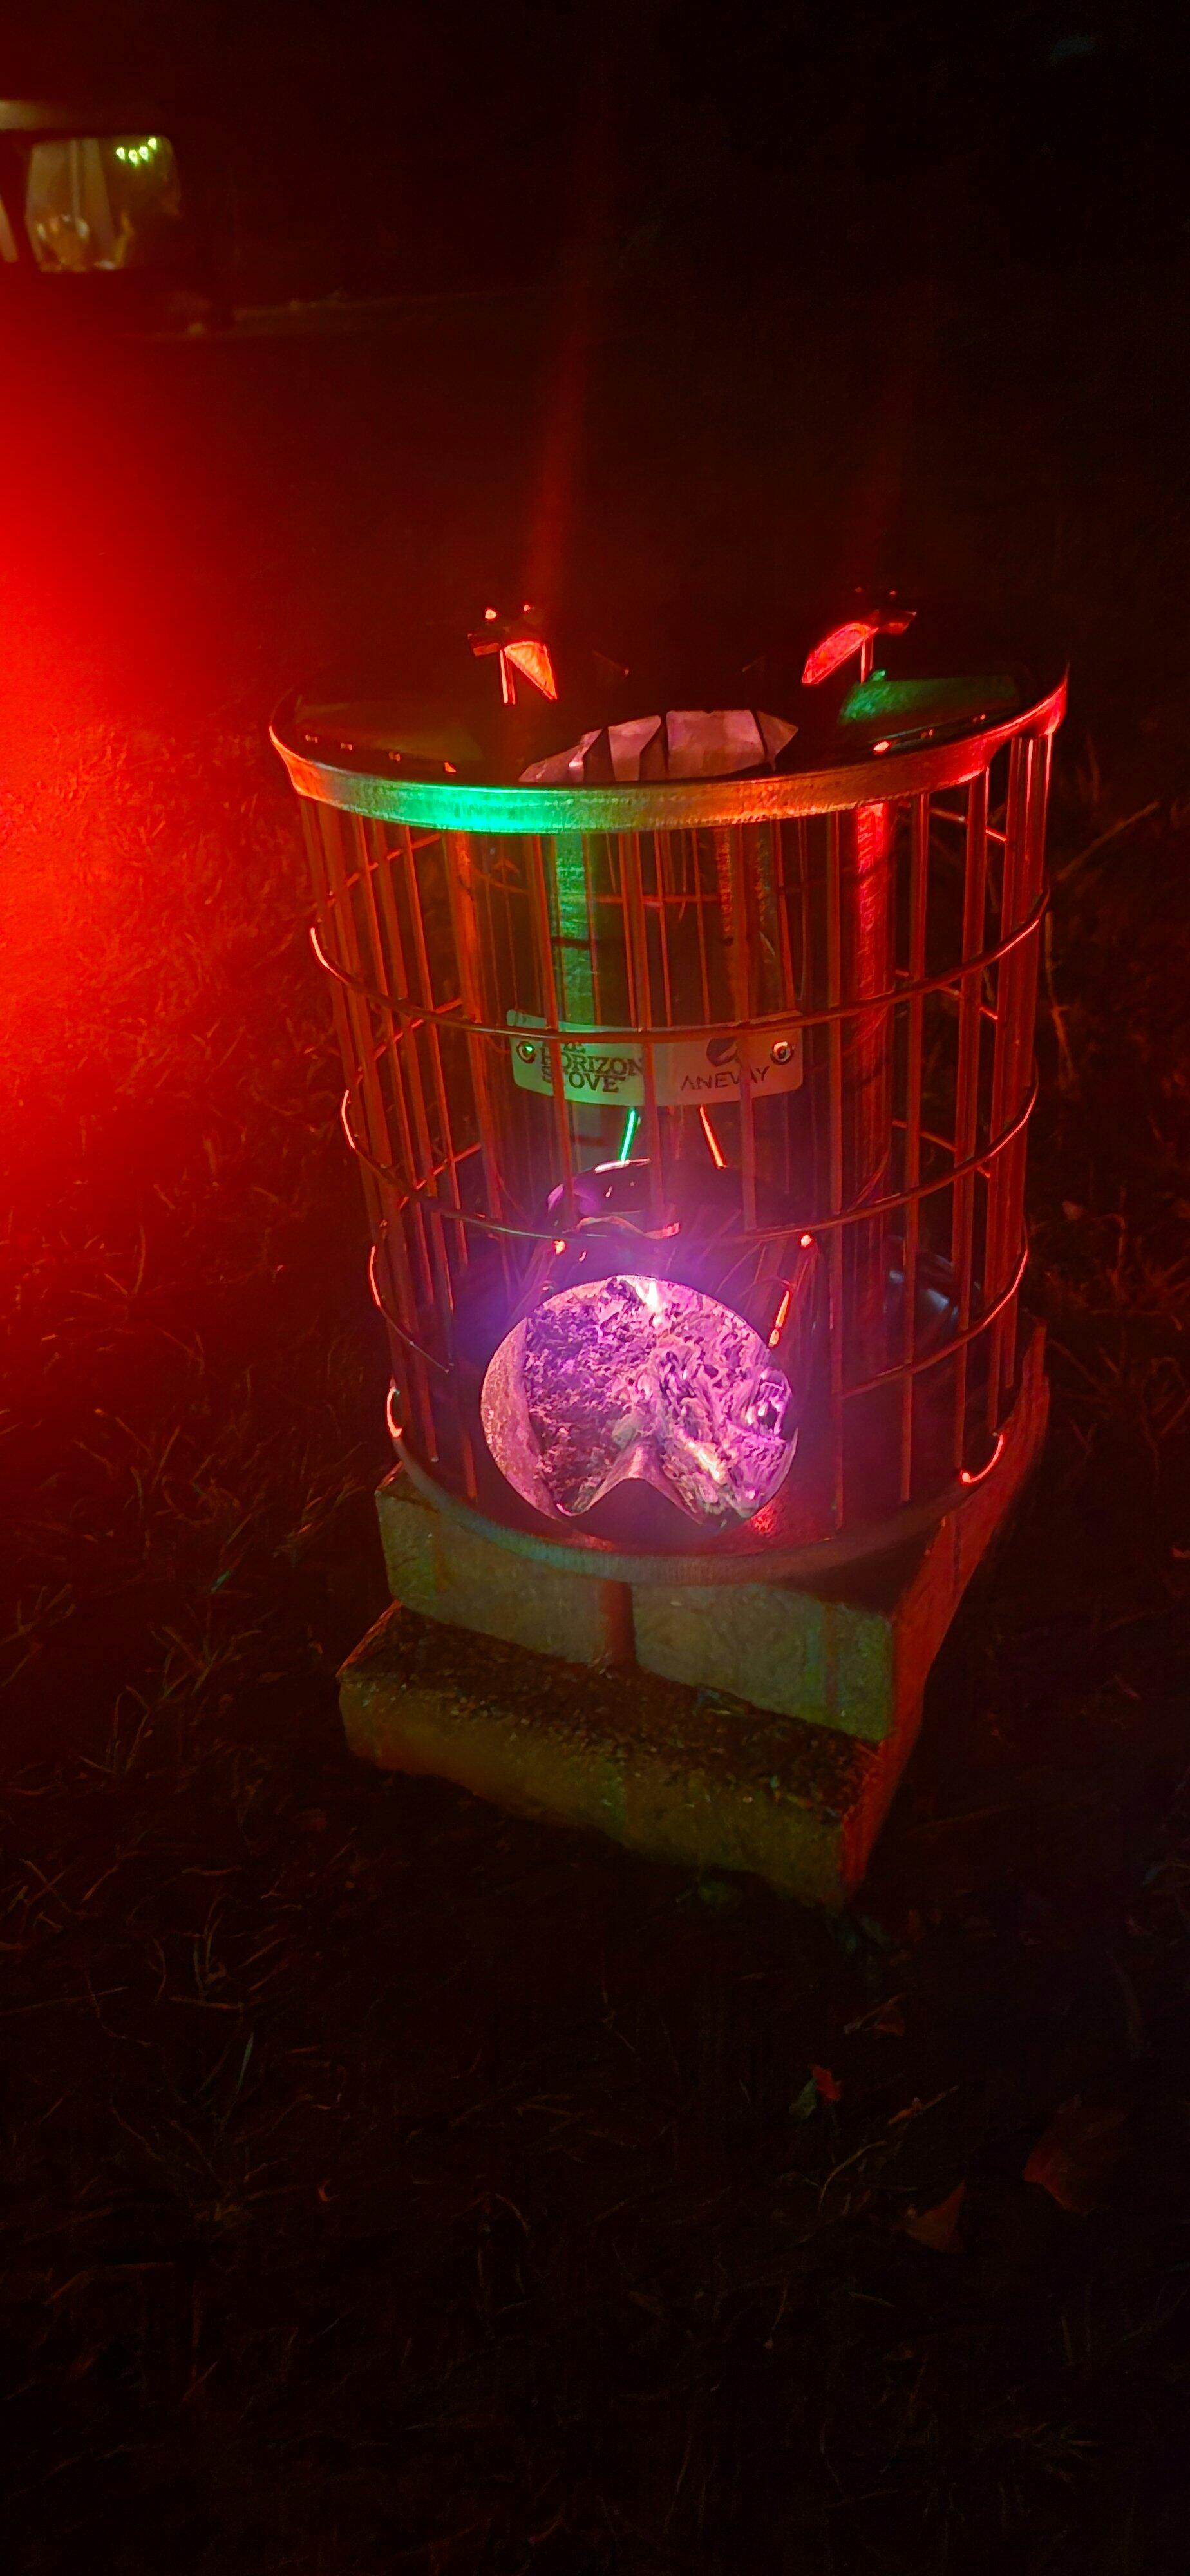


Our lovely little Shepherd stove has stood the test of time - having been designed and prototyped over 8 years ago and gracing many a campervan, Shepherd's Hut, garden office, Tree Tent, Landpod, amongst other inspiring structures!
At Anevay, we are passionate about beautiful but simple and functional design - the less faff, the less frustration... style should not outweigh substance.
The flue kit to match our Shepherd stove, follows that principle. The Shepherd stove has been tested to operate with 3" Insulated Flue and we always strongly advise customers to use the flue kits that we have specifically designed for our stoves. Whilst it is always possible to source elsewhere, we cannot vouch for the safety or performance of flue that we have not tested.
In our Shepherd Flue kit, you will receive the following:
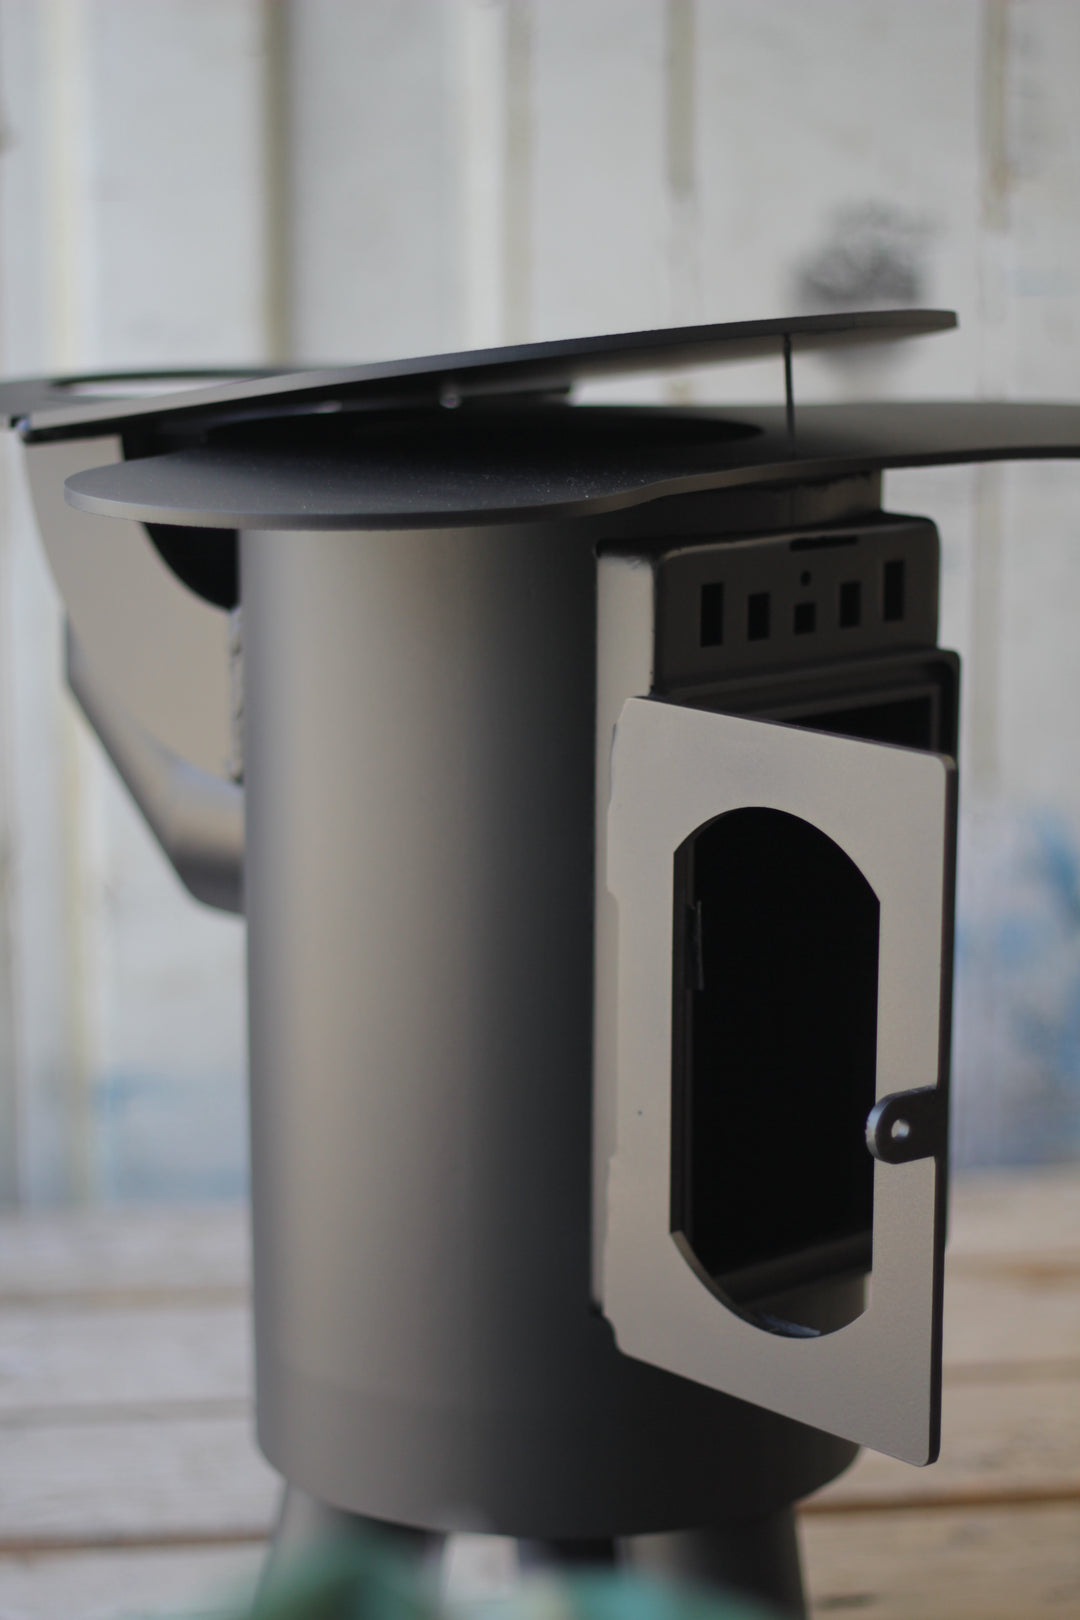
- A section of single skin pipe, welded to the single to twin wall adaptor (25cm length in total)
- A 1000mm section of insulated flue with a locking band
- A 500mm section of insulated flue with a locking band
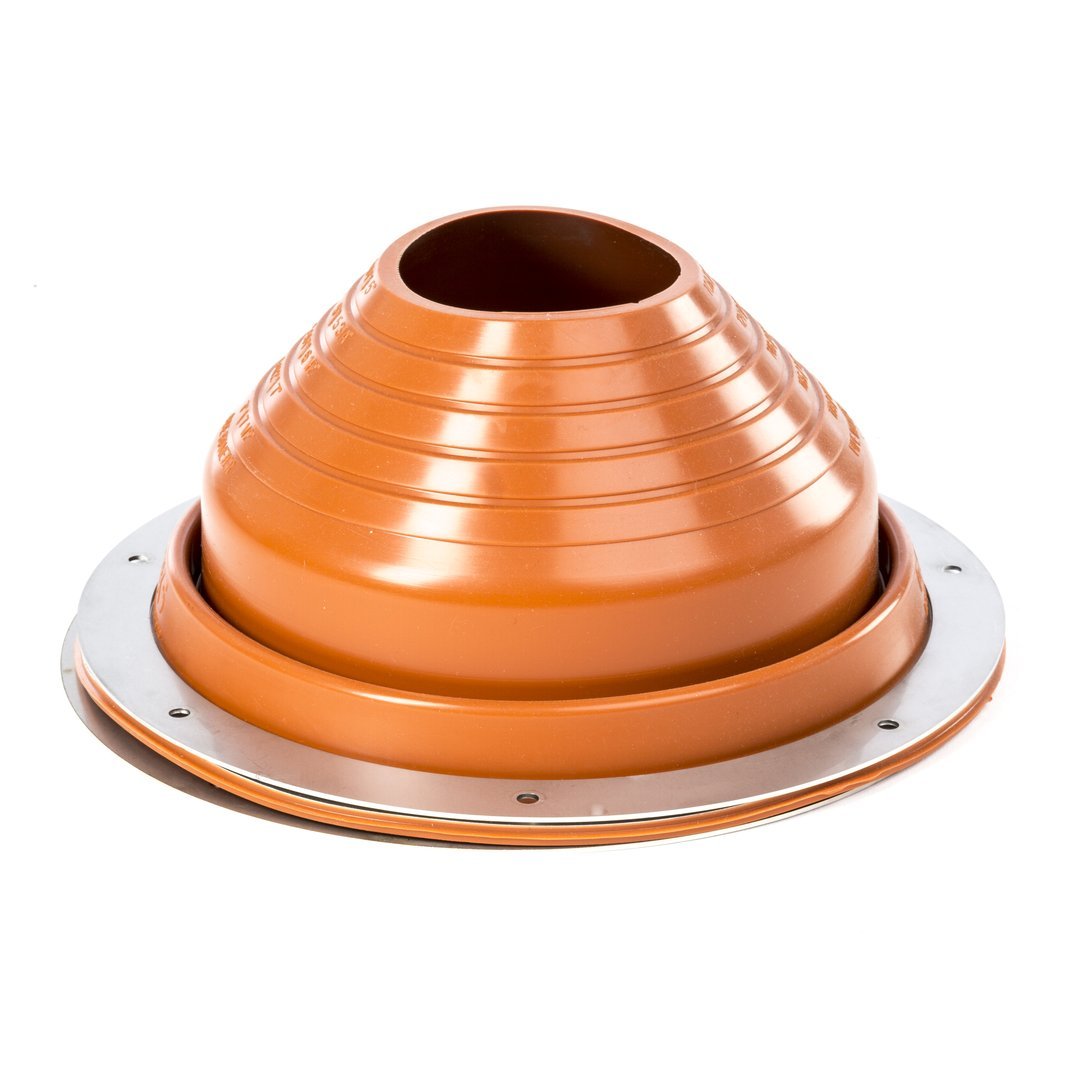
- A flashing kit suited to your installation (either for a flat roof or an angled roof)
- A storm collar
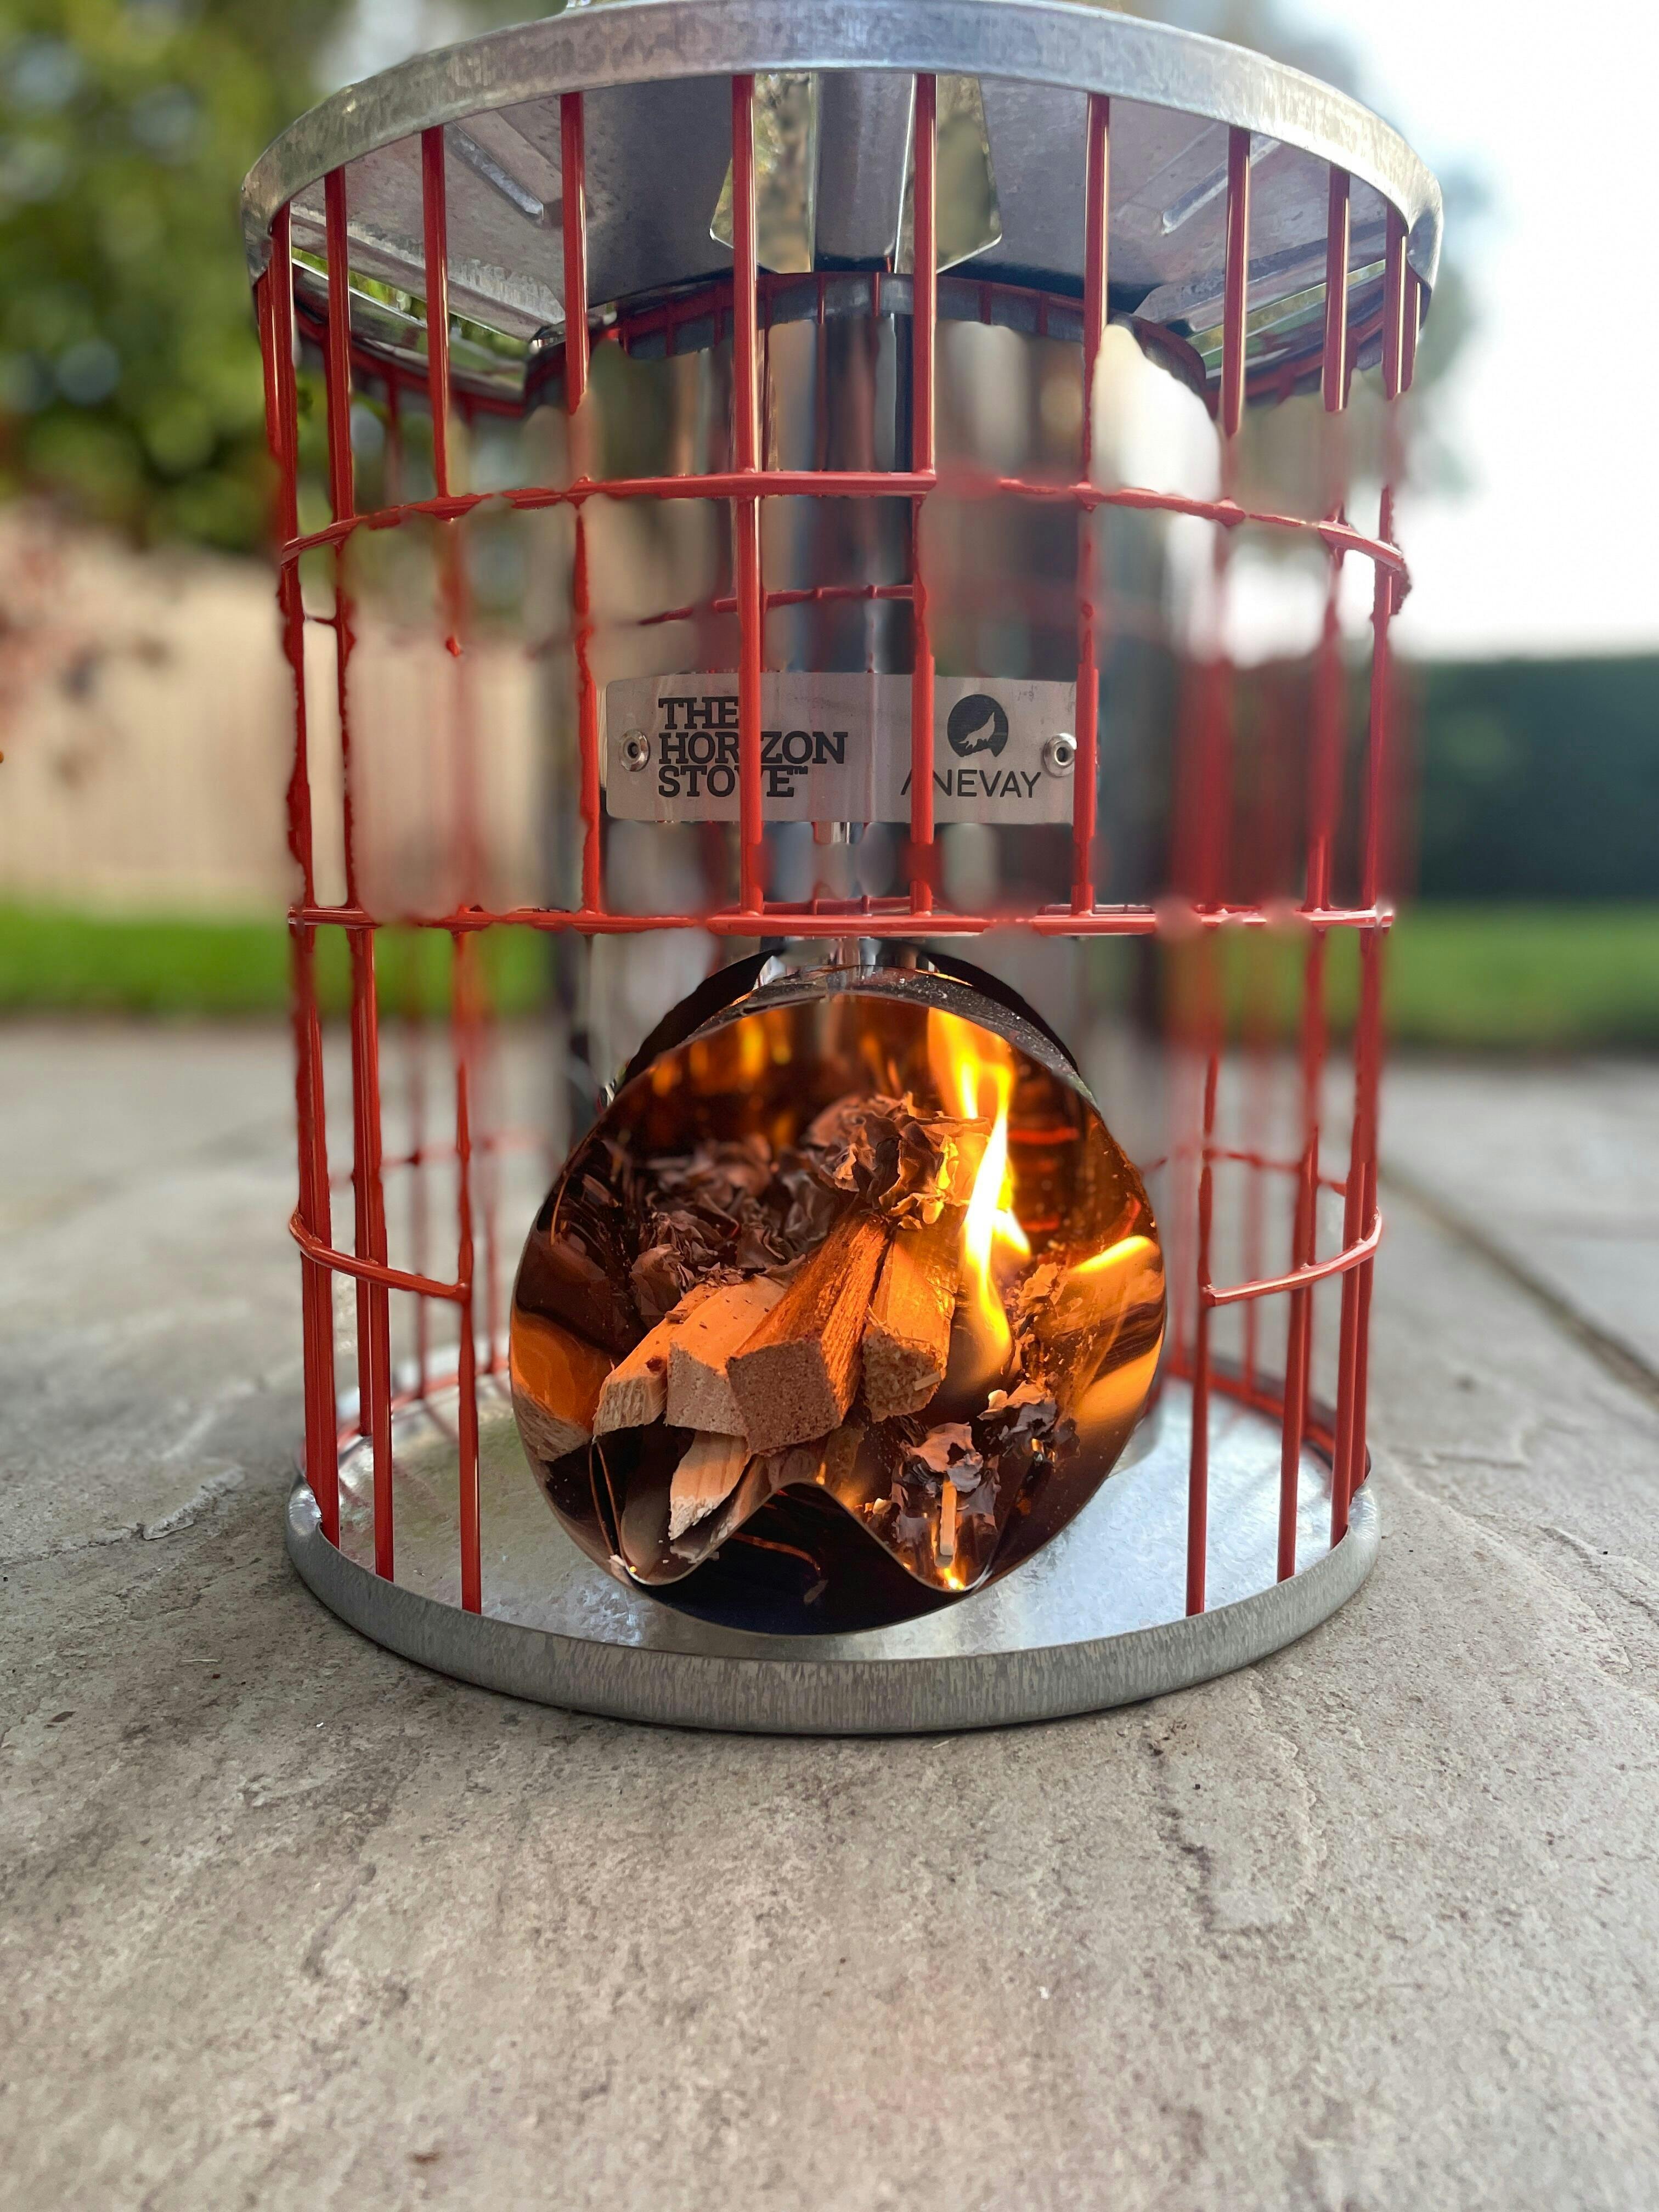
- An anti-wind cowl with a locking band (22.5cm height)
- Silicone sealant and self-drilling screws with caps

Below, we have put together an easy, step-by-step guide to assembling our Shepherd stove chimney kit.
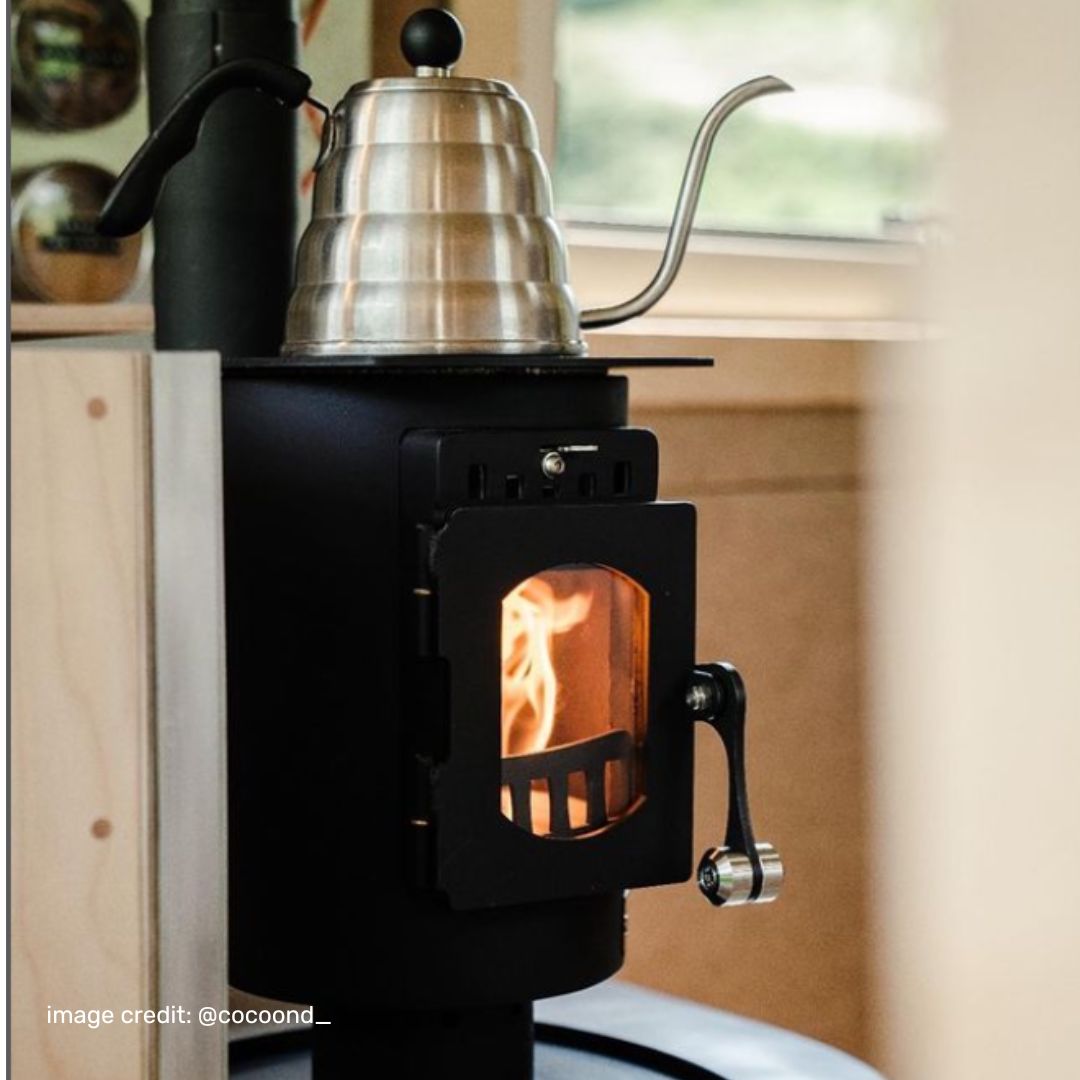
Step 1:
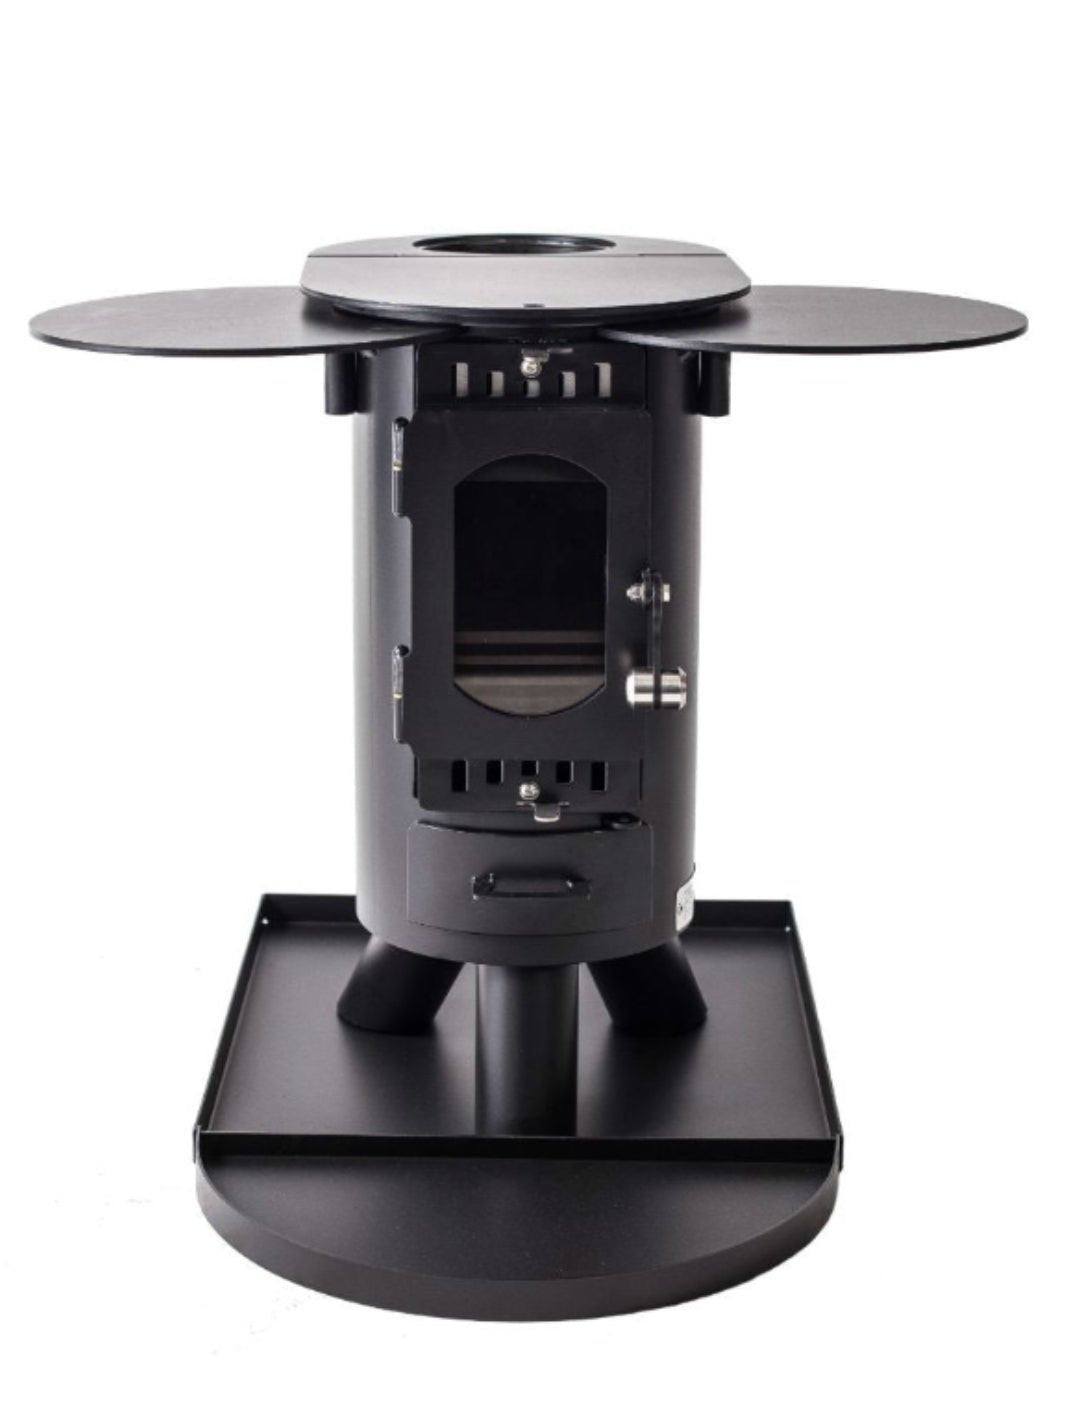
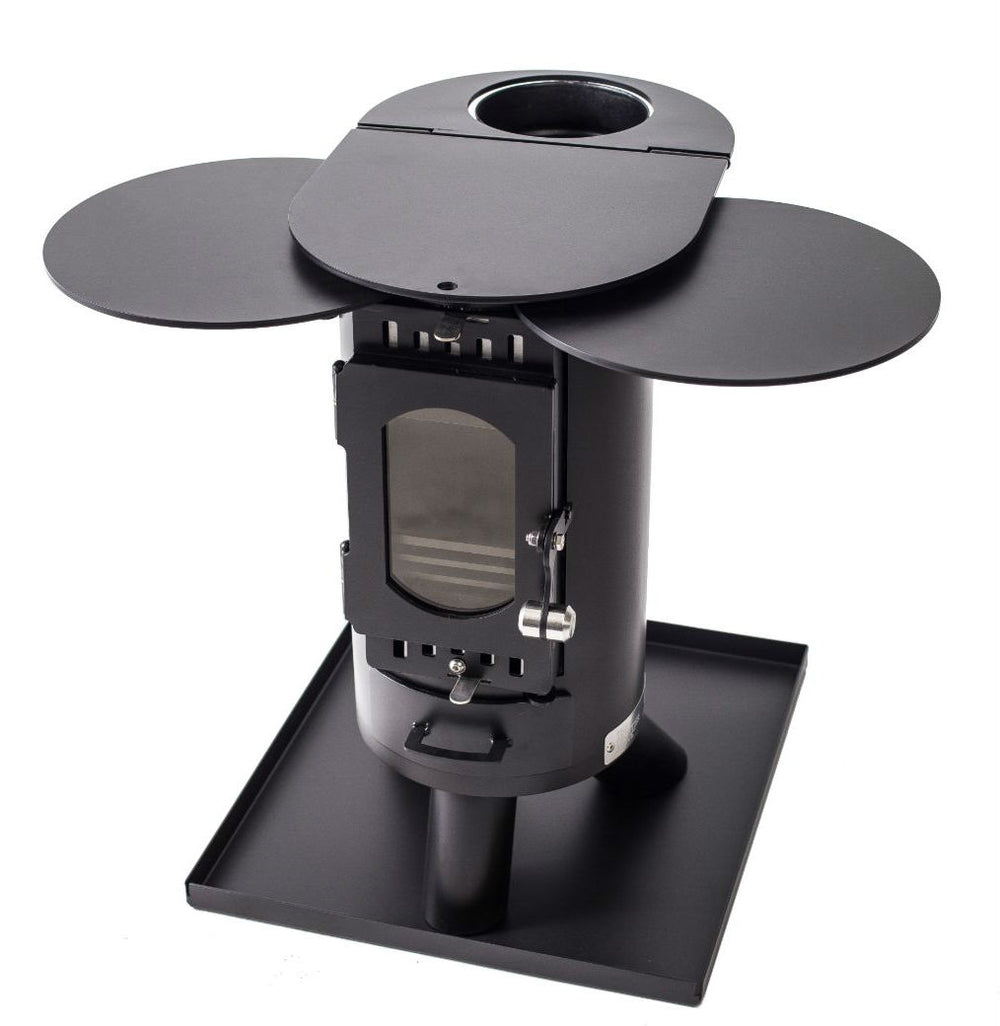
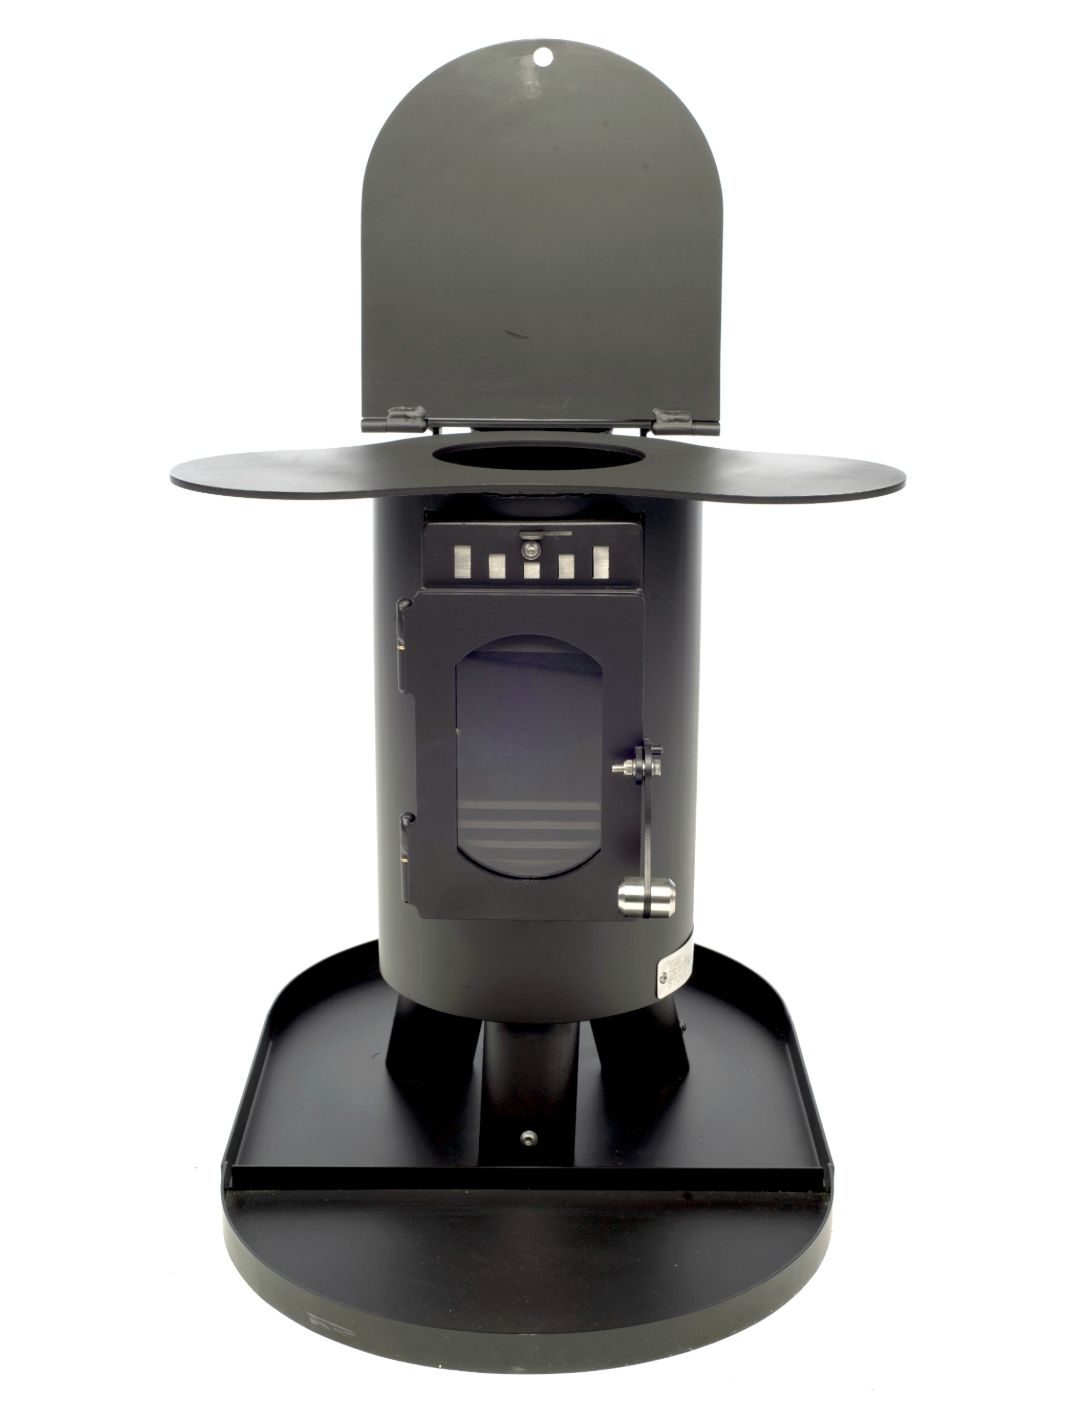
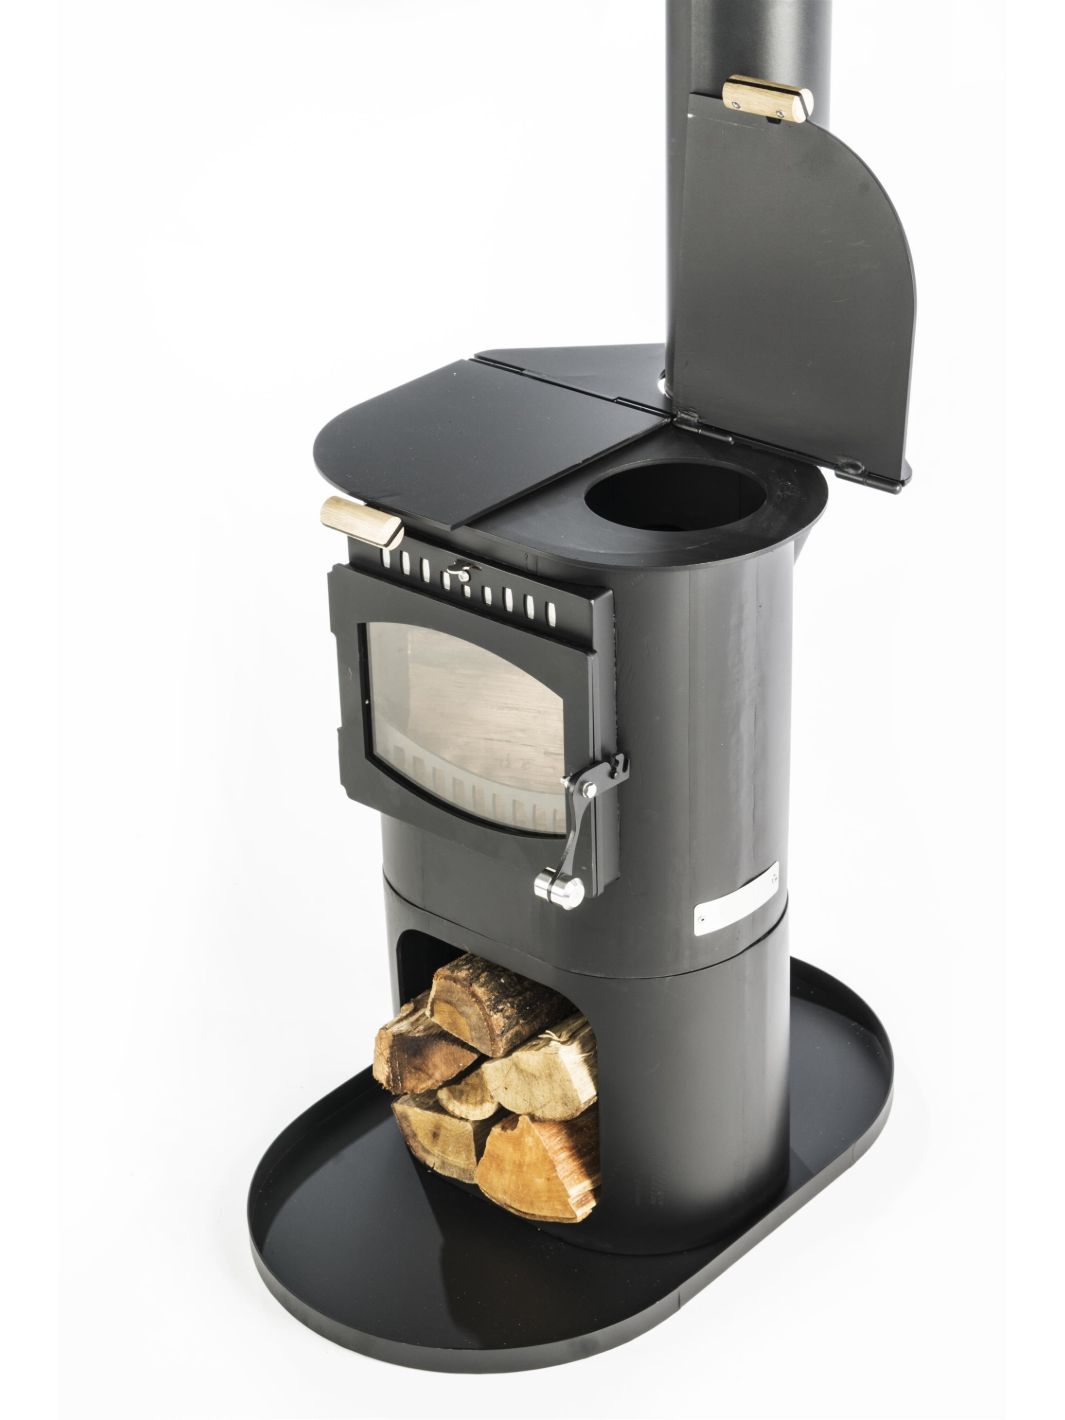
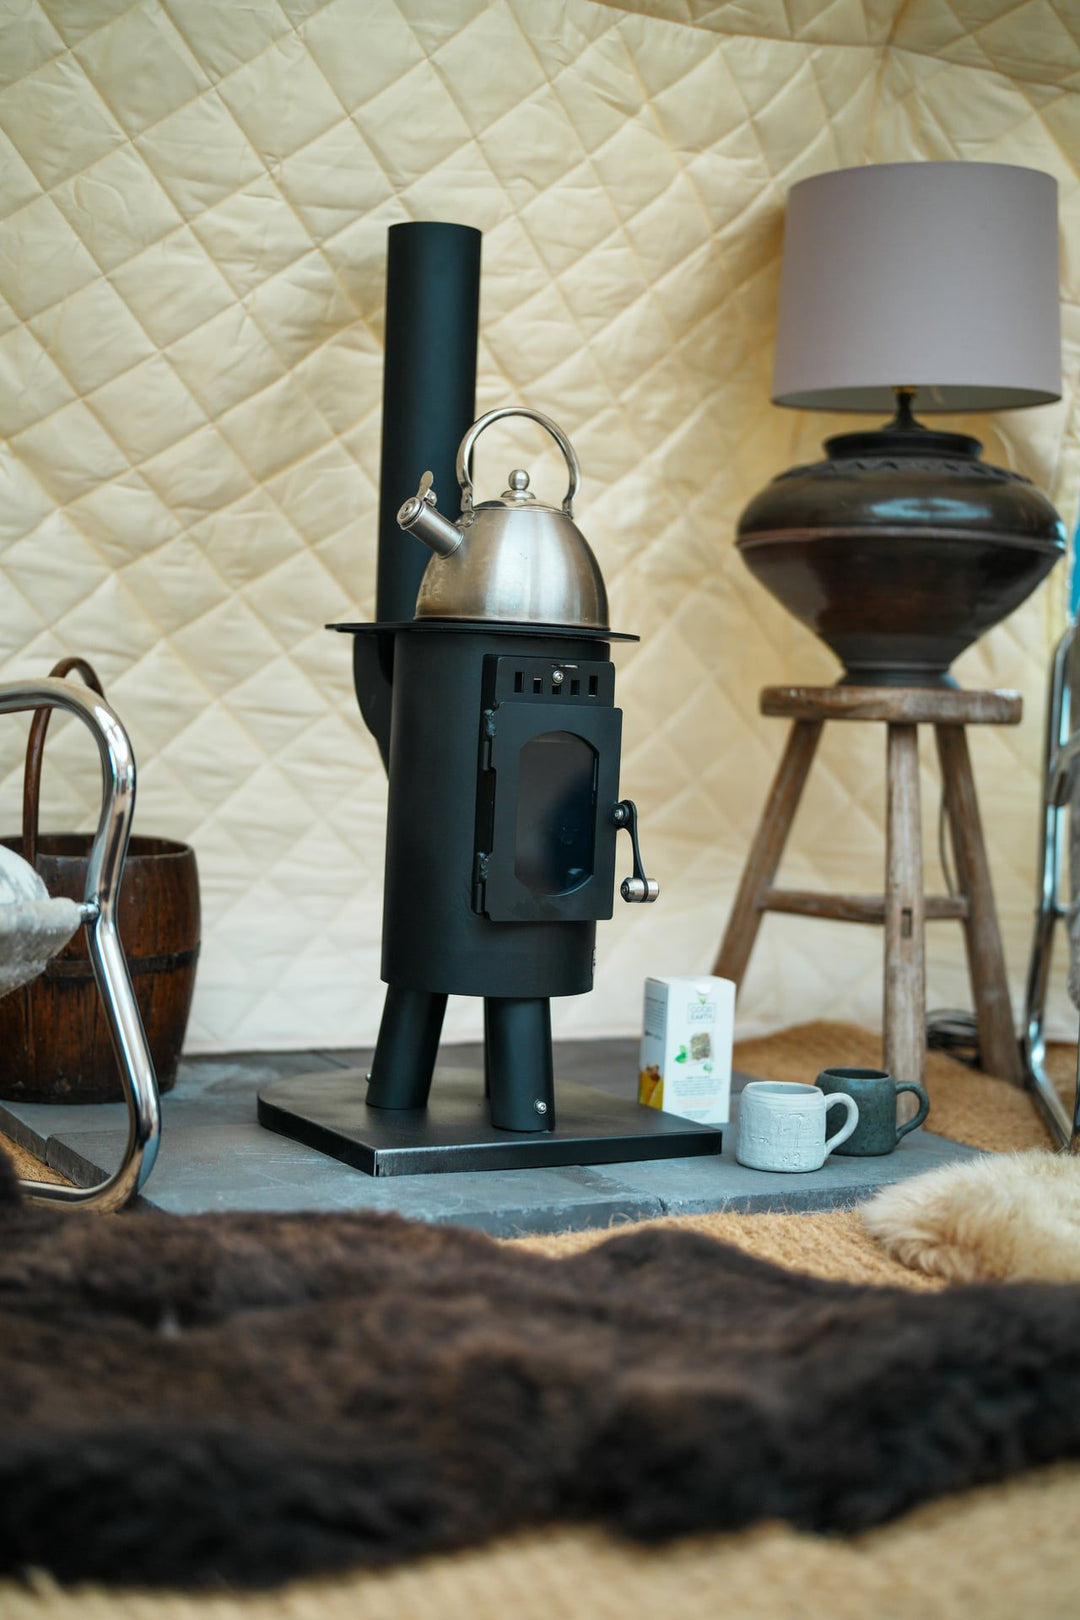
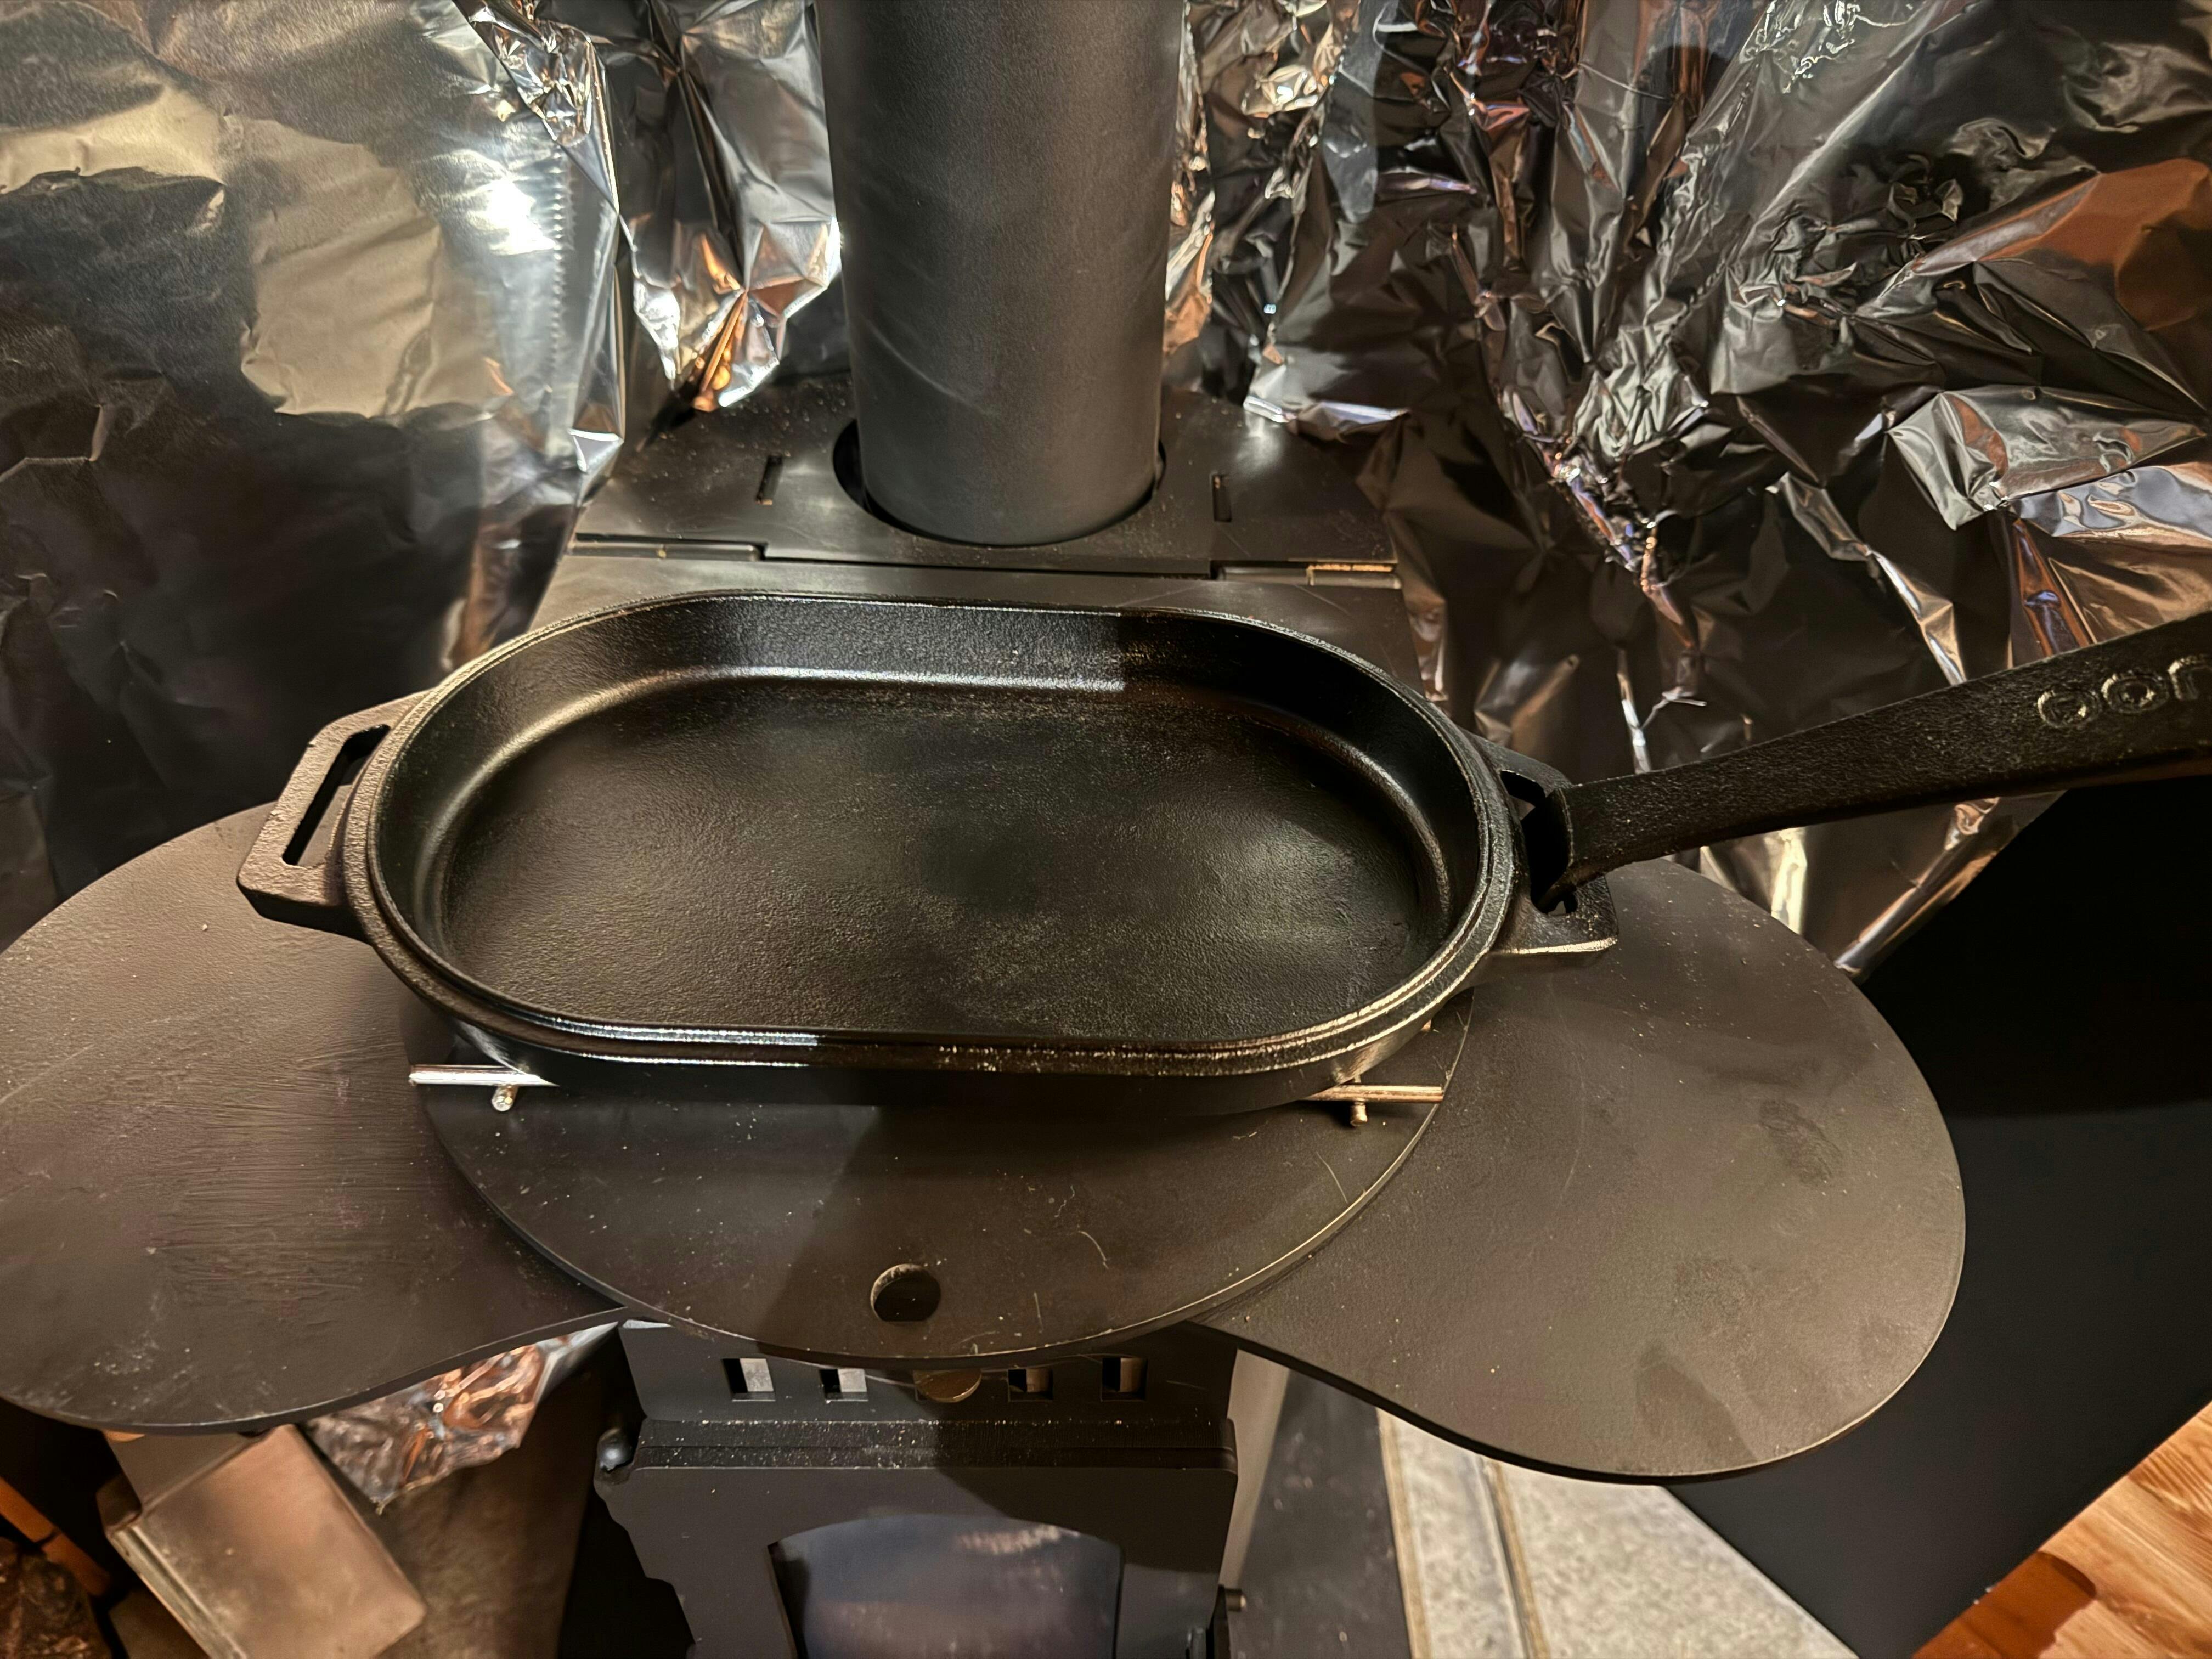
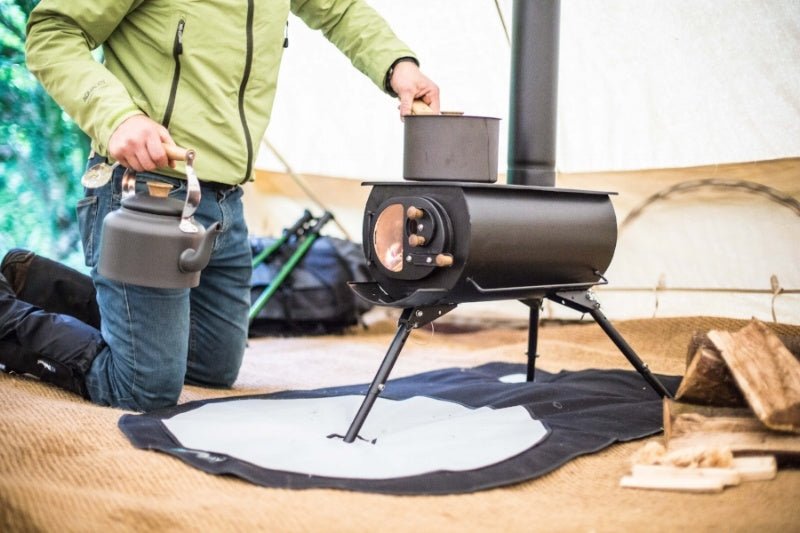
Ensure your stove is in position - we carried out a mock-up in our offices, so here is our Shepherd stove showing off:

Step 2:
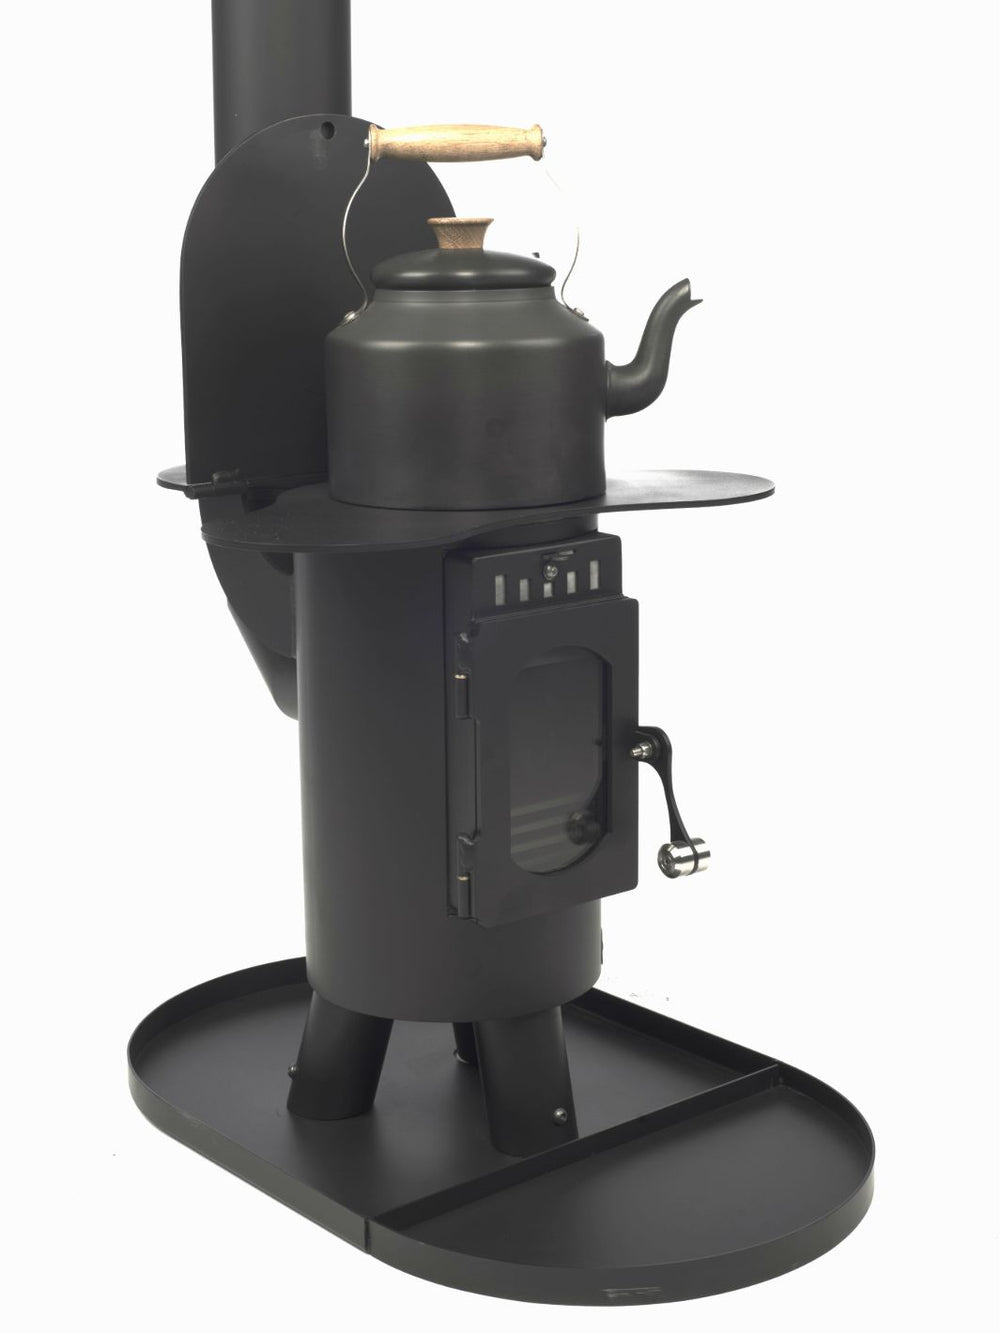
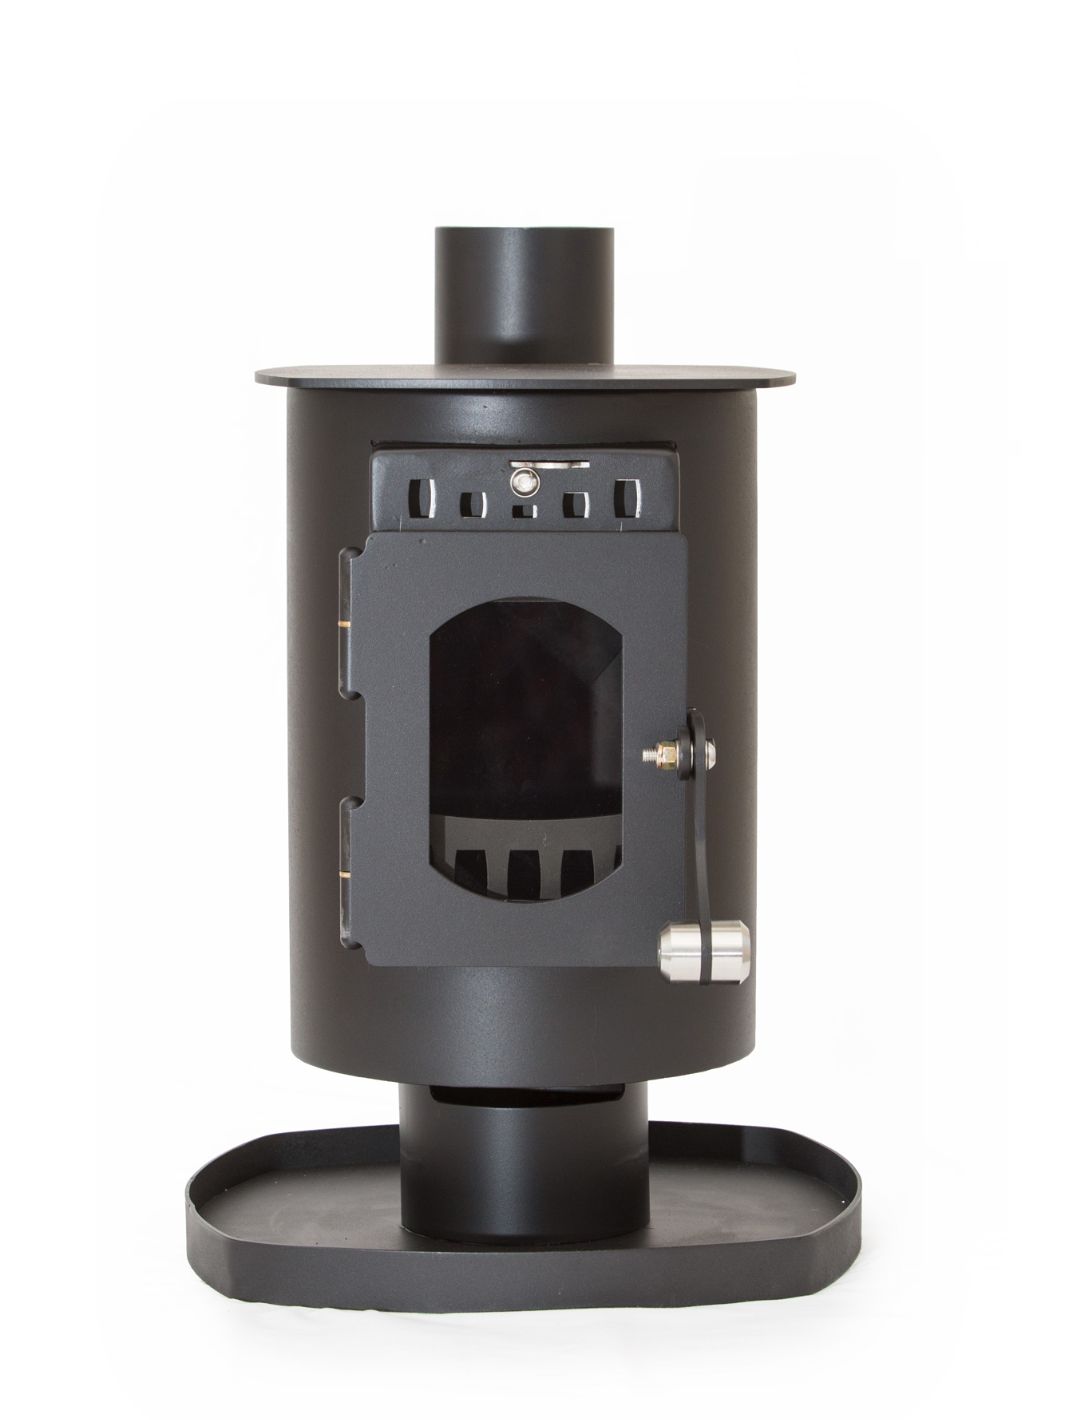
Insert your single skin flue (with welded adaptor attached) directly into the pipe of your Shepherd stove. This is a very tight fit so ensure you twist it nice and snugly into the receiving pipe.

Step 3:
Unlock the locking band on the base of your first pipe (either 1000mm insulated section or 500mm insulated section, depending on your installation needs. These can be very strong and tight, so take care when opening and shutting the locking band:
Step 4:
Pop the flue piece onto the twin-wall adaptor section and lock in place with the locking band. Repeat with the next flue section as per installation needs.
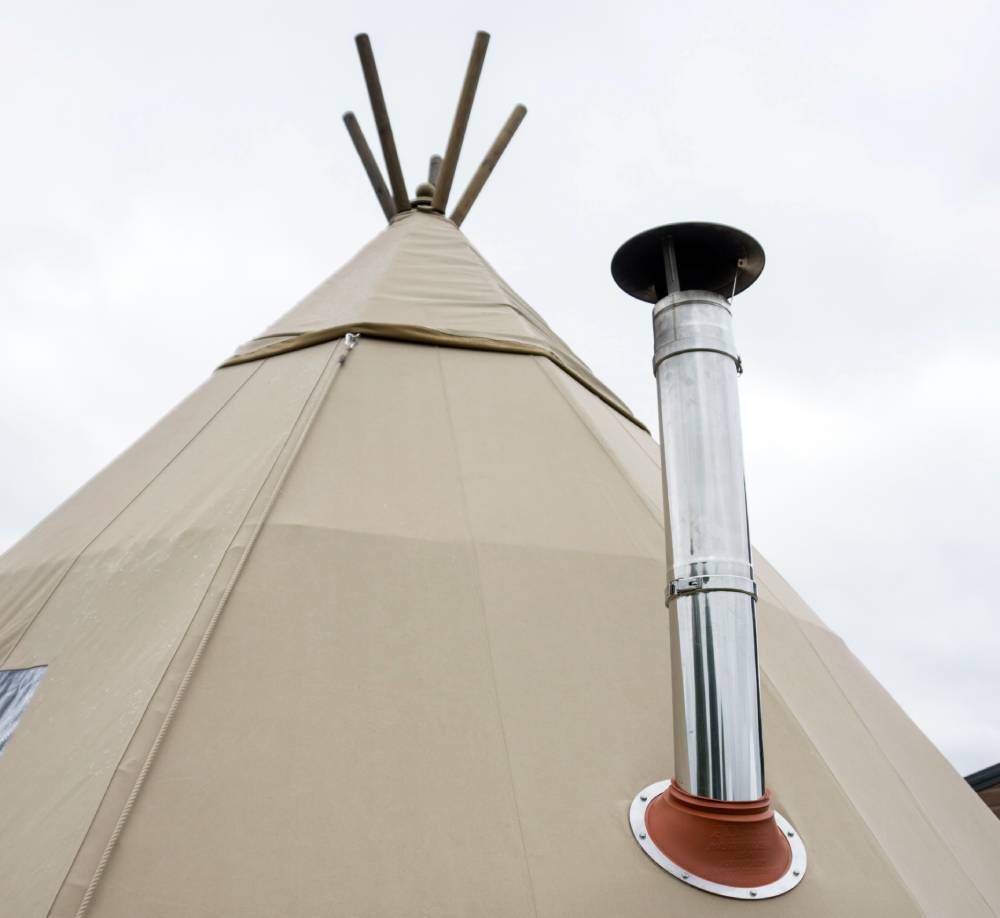
Step 5:
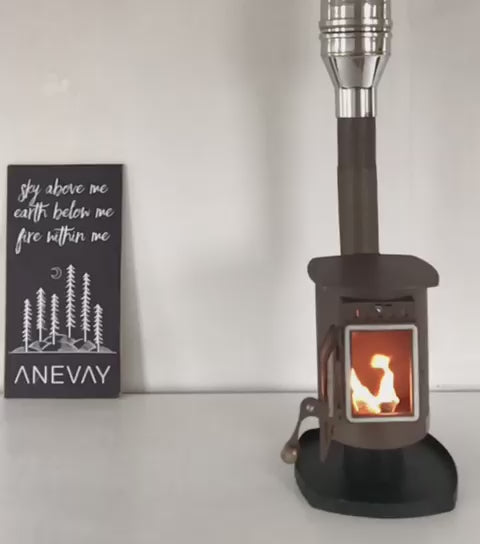
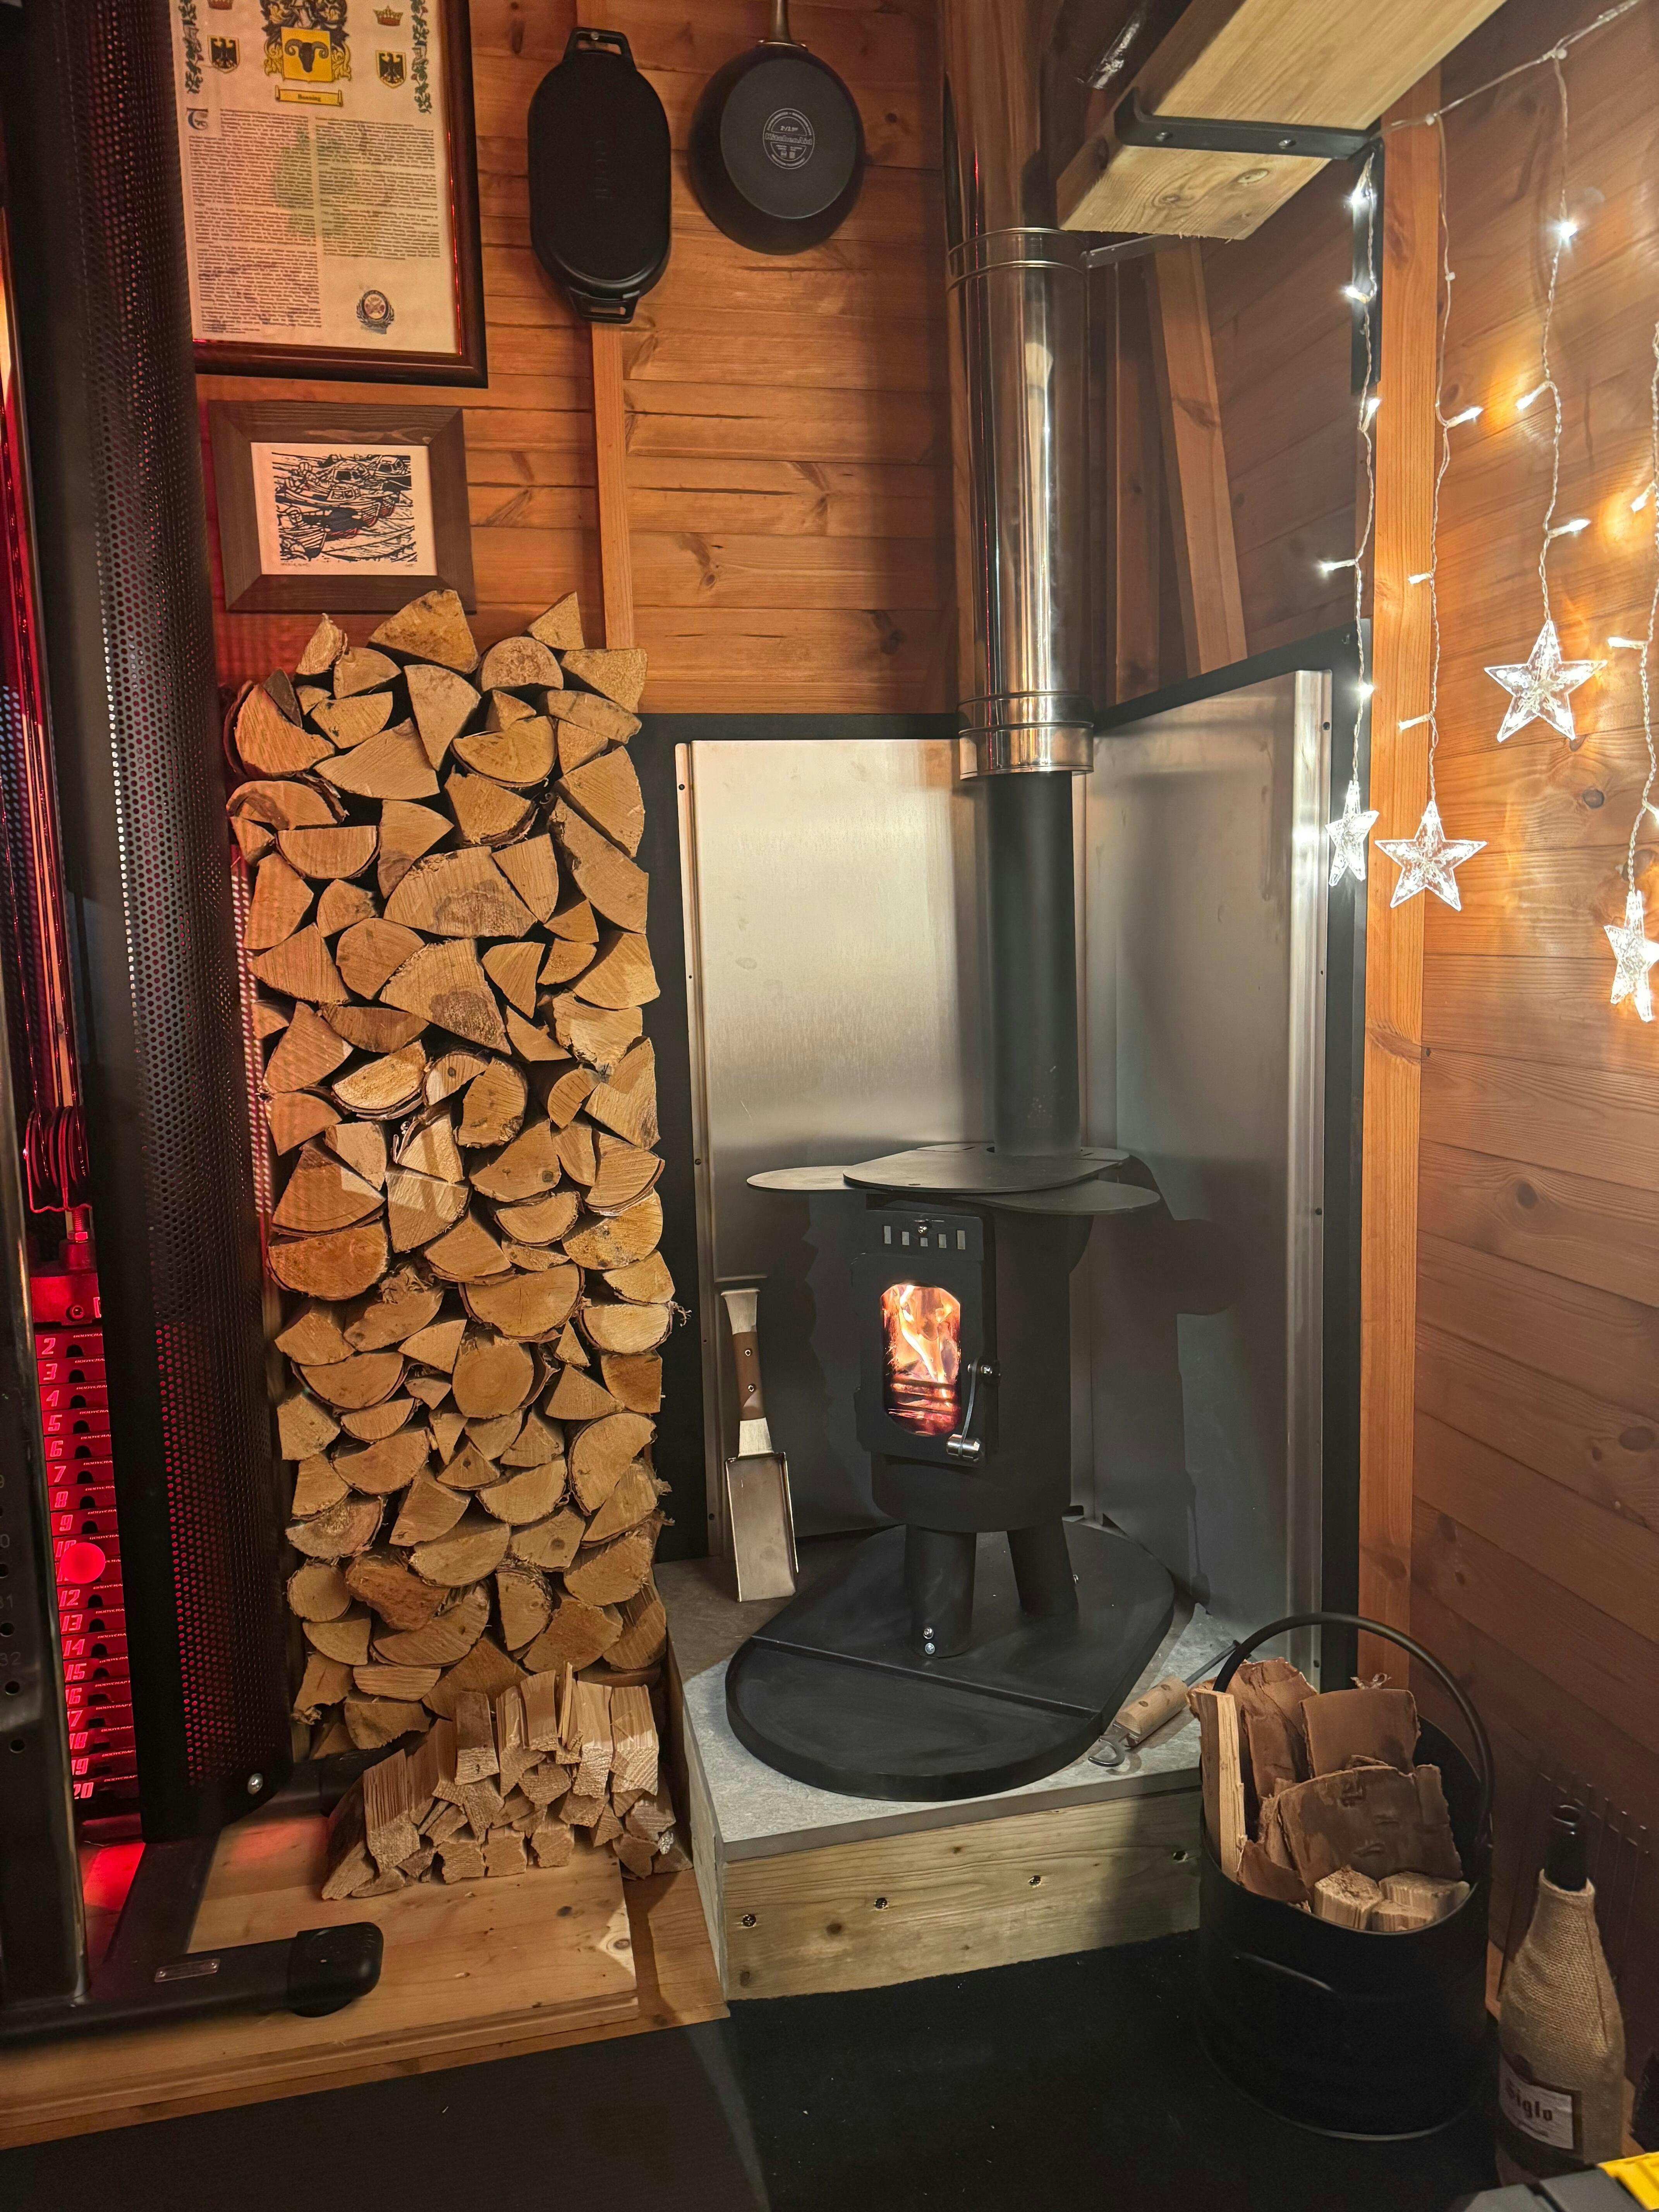
Our blog over here explains further about the process of installing the stove and chimney system. The anti-wind cowl follows the same principle as the 500m and 1000mm pipes and clips onto the flue pipes, locking in place with the band. The flue pipes would of course penetrate the flashing kit and the storm collar sits just above the flashing.
** DID YOU KNOW **
We have a small team of HETAS registered installers and do offer installations of our stoves when we can fit these into our schedules. We also offer free consultations to assist with advice and guidance on best practice for installation as well as support during the installation process.
We would welcome you to have a little browse of our small space stoves and our flue kits available. We welcome any questions and queries and are always available for a good, stove-top cuppa so do pop in and see our workshop if you're in the Redruth (Cornwall!) area!